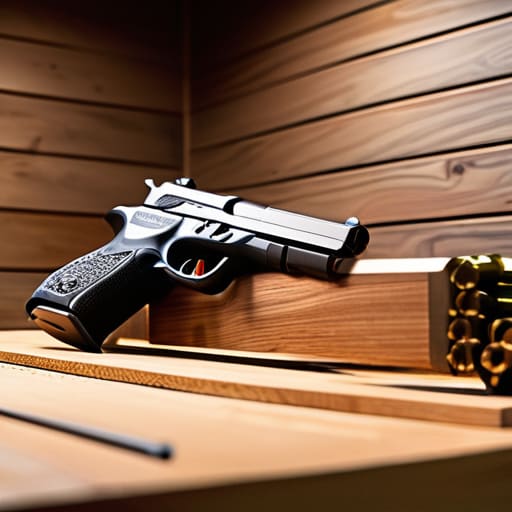
I’ve watched enough people clear a malfunction at the club to know that most folks treat dry fire like a casual hobby rather than a disciplined practice. They think as long as there’s no powder in the chamber, they’re in the clear, but that’s exactly how bad habits turn into real-world accidents. I once saw a guy nearly take out his television because he hadn’t even bothered to consider his muzzle direction while practicing his draw in his living room. Learning how to set up a safe dry fire area isn’t about buying fancy gadgets or high-tech lasers; it’s about establishing a dedicated, controlled environment where your brain can switch into “range mode” before you even touch the trigger.
In this guide, I’m going to walk you through the unglamorous, essential steps of prepping your space. We aren’t going to talk about gear lists or expensive accessories; instead, we’re going to focus on clearing your angles, managing your surroundings, and creating a repeatable ritual that respects the rules. I’ll show you how to build a setup that keeps your focus sharp and your muzzle pointed exactly where it belongs.
Guide Overview
Tools & Supplies
- Measuring tape to define safe boundaries
- Level to ensure stable surfaces
- Large heavy-duty tarp or drop cloth (1)
- Painter's tape or masking tape (1 roll)
- Target silhouette or paper targets (3-5)
- Adhesive or magnets for target mounting (1 pack)
Step-by-Step Instructions
- 1. First, you need to pick a spot that isn’t just a corner of the living room near the coffee table. I’ve seen too many people practicing in front of a TV or a glass sliding door, and that’s a mistake you only make once. Find a room with solid, opaque walls—ideally something like a basement or a dedicated spare room where there isn’t a direct line of sight to any windows or neighbors.
- 2. Once you have the room, you have to establish your “safe direction.” Even though there’s no powder going bang, the muzzle still needs to point at a designated backstop. I usually tell folks to set up a heavy moving blanket or a thick piece of plywood against the wall where the gun will be pointed. It gives you a visual boundary so you aren’t just waving the muzzle around the room aimlessly.
- 3. Clear the clutter. You can’t focus on a clean trigger press if you’re tripping over a pile of laundry or a dog toy. You need a flat, stable surface—a sturdy workbench or a heavy table is best—where your gear can sit without sliding around. Keep your ammunition in a completely different room; I don’t care if it’s just practice, you don’t want live rounds anywhere near your dry fire station.
- 4. Set up your lighting. If you’re trying to work on fine motor skills or checking your sight alignment, you can’t be squinting in a dim hallway. You want bright, even light that hits your target and your firearm clearly. If you’re working on a specific part of your grip or a trigger reset, good visibility is what prevents you from getting sloppy with your handling.
- 5. Organize your tools before you even touch the firearm. Get your cleaning kit, your snap caps, and your target stands laid out in a way that makes sense. If you’re constantly digging through a junk drawer to find a bore snake, you’re breaking your mental rhythm. A disciplined workspace leads to a disciplined shooter, and that starts with having your gear exactly where it belongs.
- 6. Finally, establish your “clearing ritual.” Even in a controlled environment, you should treat every single movement as if the gun is loaded. Before you start your drill, physically and visually confirm the chamber is empty. I’ve watched people get so caught up in the “dry” part of dry fire that they forget the fundamentals, and that’s exactly how habits turn into accidents.
Clearing a Firearm for Dry Fire the First Habit
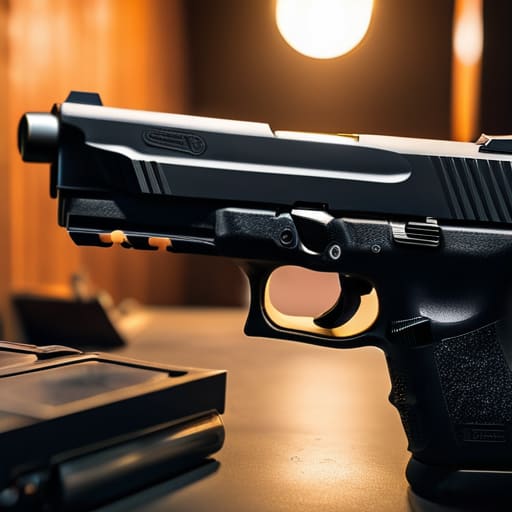
Before you even touch your dry fire training equipment, you have to master the most basic, most overlooked part of the process: the clearance. I’ve stood on the line for twenty years, and I can tell you that people get complacent the moment they step into their living room or garage. They think because there’s no live ammunition in the room, the rules change. They don’t. You treat that empty chamber with the same respect you’d give a loaded one.
When you are clearing a firearm for dry fire, I want you to do it with a deliberate, mechanical rhythm. Don’t just flick the magazine out and hope for the best. Physically inspect the chamber, lock the slide or bolt back, and visually verify that the breech is empty. If you’re working on one of my old bolt-action projects, that means opening the action and looking inside every single time.
This isn’t about being paranoid; it’s about muscle memory. You want the act of clearing the weapon to be so ingrained that you could do it in the dark. If you skip these firearm safety protocols during your drills, you aren’t training—you’re just practicing being careless.
Indoor Shooting Practice Safety and Safe Direction Principles
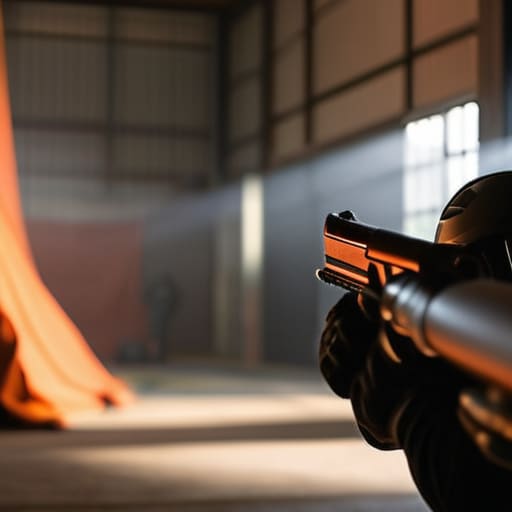
When you’re practicing in a living room or a garage, the walls can give you a false sense of security. I’ve seen plenty of folks get sloppy because they aren’t actually pulling a trigger and hearing a bang, but the physics of a mistake don’t change just because there’s no gunpowder involved. You need to apply the same safe direction principles indoors that you would on a professional range. That means your muzzle isn’t just pointed at a target; it’s pointed at a dedicated, reinforced backstop—even if it’s just a heavy moving blanket or a thick piece of plywood—that ensures nothing exits that room if a mechanical failure occurs.
Don’t let the quiet nature of the drill lull you into a lapse in discipline. Indoor shooting practice safety relies entirely on your mental state being as locked in as it is during live fire. If you find your mind wandering to the laundry or the news, you stop. You treat every movement with the same gravity as a live session. This isn’t about being paranoid; it’s about maintaining the muscle memory of caution so that when you finally step back onto the range, your brain doesn’t have to relearn how to be safe.
Five Ways to Keep Your Dry Fire Space from Becoming a Hazard
- Treat your dry fire space like a live range, not a living room; if you wouldn’t point a loaded gun at your television or your dog, don’t even bring the firearm into a space where those things are in the line of fire.
- Clear the clutter before you start, because a pile of laundry or a stray coffee mug is just something that’s going to get knocked over when you’re working on your draws or transitions.
- Use a dedicated, stable surface for your gear, and for heaven’s sake, stop using the kitchen table where someone might walk up and grab a piece of fruit right next to your muzzle.
- Set up a mirror or a camera if you’re working on form, but make sure it’s secured tight; the last thing you need is a piece of glass sliding across the floor because you moved too fast.
- Establish a “clean zone” for your cleaning supplies and tools, keeping the oils and solvents away from any area where you might be practicing your grip or your stance.
The Three Habits That Keep You in the Game
Discipline doesn’t stop when the hammer falls on an empty chamber; treat every dry fire session with the same procedural respect you’d give a live fire string.
Your environment dictates your safety, so clear the clutter and check your angles before you even think about touching your gear.
Safety isn’t a one-time lesson you pass; it’s the repetitive, unglamorous work of checking your firearm and your surroundings every single time you practice.
The Discipline of the Dry Run
At the end of the day, a safe dry fire area isn’t about having the most expensive tactical setup or a dedicated room in your basement. It comes down to the basics we’ve covered: establishing a clear, unobstructed direction, ensuring your environment is free of distractions, and most importantly, making the clearing process a non-negotiable part of your routine. If you treat your dry fire space with the same respect you give a live range, you aren’t just practicing your trigger press; you are building the muscle memory required to prevent a mistake when the pressure is on. Remember, a cluttered space leads to a cluttered mind, and in this sport, clutter is where accidents live.
I’ve spent twenty years watching people rush through their drills just to get to the “fun part,” but the truth is that the real work happens when no one is watching. The discipline you show in your living room or your garage is the same discipline that will keep you and everyone around you safe when you finally step onto the firing line. Don’t view these preparations as a chore or a hurdle to jump over; view them as the foundation of your competence. Get these unglamorous habits right every single time, and I promise you, the shooting will take care of itself.
Frequently Asked Questions
If I'm practicing in a small room, how do I know if my muzzle is actually pointed in a safe direction when I'm moving between different stances?
When you start moving, your situational awareness usually goes right out the window. I see it all the time: a shooter focuses so hard on their footwork that they forget where that muzzle is pointing. Stop thinking about the floor or the wall; think about your “safe plane.” Pick a direction—usually a heavy piece of furniture or a corner—and make that your North Star. If your muzzle isn’t tracking toward that same spot during every transition, you’re moving too fast. Slow down. The stance doesn’t matter if the direction is wrong.
Does it matter if I use a dedicated dry fire tray, or is it enough to just clear the chamber and use a regular workbench?
It’s not about being fancy, it’s about being certain. A workbench is fine, provided it’s clear of anything you don’t want a hammer strike to ruin. But a dedicated tray? That’s a different story. It gives you a consistent, stable surface that won’t slide when you’re working that trigger. If you’re just clearing the chamber, a bench is plenty. But if you’re practicing draws or manipulations, get the tray. Stability prevents mistakes.
When I'm setting up my space, what's the best way to ensure my ammunition is physically separated from the area where I'm practicing?
Keep your ammo in a different room entirely. I’ve seen too many folks leave a box of nine mil on the workbench next to their holster, and that’s how mistakes happen. If you’re practicing dry fire, there should be zero live rounds within arm’s reach. Put your ammunition in a locked cabinet or a separate container in another room. If it’s in the room, it’s a distraction. Keep the workspace clean, and keep the brass away.




