
I watched a young man last Saturday spend forty minutes adjusting his windage knobs, sweating through his shirt, only to realize he hadn’t even tightened the mounting screws properly. He thought he was learning how to zero a rifle, but he was really just fighting his own gear. Most folks think that once you bolt a piece of glass onto a rail, the hard part is over, but that’s a mistake that’ll cost you a whole afternoon of wasted brass. If you want to learn how to set up a scope for a new shooter without the headache, you have to understand that it isn’t about the fancy adjustments; it’s about the boring fundamentals of mounting and stability.
In this guide, I’m going to walk you through the actual, unglamorous steps of getting your glass ready for the range. We aren’t going to talk about high-end tactical gimmicks or expensive math; instead, I’ll show you how to secure your mounts, find your eye relief, and perform a disciplined zeroing routine that actually sticks. I’ve seen enough people miss easy targets because of a loose screw to know that if you get the setup right the first time, the shooting takes care of itself.
Guide Overview
Tools & Supplies
- Allen wrench set (for adjusting scope mount screws)
- Torque wrench (to prevent over-tightening mounts)
- Lens cloth (for cleaning glass)
- Coin or screwdriver (for windage/elevation turrets)
- Scope mounting rings (matching rifle rail)
- Thread locker (low strength, e.g., Blue Loctite)
- Eye protection (safety glasses)
Step-by-Step Instructions
- 1. Before you even touch a screwdriver, you need to make sure your mounting surface is clean. I’ve seen too many folks try to mount a high-end optic onto a rail that’s still covered in factory grease or fine grit from the shop. Take a clean cloth and some rubbing alcohol and wipe down the receiver and the base of the scope. If there is even a tiny bit of debris trapped under those rings, your scope will shift under recoil, and you’ll be chasing your zero all afternoon.
- 2. Once the surfaces are clean, go ahead and seat the scope into the rings, but don’t go tightening everything down just yet. You want to make sure the scope is sitting level in the grooves. A common mistake I see is mounting the scope at a slight cant, which makes your horizontal holds feel completely wrong. Use a bubble level on both the rifle and the scope itself to ensure they are perfectly aligned before you move to the next step.
- 3. Now, tighten those ring screws, but do it with a sense of discipline. You aren’t trying to crush the tube; you’re trying to create a secure, even hold. I always tell my students to tighten them in a cross-pattern, just like you would the lug nuts on a truck tire. Use a torque wrench if you have one, because over-tightening is a quick way to ruin a perfectly good piece of glass or strip a mounting screw.
- 4. With the scope physically attached, it’s time to dial in your windage and elevation. Don’t try to do this from a seated position on a couch; get yourself to the range and get behind a stable rest. Fire a three-shot group to see where you’re actually landing relative to your point of aim. It’s rarely where you think it is the first time. You need to establish a baseline before you start turning those turrets.
- 5. Adjust your turrets based on that first group. If you’re hitting low and left, you need to dial up and right. Take your time with this. Don’t just crank the dials wildly; make small, measured adjustments and re-test your group after every single change. It’s a slow process, but it’s the only way to be sure you aren’t just chasing shadows.
- 6. Once you think you’ve hit the mark, fire one final group to confirm. A “good” zero isn’t just hitting the bullseye once; it’s hitting that same spot consistently three or four times in a row. If your groups are tight but just slightly off the center, you haven’t finished the job. You keep adjusting until the consistency is there.
- 7. The last thing you do—and the part most people forget—is check the tightness of everything one more time after the recoil of your test shots. The vibration of firing can sometimes settle things in a way that loosens a screw that felt tight a minute ago. Give every screw a quick check to ensure your setup is rock solid before you pack your gear away.
Mounting a Rifle Optic With Discipline and Precision
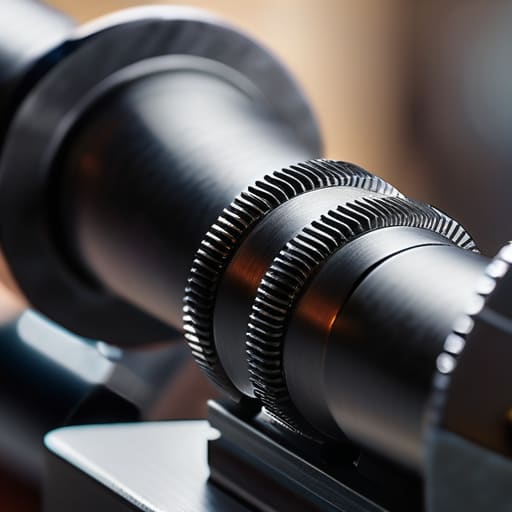
Before you even reach for your torque wrench, take a look at your riflescope mounting hardware. I’ve seen too many folks grab the cheapest rings they can find, only to wonder why their point of aim shifts after twenty rounds. If you aren’t using a dedicated torque driver, you’re just guessing, and guessing is how you strip a screw or crush a tube. When you’re mounting a rifle optic, your goal isn’t just to make it stay; it’s to ensure it stays exactly where you put it, every single time.
Once the rings are seated, don’t just tighten them down and call it a day. You need to pay attention to eye relief importance during this stage. If you mount that glass too far forward or too far back, you’re going to spend your entire afternoon fighting a black ring around your field of view or, worse, getting a bruised eye when the recoil kicks. Get the position right while the screws are still loose. It’s much easier to adjust the mounting position now than it is to try and fix a bad setup once you’re out on the line.
The Unseen Details of Eye Relief Importance and Parallax
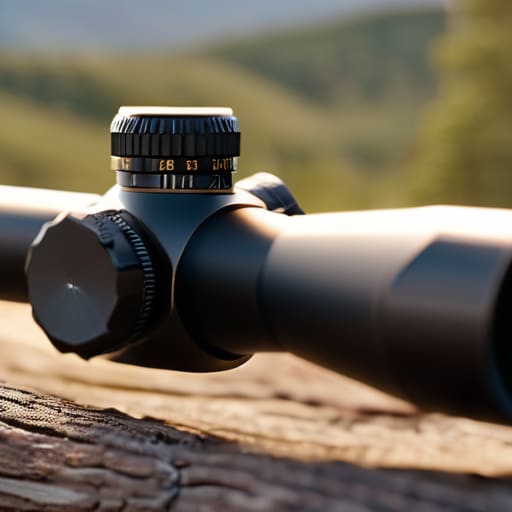
Once you’ve got those rings torqued down, most folks think the hard part is over. It isn’t. You can have the most expensive riflescope mounting hardware on the market, but if your eye relief isn’t dialed in, you’re going to have a miserable time. If you’re too close, you’ll see a black ring around your view; if you’re too far, you’ll lose the target the moment you recoil. I’ve seen plenty of new shooters jump the gun and start shooting before they’ve found that sweet spot where the image is full and clear. Take a minute to shoulder the rifle naturally and move the optic forward or back until the view feels seamless.
While you’re at it, you need to understand parallax adjustment explained in plain terms. Parallax is that annoying phenomenon where the reticle seems to shift off the target just because your head moved a fraction of an inch. If your scope has a side parallax knob, use it. If it doesn’t, you’ll just have to learn to work around it. Getting this right is a fundamental part of zeroing your scope basics; if the reticle isn’t sitting true on the target, you aren’t actually zeroing the rifle, you’re just guessing.
The Small Things That Save You a Long Day of Frustration
- Check your torque specs twice. I’ve seen too many folks treat scope rings like they’re tightening a jar of pickles; use a torque wrench or you’ll either have a loose optic sliding around or you’ll crush the tube and ruin a perfectly good piece of glass.
- Keep your eyes on the exit. Once you think you’ve got the eye relief set, move the rifle through its natural recoil path—don’t just sit still—to make sure you aren’t going to get a “scope kiss” on your eyebrow when the shot actually goes off.
- Don’t skip the cleaning before the mount. A tiny speck of grit or a smear of oil under a ring base can shift your zero just enough to make you think your rifle is broken when it’s really just your installation.
- Level your reticle properly. If your scope isn’t sitting dead-level in the mounts, your windage adjustments will never make sense, and you’ll spend the afternoon chasing a ghost that isn’t there.
- Secure your turret caps. If you’re dialing in your shots, make sure those caps are seated right; there’s nothing worse than getting halfway through a session only to realize a bumped cap has knocked your settings off.
The Discipline of the Dial
Don’t rush the mounting process; a scope that isn’t seated perfectly level or tightened to spec will just spend your whole afternoon drifting, no matter how much you tweak the turrets.
Eye relief isn’t a suggestion—it’s a safety check. If you don’t find that sweet spot before you start pulling the trigger, you’re just asking for a bruised eye or a ruined optic.
Zeroing is about patience, not volume. Stop throwing lead at the paper and start focusing on the repeatable mechanics of your setup; if the gear isn’t dialed, the shooter can’t be either.
Getting It Right the First Time
At the end of the day, setting up a scope isn’t about fancy tools or expensive glass; it’s about the discipline you apply before you even pull the trigger. We’ve covered the mechanics of mounting the rings tight, the necessity of finding your true eye relief, and the patience required to dial out parallax. If you skip the small stuff—like double-checking your torque or ensuring your optic is perfectly level—you aren’t just making the job harder, you’re creating unpredictable variables. You want to spend your time at the range focusing on your breathing and your trigger press, not fighting a scope that’s shifting every time you recoil. Do the prep work right, and the rifle will do exactly what you tell it to do.
I’ve spent twenty years watching folks rush through these steps because they’re too eager to start shooting. They treat the setup like a chore to get through, but in this sport, the setup is part of the discipline. When you take the time to treat your gear with respect, you’re building the habits that keep you safe and keep you accurate. Don’t just aim to hit the target; aim to master the process. Once you realize that the unglamorous work is what actually makes the shooting possible, you’ll find a lot more satisfaction in every single shot you take.
Frequently Asked Questions
How often should I be checking my scope mounts to make sure they haven't shaken loose after a few sessions?
You should be checking those screws every single time you pack up your gear. Don’t wait until you’re at the range and realize your zero has drifted two inches to the left. After a new setup, I like to do a quick check after the first few magazines, then every time the rifle goes back in the case. It only takes a minute with a torque driver, and it beats fighting your gear all day.
If I'm using an older rifle I've been restoring, do I need to worry about the scope mount surface being too uneven for a solid zero?
You’re asking the right question. When you’re working on an old action, you can’t just assume the receiver is flat like a modern factory build. If that mounting surface is pitted or uneven, your scope base won’t sit true, and you’ll spend your whole afternoon chasing a zero that won’t stay put. Check it with a machinist’s straightedge first. If it’s off, you might need to lap those bases or shim them properly.
Is it better to zero my scope at a close distance like 25 yards, or should I jump straight to 100?
Look, if you jump straight to 100, you’re likely going to spend an hour chasing groups and getting frustrated. I always recommend starting at 25 yards. It lets you confirm your mounting is solid and your adjustments are actually moving the impact where you expect. Once you’ve got that baseline established, then you can move out to 100. It’s about building a process, not just rushing to the finish line.



