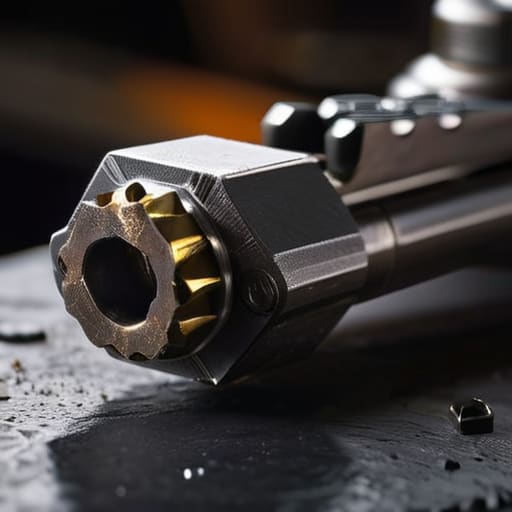
I’ve stood on the Saturday morning line for twenty years, and I can tell you that most people think they know how to maintain their rifles, but they’re usually just moving grease around. I remember a guy a few seasons back—good kid, decent shooter—who spent forty minutes polishing his furniture but left his internals looking like a coal mine. He thought he knew how to clean a bolt carrier group, but when the heat climbed and the brass started flowing, his rifle turned into an expensive paperweight because of a single speck of carbon in the cam pin hole. It wasn’t an accident; it was a habit of neglect.
In this guide, I’m not going to give you any of that high-speed, low-drag nonsense or tell you that you need a specialized kit that costs more than your first car. I’m going to show you the unglamorous, methodical way to strip it down and scrub it until it’s actually reliable. We’ll go over the specific spots where carbon hides and why how you reassemble it matters just as much as the scrubbing itself. If you do this right, the rifle will run when you need it to, and more importantly, it won’t fail you when the range gets hot.
Guide Overview
Tools & Supplies
- Lint-free cloth or shop rags for wiping surfaces
- Small stiff brush or toothbrush for scrubbing crevices
- Bore snake or cleaning rod for internal channels
- CLP or dedicated firearm solvent/lubricant
- Degreaser or solvent for removing heavy carbon buildup
- Nitrile gloves to protect skin from chemicals
Step-by-Step Instructions
- 1. First things first, clear your workspace and lay down some old rags or a dedicated cleaning mat. You don’t want to be scrubbing carbon into your workbench, and you certainly don’t want to lose a small spring in the carpet. Once you’ve got your BCG out of the rifle, verify it is empty by pulling the charging handle and visually inspecting the chamber one more time. I’ve seen too many folks start scrubbing while they’re still wondering if there’s a round in the pipe.
- 2. Break the group down into its basic components. You’re looking at the bolt carrier, the bolt itself, the firing pin, and that small cam pin holding it all together. Take your time with the cam pin; it’s a small piece of steel, but it’s the heart of the timing for your rifle. If that pin isn’t seated right later on, you’re going to have a very bad day at the range.
- 3. Grab your solvent and a good stiff-bristled brush—an old toothbrush works fine if you aren’t trying to be fancy. Start with the bolt carrier itself, focusing on the interior where the bolt sits. That’s where the heavy carbon buildup lives. Scrub until you don’t see any more black flakes coming off on your brush. You want that interior to be smooth to the touch before you move on to the next piece.
- 4. Now, turn your attention to the bolt. This is where most people get lazy, and it’s exactly where the malfunctions start. Use your brush to get into the extractor area and around the lugs. If there is carbon wedged in those crevices, the bolt won’t lock up fully, and that’s how you end up with a failure to battery. Scrub every nook and cranny until the metal looks like it did when it left the factory.
- 5. Don’t forget the firing pin and the bolt cam pin. These are small, but they move fast and they need to move freely. Wipe them down with a clean rag to remove any old, gritty oil. You aren’t looking to soak them in solvent; you just want to remove the sludge and debris that can cause a pin to drag. A sluggish firing pin is a recipe for a light primer strike, and nobody wants to be troubleshooting a dead trigger in the middle of a match.
- 6. Once everything is clean and dry, it’s time to reassemble. As you put the bolt back into the carrier, make sure the extractor is facing the right way. I tell my students to listen for the click as the bolt seats. If it feels gritty or won’t slide home, stop. Don’t force it. It means you missed a spot of carbon somewhere, and you need to go back to step four.
- 7. Finally, apply a very light coat of high-quality lubricant to the friction points—the rails of the carrier and the cam pin area. You aren’t looking to drown this thing in oil; a “wet” BCG is just a magnet for dust and unburnt powder. You want just enough to keep things sliding, but not enough to attract grit. Once you’ve lubed it, cycle the action a few times by hand to make sure the movement is consistent and smooth.
Removing Carbon Buildup With the Right Cleaning Solvent for Firearms
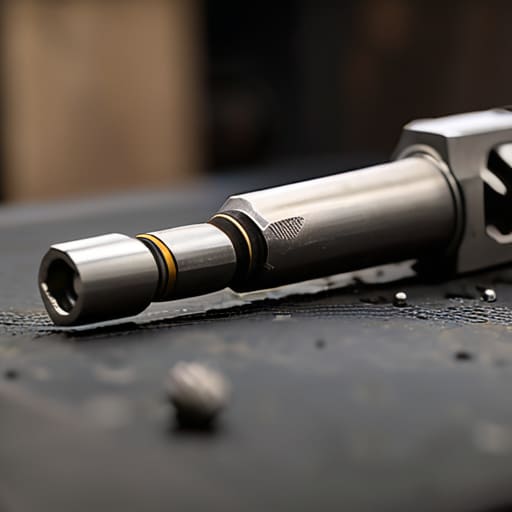
You can’t just soak a BCG in whatever old degreaser you found in the garage and expect it to work. You need a dedicated cleaning solvent for firearms that actually eats through that baked-on crust without stripping the finish off your parts. I’ve seen folks try to scrape carbon off with a screwdriver or a wire brush too aggressive for the metal, and all they do is create scoring. If you’re serious about removing carbon buildup, you want something that penetrates the nooks and crannies of the bolt tail and the lug recesses. Apply the solvent, let it sit for a few minutes—don’t rush it—and let the chemistry do the heavy lifting for you.
Once that carbon is loosened, don’t just wipe it away with a rag and call it a day. Use a nylon brush to get into the tight spots, especially around the extractor. This is a vital part of your bolt carrier group inspection checklist; if you leave even a thin layer of grit behind, it acts like sandpaper on your moving parts. If you miss the grime in the gas key or around the cam pin, you’re essentially inviting a failure when you’re mid-string.
Lubricating Rifle Components to Prevent Firearm Malfunctions
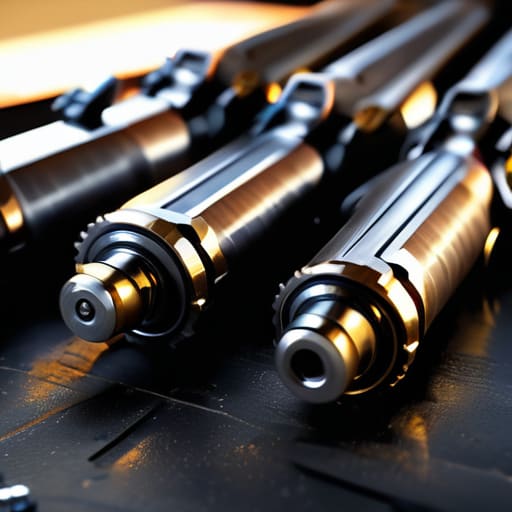
Once you’ve finished removing carbon buildup and the metal is actually clean, you’re at the most critical stage. I’ve seen plenty of shooters go too far in the opposite direction—running a rifle bone-dry because they think “clean is better.” That’s a mistake. A dry bolt carrier group is a recipe for a failure to extract, and that’s when things get unpredictable. When you’re lubricating rifle components, you aren’t just looking for a shine; you’re looking for functional coverage on the high-friction points like the cam pin and the rails.
Don’t just slap oil on the outside and call it a day. You need to focus on the areas where the metal actually rubs together under pressure. I always tell my students that a little bit of high-quality grease on the friction points goes a lot further than a thin film of oil everywhere else. If you’re looking for reliable AR-15 maintenance tips, remember this: lubrication is your insurance policy against a malfunction when the heat rises. Get the distribution right, and the rifle will cycle smooth every single time.
The Little Things That Keep You From a Malfunction
- Don’t just wipe the surface; use a nylon brush to get into the star pattern of the extractor. If carbon builds up in those little teeth, your extractor won’t grab the rim properly, and you’ll be staring at a failure to extract when you really need that round to cycle.
- Pay close attention to the cam pin hole. It’s a high-friction area that takes a beating, so make sure you’re clearing out the old, gritty grease and replacing it with fresh lube. A dry cam pin is a quick way to turn a smooth cycle into a jerky mess.
- Check your firing pin channel every single time. I’ve seen too many people let gunk migrate into that channel, which can cause a light primer strike or, worse, a hangfire. Keep it clean, keep it dry, and don’t over-oil it.
- Inspect the bolt lugs for any signs of uneven wear or pitting. While you’ve got the group stripped down, take a second to actually look at the metal. If you catch a hairline crack or significant wear now, you can fix it or replace it before it becomes a safety issue on the line.
- Use a lint-free cloth for your final wipe-down. I’ve seen folks use old rags that leave tiny fibers behind in the assembly. Those fibers trap moisture and grit, and suddenly you’re fighting the very buildup you were trying to prevent.
The Bottom Line on BCG Maintenance
Don’t rush the scrub; carbon buildup in the bolt tails or the carrier’s key is exactly where a malfunction starts, so make sure you’re actually seeing metal again before you move on.
Lubrication isn’t a suggestion, it’s a requirement—if you run that group dry just to say you “cleaned” it, you’re asking for a failure when the heat of the range kicks in.
Treat these checks as a habit, not a chore, because the time you spend being thorough at your workbench is the time you won’t spend dealing with a jammed rifle on the line.
The Work Doesn't End at the Bench
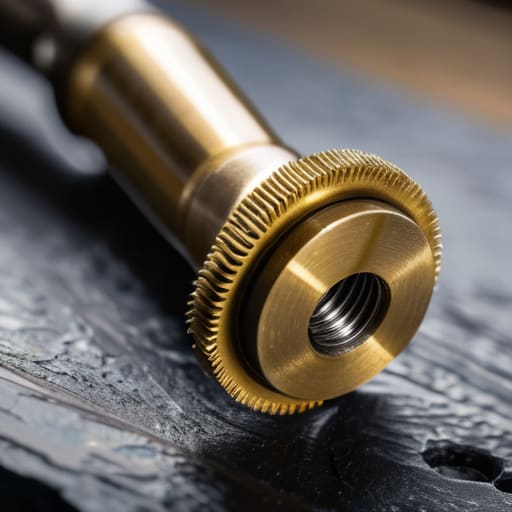
At the end of the day, cleaning a bolt carrier group isn’t about making something look pretty for a photo; it’s about the mechanical reality of what happens when that bolt locks into battery. You’ve used the right solvent to strip away that stubborn carbon, you’ve scrubbed the crevices, and you’ve applied enough lubricant to ensure the parts move smoothly without turning the whole assembly into a sludge trap. If you skip the details—if you ignore the grit in the cam pin or the buildup in the bolt tail—you aren’t just being lazy, you’re inviting a malfunction. Remember, a clean BCG is the difference between a reliable tool and a paperweight when you’re actually on the line.
I’ve spent twenty years watching people rush through these steps because they’re itching to get to the shooting part. But I’ll tell you this: the shooting is much more enjoyable when you aren’t fighting your own gear. Taking those extra ten minutes to do the job right is how you build discipline into your muscle memory. When you treat your maintenance with the same respect you treat your trigger control, the rifle starts to feel like an extension of yourself rather than a machine you’re merely operating. Do the unglamorous work now, and your rifle will take care of you when it matters most.
Frequently Asked Questions
How much lubrication is actually too much before I start attracting grit and carbon?
If you’re looking at your bolt carrier and it looks like you’ve been deep-frying it, you’ve gone too far. I’ve seen plenty of shooters think “more is better,” but all they’re doing is building a magnet for carbon and grit. You want a thin, even film—enough to catch the light, but not enough to pool in the corners. If it’s dripping, it’s wrong. Wipe the excess. Keep it slick, not sludgey.
Do I really need to scrub the firing pin channel, or is that just going to cause more problems?
You scrub it, but you don’t go in there with a wire brush like you’re cleaning a cast-iron skillet. That’s how you get grit or damage the channel. Use a dedicated cleaning rod or a cotton swab soaked in solvent. You want that channel bone-dry and spotless. If carbon builds up in there, it slows the pin down, and a slow strike is how you end up with a light primer strike when you need it most.
If I'm using a heavy solvent to get the carbon off, how do I know I've cleared it all out before I apply the oil?
You don’t guess; you look. Once you’ve finished scrubbing, take a clean, dry patch and run it through the carrier and the bolt itself. If that patch comes out even slightly gray or smelling like burnt powder, you aren’t done. I also like to wipe everything down with a fresh cloth to catch any leftover solvent. You want that metal bone-dry and spotless before the oil touches it. Solvent and oil don’t play well together.




