
Most folks think that if they just run a dry patch through the barrel and give the slide a quick wipe with an oily rag, they’ve done the job. They haven’t. I’ve spent twenty years watching shooters pull a perfectly good piece of machinery off the range, only to have it fail or foul up halfway through their next session because they were just moving dirt around instead of actually removing it. If you want to learn how to clean a pistol properly, you have to stop looking for the shortcut and start looking at the carbon buildup in the crevices you can’t see.
In this guide, I’m not going to give you a sales pitch for some fancy, overpriced cleaning kit that promises to do the work for you. Instead, I’m going to walk you through the unglamorous, repetitive steps that actually matter—from the right way to scrub the bore to the specific spots where grit hides and causes malfunctions. We’re going to focus on the mechanical reality of your firearm, ensuring that when you head to the range, your only concern is your grouping, not whether your tool is going to cooperate.
Guide Overview
Tools & Supplies
- Cleaning rod and bore brush to scrub the barrel
- Patches and applicator to remove residue
- Small nylon brush for cleaning crevices and tight spots
- Rag or microfiber cloth for wiping down surfaces
- Gun cleaning solvent to break down carbon and lead
- Gun oil or lubricant to prevent rust and friction
- Cotton patches (small pack) to soak up moisture and oil
- Nitrile gloves (1 pair) to protect hands from chemicals
Step-by-Step Instructions
- 1. First thing we do is clear the weapon. I don’t care if you just came off the range or if you think it’s empty; you prove it’s empty. Remove the magazine, pull the slide back, and physically look into that chamber. I’ve spent twenty years watching people skip this because they “know” it’s clear, and that’s exactly when things go sideways. Once you’ve verified there’s no brass in there, set the magazine aside on your workbench.
- 2. Field strip the pistol according to your manual. You don’t need a gunsmith’s kit for this, but you do need a steady hand. Take out the slide, the barrel, and the recoil spring assembly. Lay everything out on a clean, lint-free cloth. If you’re working on a workbench, make sure you aren’t working over a pile of metal shavings or grit; you don’t want to accidentally introduce debris into the action while you’re trying to fix it.
- 3. Start with the bore. Take a cleaning rod and a patch with a bit of solvent on it, and run it through the barrel. You aren’t just looking for a shiny surface; you’re looking to pull out the copper and carbon buildup. If the patch comes out even slightly dirty, you aren’t done. Keep going until that patch comes out clean as a whistle. If you leave carbon in the rifling, you’re just inviting accuracy issues down the road.
- 4. Now, address the slide and the frame. Use a nylon brush—not a wire brush unless you really know what you’re doing—to scrub the carbon off the slide rails and the breech face. Use a little bit of solvent on the brush to break down the old, burnt oil. Pay close attention to the areas where the metal parts rub together. That’s where the real grime lives, and that’s what causes a failure to cycle.
- 5. Wipe everything down with a clean rag. You want to remove all the old solvent and the loosened grit you just scrubbed loose. Once the parts are dry and clean, it’s time for the most important, unglamorous part: lubrication. Don’t go overboard like you’re greasing a tractor. You only need a tiny drop of oil on the primary friction points—the slide rails and the exterior of the barrel. Too much oil is just a magnet for dust and unburnt powder.
- 6. Reassemble the pistol and perform a function check. Put the recoil spring back in, slide the barrel home, and snap the slide back on. Once it’s back together, cycle the action a few times to make sure everything moves smoothly. Finally, check your sights and ensure the trigger reset feels crisp. If anything feels “crunchy” or sluggish, you likely missed a spot or used too much oil, so take it apart and start again.
Essential Firearm Maintenance Tools and Safety Precautions
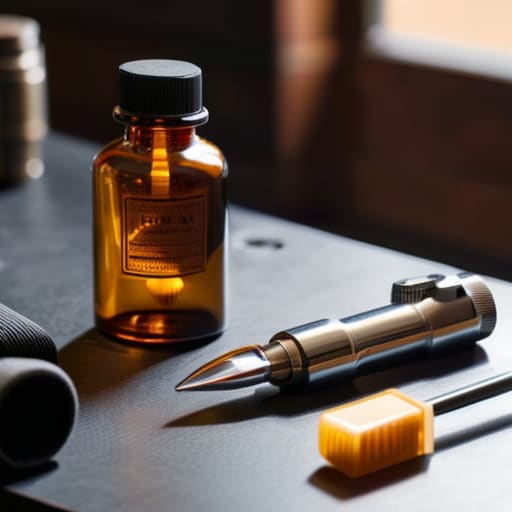
Before you even crack open a bottle of solvent, you need to set your workspace up right. I’ve seen too many folks trying to scrub a slide on a kitchen table covered in food crumbs, or worse, using rags that shed lint into the action. You want a dedicated tray or a clean, non-porous mat. When it comes to your firearm maintenance tools, don’t go buying a massive, overpriced kit from a big-box store. You really only need a decent set of nylon brushes, some high-quality patches, and a bore snake for the quick jobs. The most important thing, though, is knowing the difference between your cleaning solvent vs lubricant. Solvent breaks the grit down; oil keeps things moving. If you swap those roles, you’re going to have a very expensive paperweight on your hands.
Lastly, let’s talk about the stuff that keeps you in the game: safety precautions for firearm cleaning. I don’t care how much you’ve shot that pistol; treat it like it’s loaded until you’ve physically removed the magazine and locked the slide back. I’ve spent twenty years watching people get complacent because they’re “just cleaning.” That’s when the mistakes happen. Keep your workspace well-ventilated, too. Those fumes aren’t just unpleasant; they’re a sign you’re using too much product. Work slow, stay focused, and keep your eyes on the mechanics.
Removing Carbon Buildup and Preventing Rust on Handguns
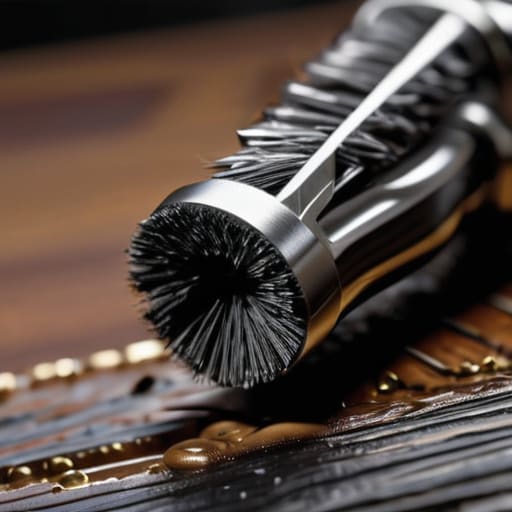
If you’ve just finished a long session at the range, you’re going to see that black, crusty residue clinging to the slide and around the breech face. That’s carbon, and it doesn’t just look messy; it acts like sandpaper on your moving parts if you let it sit. When you’re removing carbon buildup, don’t just go at it with a rag and hope for the best. I’ve seen too many folks try to scrub it off dry, which only smears the grit deeper into the frame. Use a dedicated brush—nylon is usually fine for the exterior, but you’ll want something stiffer for those tight crevices where the carbon likes to hide.
Once the heavy lifting is done, you have to address the chemistry of it all. There is a massive difference between a cleaning solvent vs lubricant, and confusing the two is a mistake I see way too often. Solvent is there to break down the mess, but it’s also aggressive; it’s designed to strip everything off, including the oil that keeps your metal healthy. If you leave a slide bone-dry after a deep clean, you aren’t just asking for friction, you’re inviting oxidation. Always follow your solvent with a light, even coat of oil. That is the real secret to preventing rust on handguns, especially if you live in a humid climate or keep your gear in a safe.
The Small Things People Always Miss
- Watch your lubricant. I see plenty of folks thinking more is better, but if you drench your slide in oil, you’re just creating a magnet for carbon and grit. You want a film, not a puddle. Apply it to the friction points, then wipe away the excess.
- Don’t neglect the recoil spring. It’s easy to focus on the shiny barrel and forget the parts that actually make the gun cycle. If that spring is weak or fouled with old grease, your reliability goes right out the window.
- Check your magazine internals. A clean pistol won’t fix a dirty magazine. Take the floorplate off every once in a while and wipe down the spring and the follower. If the feed lips are dirty, you’re going to have malfunctions regardless of how clean the bore is.
- Inspect your grip texture. It isn’t just about aesthetics; sweat and skin oils work their way into those grooves and turn into a nasty, slippery sludge over time. If your hands are sliding, your fundamentals are going to follow.
- The final check is the most important one. Once you think you’re done, clear the action one more time. Physically and visually inspect the chamber. I’ve seen too many people get rushed by the excitement of a finished job and skip the very step that keeps everyone on the line safe.
The Bottom Line
Don’t mistake a wipe-down for a cleaning; if you aren’t getting into the crevices where the carbon lives, you’re just setting yourself up for a malfunction later.
Treat your tools with as much respect as the firearm itself—using the wrong solvent or a dirty patch is just a fast way to ruin a good finish or a tight tolerance.
Maintenance isn’t a chore you do when the gun feels “dirty,” it’s a procedural habit that ensures the piece is ready when you actually need it to work.
The Work Doesn't End at the Range
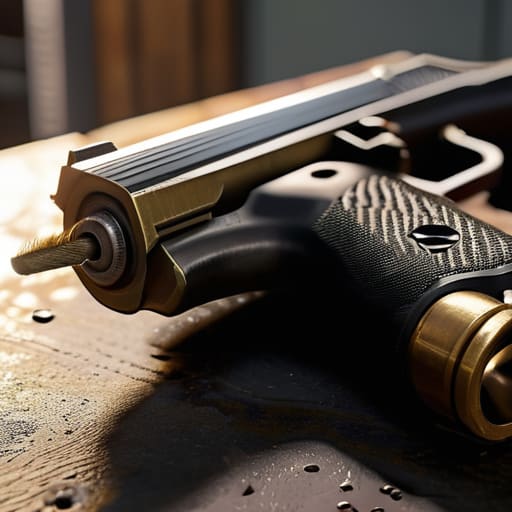
At the end of the day, cleaning a pistol isn’t about making it look pretty for a display case; it’s about ensuring that when you reach for it, the mechanics actually do what they are supposed to do. We’ve talked about getting the carbon out of the slide, scrubbing the bore, and applying just enough oil to keep the metal from pitting without turning your grip into a slippery mess. If you’ve skipped the detail work—if you didn’t check the recoil spring or clear out the grit from the trigger assembly—you haven’t actually finished the job. You’ve just moved the dirt around, and that is exactly how reliability issues start.
I know it’s tedious. I’ve spent many a Saturday morning watching folks rush through this part just so they can get back to the firing line. But I tell everyone the same thing: the shooting is the reward, but the maintenance is the foundation of the sport. When you treat your equipment with this kind of discipline, you aren’t just being a meticulous owner; you are practicing the habits that keep you and everyone else on the line safe. Do the unglamorous work correctly, do it every single time, and your pistol will take care of you when it matters most.
Frequently Asked Questions
How often am I actually supposed to do this—is it after every range trip, or can I wait until the gun looks dirty?
If you’re waiting until the gun “looks” dirty, you’ve already waited too long. I’ve seen plenty of folks leave a layer of carbon to sit overnight, and that’s exactly how moisture finds its way into the grit and starts the rusting process. My rule is simple: if you took it to the range, you clean it when you get home. Make it a habit, like checking your chamber. Don’t make it a chore.
I’ve heard people say not to use too much oil; how do I know if I’ve gone overboard and made a mess of the internal parts?
You’ve gone overboard if your pistol feels “slushy” or if you see oil weeping out of the seams after you’ve put it away. A little lubrication on the slide rails and the barrel is necessary, but you aren’t trying to drown the mechanism. If there’s enough oil to catch lint from your range bag or attract grit from the air, you’ve done too much. Wipe away the excess. You want a film, not a puddle.
Is it okay to use standard household cleaners on the frame, or am I going to strip the finish off if I'm not careful?
Hold on there. Don’t reach for the Windex or the degreaser just yet. If you’re working on a polymer frame, most household cleaners are fine, but if you’ve got a steel frame with a blued or nitrided finish, you’re asking for trouble. Harsh chemicals can strip that protective layer right off, leaving you with nothing but rust waiting to happen. Stick to a mild soap and water solution or a dedicated firearm cleaner. Keep it simple.




