I spent twenty years watching folks walk down the range line, and I’ve seen more people waste money on high-end optics and fancy pellet tins than I care to count, all while their fundamentals are falling apart. They think buying a more expensive setup is the shortcut, but they’re missing the point entirely. If you’re looking for a magic bullet or a piece of gear that does the work for you, you’re in the wrong place. Learning how to use an air rifle for practice isn’t about the hardware you can show off; it’s about the boring, repetitive mechanics that most people try to skip.
I’m not here to sell you on a lifestyle or a brand. What I’m going to give you is the unglamorous truth about building a repeatable process. We’re going to talk about the stuff that actually matters: your trigger control, your breathing, and the discipline of the dry fire. I’ll show you how to turn a simple afternoon in the backyard into a session that actually moves the needle on your accuracy. We’ll do it the right way, the slow way, and the way that keeps you safe.
Mastering Air Rifle Shooting Fundamentals Before You Pull the Trigger
Before you even think about squeezing that trigger, you need to understand that an air rifle is a precision tool, not a toy. I’ve seen plenty of folks treat these things like they’re just plinking at tin cans in the backyard, but if you want to actually see progress, you have to respect the mechanics. Most people skip the boring stuff, but air rifle stance and breathing are what separate a hobbyist from someone who actually knows what they’re doing. If your feet aren’t set and your lungs aren’t controlled, you’re just practicing how to miss.
I always tell my students that consistency is your best friend. You don’t need a thousand-dollar setup to see results; in fact, some of the best low cost shooting training happens right in your living room by focusing on the small, repetitive movements. Start with dry-firing—if your rifle is safe and cleared—to learn how your body reacts to the trigger pull. You aren’t looking for speed here; you’re looking for a repeatable rhythm. Once you can hold a steady position without your heart rate dictating your shot placement, then you’re ready to start adding pellets to the mix.
Low Cost Shooting Training That Actually Builds Real Muscle Memory
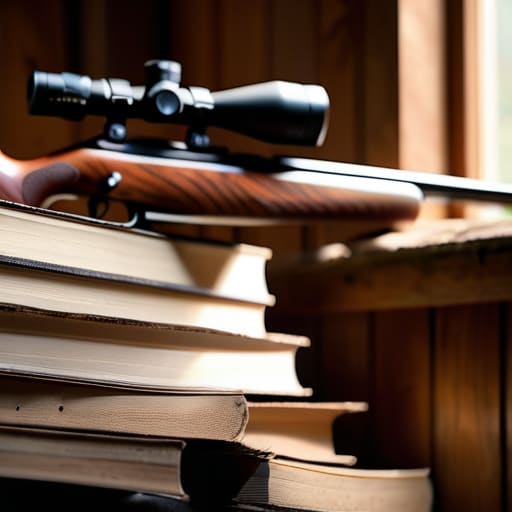
Most people think they need to spend a fortune on high-end pellets or a trip to a professional range to get better, but that’s just not how it works. Real progress happens in the quiet moments at home. If you want to see actual results, you need to focus on low cost shooting training that emphasizes repetition over volume. I’ve seen shooters burn through hundreds of dollars in ammunition just to chase groups, only to realize they were reinforcing bad habits the whole time. Instead, grab a cheap paper target and a stack of books to steady your elbows. You don’t need a fancy setup to master your air rifle stance and breathing; you just need a consistent environment where you can fail without wasting money.
The secret to improving marksmanship with air rifles isn’t about how hard you pull the trigger, but how little you move before you do. I tell my students to run through dry-fire drills—trigger pulls without a pellet in the chamber—until the movement is as natural as breathing. When you focus on the mechanics of the shot rather than the impact on the paper, you start building the kind of muscle memory that holds up under pressure.
The Maintenance and Routine That Keeps Your Practice Meaningful
- Treat your air rifle like a precision tool, not a toy. If you’re using a spring-piston model, you need to be mindful of your compression; if it’s a PCP, you better be obsessive about your pressure gauges. A tool that isn’t maintained is just a way to practice bad habits.
- Establish a dedicated “dry fire” zone that isn’t your living room floor. Even though there’s no powder, you still need to respect the mechanics. Set up a specific spot where you can work on your trigger squeeze without the distraction of a cluttered house or a wandering pet.
- Don’t skip the cleaning, even if you aren’t shooting live rounds. Dust and grit in an air rifle can mess with your seals and your accuracy faster than you’d think. I’ve seen too many folks neglect the small stuff, only to wonder why their groups are opening up after a month.
- Use a consistent pellet. If you’re swapping brands every time you go to the range, you aren’t practicing shooting; you’re practicing guesswork. Find a weight and a brand that works for your specific rifle, and stick with it until you’ve mastered it.
- Keep a logbook, and I don’t mean just your scores. Write down how the rifle felt, if the weather was humid, or if you felt a bit stiff that morning. In my experience, the “why” behind a bad session is usually found in the details you didn’t bother to write down.
The Bottom Line
Don’t mistake a cheap air rifle for a toy; treat it with the same mechanical respect as a centerfire, because bad habits learned on a pellet gun always follow you to the real thing.
Focus on the repetitions that don’t involve hitting the bullseye—the stance, the grip, and the trigger reset—because those are the mechanics that actually build a shooter.
Use the low cost of airgun ammunition to your advantage by shooting until the movement is boringly consistent, rather than just shooting until you’re tired.
Getting the Most Out of Your Practice
At the end of the day, using an air rifle for practice isn’t about how many holes you can put in a paper target in a single afternoon. It’s about the discipline of the process. We’ve talked about mastering your fundamentals, keeping your stance consistent, and using low-cost drills to build that real muscle memory that doesn’t fail you when the pressure is on. If you aren’t paying attention to the small things—your breathing, your trigger squeeze, and even the way you clear the action when you’re done—then you aren’t really practicing; you’re just making noise. Remember, consistency is the only shortcut we have in this sport.
I’ve spent twenty years watching people on the line, and the ones who eventually move on to the big calibers are always the ones who respected the small tools first. An air rifle is a precision instrument, not a toy, and treating it with that level of respect will serve you well regardless of what you eventually shoot. Don’t rush to get to the “real” guns. Focus on the quiet, repetitive work happening right now in your living room or backyard. If you get the boring stuff right today, the accuracy will take care of itself tomorrow.
Frequently Asked Questions
How often do I actually need to clean an air rifle compared to a rimfire or centerfire, and what's the risk of over-oiling the seals?
You don’t clean an air rifle for carbon buildup like you would a .22 or a centerfire; you clean it for the seals. If you’re shooting a spring piston, a light wipe of the barrel and a tiny bit of silicone oil on the seals every few hundred shots is plenty. But listen close: don’t go overboard. Over-oiling is a real way to turn a precision tool into a messy, inaccurate sludge-maker. Keep it dry, keep it clean, and keep it simple.
Can I use the same pellet for practice that I use for actual hunting, or am I going to ruin my groupings by being inconsistent?
Look, I’ve seen folks try to save a buck by using cheap plinking pellets for everything, and it’s a mistake. If you want to build real muscle memory, you need consistency. If you’re practicing with one weight and one shape, but then switch to a heavy hunting pellet in the field, your point of impact is going to shift. Use the same pellet for practice that you intend to use when it counts. Consistency is everything.
What are the specific safety checks I need to perform on an air rifle before I even think about loading a pellet?
Before you even touch a pellet, you need to treat that air rifle like it’s loaded. First, physically inspect the breech to ensure it’s clear of any obstructions or old debris. Check your seals and O-rings; a leaking seal isn’t just a performance issue, it’s a mechanical failure waiting to happen. Finally, run your eyes over the cocking mechanism. If it feels sticky or off, don’t force it. Check the hardware, then check it again.




