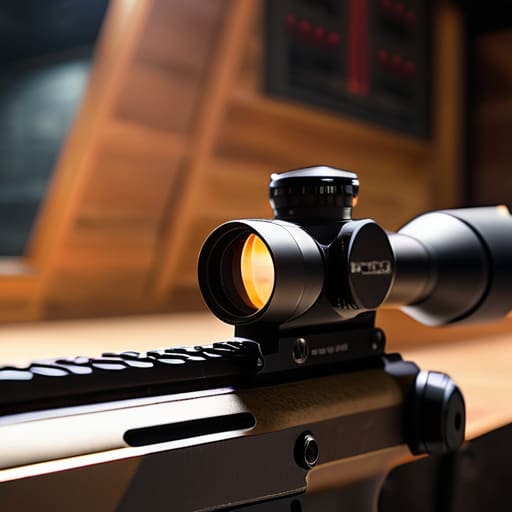
I watched a guy last Saturday spend forty minutes adjusting his windage knobs, swearing at his optic, only to realize he hadn’t even tightened the mounting screws properly. It’s a common sight on my line: people think they’re struggling with the physics of light, but they’re actually just fighting poor fundamentals. Most folks treat learning how to zero a red dot like a magic trick where you just turn a screw and hope for the best, but the truth is much more procedural than that. If you don’t respect the setup, the math won’t matter.
I’m not here to give you some fancy, high-speed tactical nonsense that only works in a movie. I want to show you how to do this the right way—the way that sticks. We’re going to walk through the actual, unglamorous steps of preparing your rifle, establishing a solid rest, and making those adjustments without wasting a box of expensive ammunition. By the time we’re done, you’ll understand that mastering how to zero a red dot isn’t about luck; it’s about disciplined repetition and getting your basics right the first time.
Guide Overview
Tools & Supplies
- Target (paper or cardboard for impact marking)
- Cleaning cloth (to wipe lens before sighting)
- Firearm (equipped with red dot sight)
- Ammunition (1-2 boxes of appropriate caliber)
Step-by-Step Instructions
- 1. Before you even touch a screw, you need to make sure that optic is actually sitting right on the rail. I’ve seen plenty of folks spend an hour chasing a zero only to realize their mount was slightly canted to begin with. Get your torque wrench out, seat the optic firmly, and ensure the mounting screws are tightened to the manufacturer’s spec. If the foundation isn’t solid, you’re just chasing ghosts.
- 2. Set up a target at about 25 yards to start. I know, it’s not a long-range precision match, but trying to zero a red dot at a hundred yards when you haven’t even checked your mechanical alignment is a recipe for frustration. Use a stable rest—a sandbag or a dedicated shooting bench—because if you’re fighting the recoil of a shaky hand, you’ll never get a consistent group.
- 3. Now, fire a three-shot group right at the center of the target. Don’t try to aim for perfection on the first shot; just get a tight cluster. Once those three rounds are in the paper, take a step back and look at where they landed in relation to your dot. You aren’t looking for a single hole; you’re looking for the center of that group.
- 4. This is where the patience comes in. Look at your turret caps—usually, the windage is on the side and elevation is on top. Remember the rule: move the adjustment in the direction you want the impact to go. If your shots are landing low, you need to dial up. If they’re landing left, you dial right. Don’t go overboard; just make a small, deliberate adjustment and keep it steady.
- 5. Repeat that three-shot grouping process at least two more times after your adjustments. It’s tempting to fire one shot, see it hit, and think you’re done, but that’s how you end up with a zero that drifts the moment you actually need it. You want to see that group tighten up around the point of aim.
- 6. Once you think you’ve got it, move the target out to 50 yards for a final confirmation. If you can hold that group within a reasonable margin at 50, you’ve done the work properly. If it starts wandering, go back to step one and check your mounting torque again. Most “bad” zeros are actually just loose screws.
Mastering Red Dot Sight Adjustment Screws and Mechanical Offset Explained
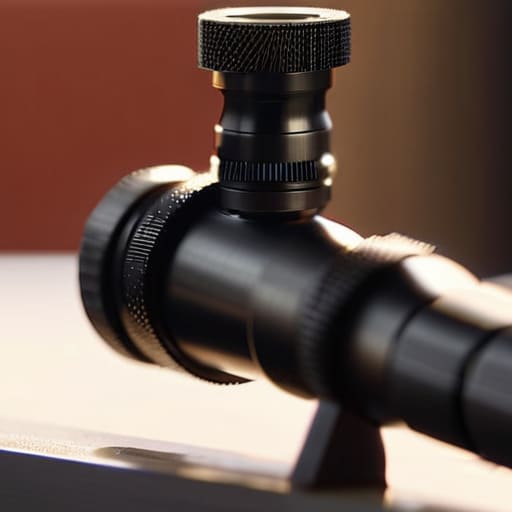
Once you’ve got your rifle steady, you need to understand what you’re actually doing when you turn those dials. Most people treat the red dot sight adjustment screws like they’re just turning a knob, but you’re actually moving the internal reticle relative to the lens. It’s a mechanical process, and it requires patience. If you’re making tiny tweaks, don’t rush. I’ve seen plenty of shooters get frustrated because they didn’t account for the click value of their specific optic. If you don’t know exactly how many inches one click moves your point of impact, you’re just guessing, and guessing isn’t a training method.
You also need to keep mechanical offset explained in the back of your mind as you work. Even with a perfect zero, your bullet isn’t traveling through the center of the glass; it’s traveling down the bore. At close distances, that gap between the optic and the barrel means your point of aim and your point of impact won’t perfectly overlap. It’s not a mistake in your zeroing—it’s just physics. Understanding that mechanical relationship is what separates a hobbyist from someone who actually knows their tool.
Zeroing at 25 Yards Bullet Trajectory and Point of Impact
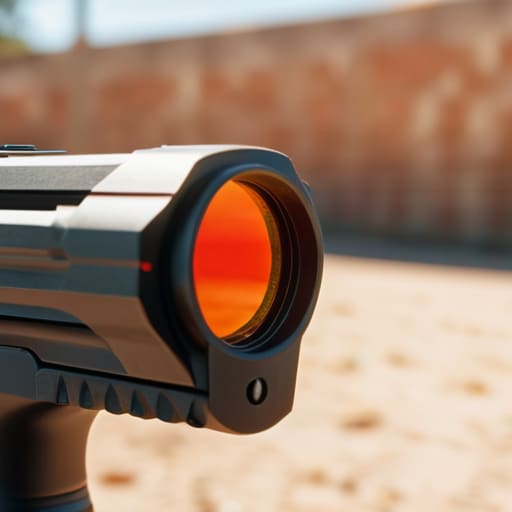
Now, I see a lot of folks head straight for the 50 or 100-yard line because they think that’s where the “real” work happens. But if you’re starting from scratch, zeroing at 25 yards is the smartest move you can make. At this distance, the arc of your shot is relatively flat, which means you aren’t fighting a massive climb or drop just to get a reading. It allows you to settle the relationship between your eye and the glass without the variables getting out of hand. You want to establish a baseline here so you aren’t chasing ghosts later on.
Once you have that initial group, you need to understand how bullet trajectory and point of impact will behave as you stretch that distance out. A zero that looks perfect at 25 yards might result in a shot landing low at 50 if you haven’t accounted for the angle of your barrel. I always tell my students to spend a few extra minutes confirming zero with a rest before they start moving targets or increasing distance. If your foundation is shaky at the short range, everything else you do is just guesswork.
Five Ways to Stop Guessing and Start Hitting
- Clean your glass before you even touch the adjustment dials. I’ve seen too many folks chasing a phantom zero only to realize they were looking through a smudge of fingerprint oil or a bit of CLP. If the lens isn’t clear, your point of impact is a lie.
- Use a bench rest or at least something solid to steady the rifle. This isn’t a tactical drill; it’s a calibration. If you’re fighting the recoil of a shaky stance while trying to dial in your clicks, you’re just practicing bad habits. Get the rifle steady so the only variable is the optic.
- Don’t over-correct. If you’re two inches off, don’t start cranking the windage like you’re trying to tighten a rusted bolt. Learn exactly how many MOA or MILs each click on your specific optic moves, and do the math before you turn the screw.
- Check your mounting torque. There is no sense in spending twenty minutes dialing in a perfect zero if your mounting screws are loose enough to let the optic creep under recoil. A loose optic is just a very expensive way to miss everything.
- Verify the zero with a different load if you can. If you zero with a light, high-velocity round and then switch to a heavy subsonic grain, that point of impact is going to wander. Pick your training ammo, stick to it, and zero for the tool you actually intend to use.
The Bottom Line on Getting It Right
Don’t rush the process; a rushed zero is just a way to waste ammunition and frustration, so take the time to confirm your mechanical adjustments are actually biting before you start pulling the trigger.
Remember that your zero is only as good as your fundamentals, meaning if your stance or your grip is inconsistent during the zeroing process, you’re just teaching yourself bad habits.
Treat your optic with respect by checking your mounts and screws after every session, because a zero that shifts due to a loose screw isn’t a gear failure—it’s a maintenance failure.
Getting It Right the First Time
At the end of the day, zeroing a red dot isn’t about magic; it’s about the discipline of the process. We’ve covered how to manage those adjustment screws without stripping them, why you need to account for mechanical offset, and why starting at 25 yards is the only way to truly understand your trajectory. If you skip the fundamentals—like ensuring your mounting screws are torqued properly or failing to account for the height of your optic above the bore—you’re just chasing a moving target that doesn’t exist. Don’t rush the math or the mechanics. Take the time to do the work on the bench so you don’t have to do it under pressure when it actually matters.
I’ve spent twenty years watching people walk onto my line, and the ones who succeed aren’t necessarily the best shots; they are the ones who respect the equipment. A zeroed optic is a tool, but a disciplined mind is what makes that tool effective. When you walk out to the range next weekend, don’t just aim and pray. Trust the steps we just walked through, verify your work, and treat the maintenance of your gear with the same seriousness as the shot itself. Get the unglamorous parts right, and the rest of the sport will take care of itself.
Frequently Asked Questions
What do I do if I turn the adjustment dials and the point of impact doesn't move at all?
If you’re cranking those dials and the group isn’t budging, stop. You’re likely fighting a mechanical issue, not a sighting one. First, check if your mounting screws are loose; if the optic is shifting in the rail, you’re just chasing your tail. If the mounts are tight, you might have a stripped adjustment screw or a seized internal turret. Don’t force it—you’ll only strip the threads further. When in doubt, it’s time for a bench tech.
How much does the height of my optic above the barrel actually matter when I'm trying to get a clean zero?
It matters more than most folks realize. We call it height over bore, and if you ignore it, you’re going to fight your optic at close range. If that red dot is sitting high on your rail, your point of impact is going to be low while the bullet is still climbing. You aren’t just zeroing for the distance; you’re accounting for the physical gap between your eye and the barrel. Get it right now, or you’ll be chasing shots later.
Should I be zeroing for my distance out at the range, or is there a way to set it up so it works for both close-up and long-range shots?
You can’t have it both ways without making a choice. If you zero for long range, you’re going to see significant height-over-bore issues when things get close. If you zero for close-up, you’ll be fighting the trajectory on your long shots. My advice? Pick a distance that matches where you actually intend to use the tool. Don’t try to chase a “magic” zero; just pick a distance, master the hold-over, and be consistent.




