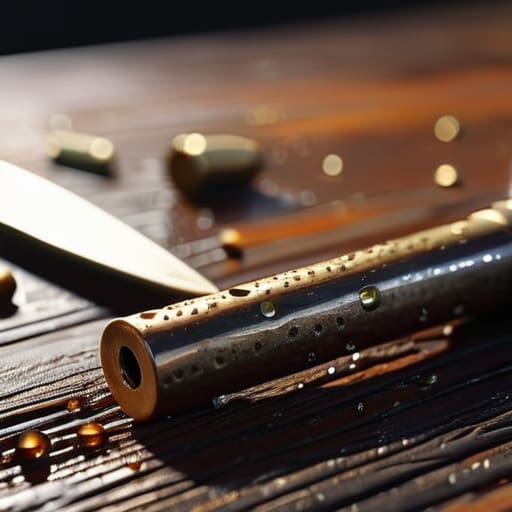
I was standing in a guy’s garage three years ago, watching him try to dry out a submerged shotgun with nothing but a hair dryer and a prayer. He thought he could just wipe the surface down and be fine, but I could already see the pitting starting in the crevices of the receiver. If you think a quick rinse and a rag is enough, you’re asking for trouble. Learning how to clean a firearm that has been in a flood isn’t about making it look pretty for the range; it’s about stopping the microscopic rot that starts the second that dirty water hits your steel.
I’m not going to give you a fancy, theoretical lecture. I’m going to walk you through the actual, grit-under-your-fingernails process of stripping it down, flushing out the silt, and ensuring every single drop of moisture is gone before you even think about applying oil. We’ll cover the specific solvents that actually work and the mistakes that turn a salvageable tool into a paperweight. If you follow these steps, you might just save your gear from the rust that’s already looking for a way in.
Guide Overview
Tools & Supplies
- Bore brush and cleaning rod to scrub internal channels
- Small picks or dental tools to remove debris from crevices
- Microfiber cloths for drying and wiping surfaces
- Compressed air canister to blow out moisture from tight spots
- CLP (Cleaner, Lubricant, Protectant) 1 bottle
- Solvent (dedicated firearm degreaser) 1 bottle
- Gun oil or heavy grease 1 small container
- Isopropyl alcohol (90%+) 1 bottle
Step-by-Step Instructions
- 1. First things first, you need to get that firearm out of the water and into a clean, dry workspace. Don’t just grab a rag and wipe the outside; you need to strip it down as far as you reasonably can. Take out the magazine, remove any optics if they aren’t secured, and pull the trigger assembly if your model allows it. You can’t fight the moisture if it’s hiding inside the action where you can’t see it.
- 2. Once you’ve got it disassembled, give everything a thorough rinse with fresh, clean water. I know that sounds backwards, but if your gear was sitting in brackish river water or salt water, you have to flush out the grit and the minerals first. Use a soft brush—a dedicated nylon one is best—to scrub away any silt or debris lodged in the crevices. If you leave that mud in there, it’ll act like sandpaper the next time you try to cycle the bolt.
- 3. Now comes the part where most people get lazy, and it’s where the rust wins. You need to dry every single component completely. I prefer using a compressed air canister to blow out the tight spots, like the trigger housing and the magazine well, but you can use a clean, lint-free cloth if you have to. The goal is to ensure there is zero residual moisture left in any of the internal channels.
- 4. Get your cleaning solvents ready and start a deep soak of the metal parts. I like to use a high-quality solvent that’s designed to break down heavy oils and grime. Work the solvent into the rails, the bolt carrier, and the barrel. You aren’t just looking for dirt; you are looking to neutralize any contaminants that the floodwater left behind. Let it sit for a few minutes, then wipe it clean until the metal looks bare.
- 5. This is the most critical step: the oil. Once the metal is clean and bone-dry, you need to apply a heavy layer of a high-quality gun oil or a specialized corrosion inhibitor. Don’t be stingy here. You want to coat every surface that isn’t a contact point for your skin. For parts that were submerged, I usually go a little heavier than I would for a standard weekly cleaning.
- 6. Reassemble the firearm slowly and check the function. As you put it back together, pay close attention to how the parts move against each other. If anything feels gritty or catches, you didn’t get all the silt out, and you need to go back to step two. Once it’s back together, cycle the action a few times to ensure the oil is distributed evenly across the working surfaces.
- 7. Finally, don’t just toss it back in a case. Store the firearm in a climate-controlled environment with a good desiccant pack. If you’ve just been through a flood, the humidity in your house might be higher than usual, too. I always tell people to check their work a few days later; if you see even a hint of orange spotting, you didn’t get it dry enough the first time.
Removing Silt From Gun Mechanisms Before It Grinds Everything Down
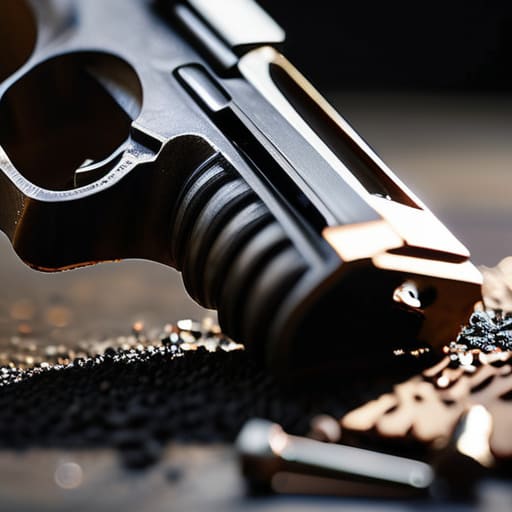
The real trouble isn’t just the water; it’s the grit that comes with it. If your gear was sitting in floodwater, it wasn’t just wet—it was likely swimming in fine silt and microscopic debris. When you start moving parts around without addressing that sediment, you aren’t cleaning; you’re essentially turning your action into a grinding stone. My first rule for removing silt from gun mechanisms is to never, under any circumstances, force a bolt or a slide closed if it feels even slightly “crunchy.” You’ll score the finish and ruin the tolerances before you even realize what happened.
I’ve seen plenty of folks try to spray a little oil on a dirty action and call it a day. That’s a mistake. You need to use a dedicated firearm cleaning solvent for water damage to flush the grit out of the tight spots—the trigger group, the magazine well, and the rails. Use a soft nylon brush to work the solvent into those crevices, then blow it out with compressed air or a clean rag. You want to see that liquid come out clear. If you leave even a tiny amount of silt behind, you’re just trapping an abrasive inside your mechanism.
Inspecting Barrel for Corrosion and Preventing Rust on Gun Parts
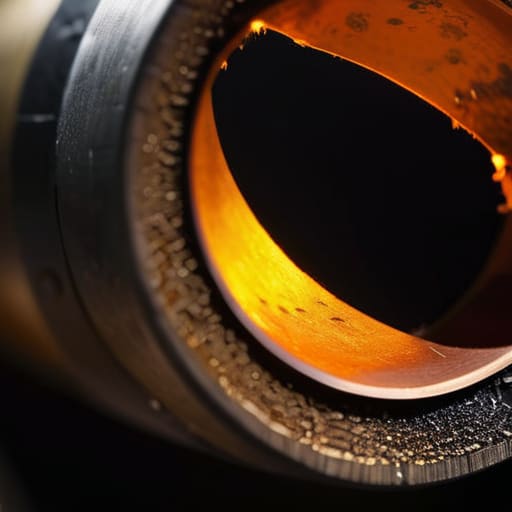
Once you’ve cleared out the grit, you need to look closer. I always tell my students that the damage you can’t see is the kind that ruins a tool. Take a bore light—a good, bright one—and shine it through the bore. You’re inspecting the barrel for corrosion by looking for any tiny spots of pitting or discoloration. If the water sat in there for even a few hours, that moisture is looking for a way to eat into the rifling. If you see anything that isn’t a smooth, consistent shine, you’ll need to spend some extra time with a brass brush and some high-quality firearm cleaning solvents for water damage to ensure you aren’t just masking the problem.
After you’re sure the metal is clean, don’t just wipe it down and call it a day. The real work is in lubricating firearm components after a flood to create a barrier. I like to use a heavy, high-quality oil and let it sit on the critical surfaces for a bit before wiping away the excess. You want a thin, even coat that stays put. If you skip this, you’re basically inviting the oxidation to start the moment you put the gun back in the safe.
Five Things Most People Forget When the Water Recedes
- Don’t trust a quick wipe-down. If that water had salt or silt in it, it’s already found its way into the tightest tolerances of your trigger group and your action. You need to get those parts out and see what’s hiding in the crevices.
- Check your magazines immediately. Water gets trapped inside the spring housing, and if you don’t flush that out and re-oil them, you’ll be dealing with a feeding failure or a rusted spring before the month is out.
- Soak your optics and electronics if they were submerged. If you have a red dot that went under, don’t just wipe the glass; check the battery compartment for any sign of moisture or mineral buildup that could short the circuit.
- Use a high-quality solvent, not just oil. You need something that actually breaks down the organic matter and fine sediment that water carries in, otherwise you’re just lubing the grit and creating a grinding paste.
- Reassemble and run a dry function check. Once you think you’ve cleaned it, cycle the action and test the trigger several times without any ammunition in the room. If it feels even slightly “crunchy,” you missed a spot of grit somewhere.
The Bottom Line on Flood Recovery
Speed is your best friend here; the longer that silt and moisture sit in the crevices of your action, the more you’re just inviting permanent damage.
Don’t skip the deep inspection of the small parts—it’s the springs and pins you can’t see that’ll fail you when you actually need the tool to work.
If you aren’t seeing a clean, bright surface after you’ve scrubbed, don’t just hope for the best; stop and figure out where the grit is hiding before you try to run it.
The Long Game After the Water Recedes
At the end of the day, salvaging gear from a flood isn’t about a quick wipe-down; it’s about the work you do that nobody sees. You’ve stripped the silt out of the tight spots, you’ve scrubbed the bore to make sure no grit remains to score your rifling, and you’ve applied enough oil to ensure the moisture is truly driven out. If you skipped the deep cleaning of the trigger group or ignored the fine grit in the action, you’re just waiting for a mechanical failure down the road. Remember, the goal isn’t just to make the metal look shiny again; it’s to ensure that every moving part is free of the debris that causes jams and malfunctions when you need it most.
I’ve seen plenty of folks rush this process because they’re eager to get back to normal, but in this sport, patience is your best safety tool. A firearm is a precision machine, and after it’s been submerged, it requires your full attention to return it to a reliable state. Treat the cleaning process with the same discipline you use when you’re on the firing line. If you take the time to do the unglamorous work now, you aren’t just saving a piece of equipment—you are maintaining the integrity of your gear and your safety. Get the job done right the first time, and you won’t have to worry about the consequences later.
Frequently Asked Questions
Should I use a specialized solvent for the silt, or is standard CLP enough to get the grit out of the action?
Standard CLP is fine for lubrication and light cleaning, but it isn’t a miracle worker against silt. If you’ve got grit in the action, you need a dedicated degreaser or a heavy-duty solvent first. You want to break down the muck and flush it out entirely before you even think about applying more CLP. If you just layer oil over silt, you’re essentially making a grinding paste that’ll chew up your internals. Flush it first.
If I find pitting in the barrel during my inspection, is that rifle still safe to shoot, or is it a total loss?
Pitting is a tough one. If it’s just light surface marks, you’re likely fine, but you’ll see a drop in accuracy. If those pits are deep or look like “frosting” inside the bore, you’ve got a problem. Deep pitting can cause unpredictable pressure or even structural failure. I don’t like guessing with pressure. If you can feel it with a fingernail, take it to a professional gunsmith before you ever pull the trigger.
How long should I leave the parts soaking in oil to make sure I've actually chased all the moisture out of the crevices?
There’s no magic number, but don’t rush it. If you’re dealing with real floodwater, I usually let the small parts sit in a bath of high-quality CLP or a dedicated solvent for at least twelve to twenty-four hours. You want that oil to actually migrate into the tight spots and crevices where the water likes to hide. If you pull them out too soon, you’re just masking the problem instead of fixing it.




