
I spent twenty years watching folks at the club treat their firearms like they were trying to deep-fry them. I’ve seen shooters walk up to the line with a rifle that looks like it just came out of a grease trap, thinking that more lubricant somehow equals more reliability. It’s a common misconception, but if you want to know how to avoid over oiling, you have to stop treating oil like a magic cure-all. In my experience, a firearm that’s drowning in excess oil isn’t a well-maintained tool; it’s just a magnet for every grain of sand and speck of burnt powder in the zip code.
I’m not here to sell you on some expensive, high-tech synthetic solution or a complicated ten-step ritual. I’m going to show you the unglamorous reality of proper maintenance—the kind of habits you build when you actually care about how your gear functions under pressure. We’re going to talk about the tactile checks, the right way to wipe down your parts, and how to find that sweet spot where your metal is protected without turning your action into a sludge-filled mess.
Mastering Proper Oil Application Technique
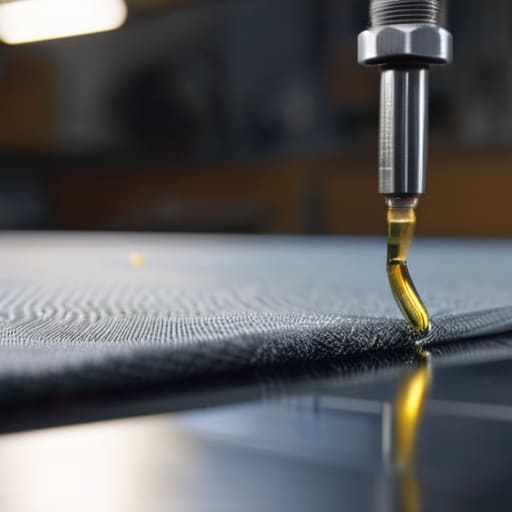
I’ve seen folks approach a cleaning kit the same way they approach a buffet: they just keep piling it on until they think they’ve done enough. That’s your first mistake. A proper oil application technique isn’t about coating every square inch of steel in a thick, wet layer. You want to use a clean, lint-free patch or a dedicated applicator to spread a thin, even film. If the metal looks wet or starts to drip, you’ve already gone too far. You aren’t painting a fence; you’re creating a microscopic barrier against moisture.
Think of it like this: if you can see a heavy sheen reflecting the light, you’re just inviting grit and gunk to settle into your action. That buildup acts like sandpaper on your moving parts, turning a smooth cycle into a gritty mess. I always tell my students to wipe away any leftover liquid with a dry cloth immediately after applying. You want the protection to stay in the pores of the metal, not sit on top as a sticky trap for dust. Keep it thin, keep it even, and preventing greasy residue will save you more headaches than any expensive solvent ever could.
Preventing Greasy Residue Before It Starts
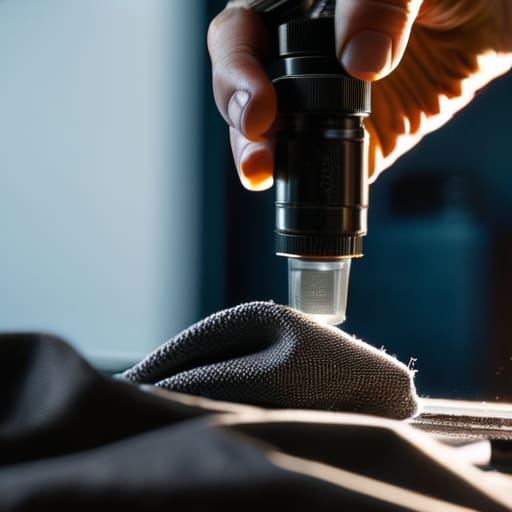
Most people think the mess starts when they open the bottle, but it actually starts with how you handle your tools. I’ve seen plenty of shooters grab a rag, soak it in CLP, and then just wipe it all over the receiver like they’re frosting a cake. That’s your first mistake. You want to apply the lubricant to the rag first, not the steel. If you’re looking at preventing greasy residue, you have to treat your cleaning cloth like a precision instrument. A light coating on the cloth allows you to control exactly where that moisture goes, rather than letting it pool in the trigger group or the magazine well where it doesn’t belong.
The goal is a film, not a puddle. If you look at your parts and they look “wet,” you’ve gone too far. I always tell the new guys that a firearm should look maintained, not drenched. If you find yourself constantly wiping away sludge after a session, you aren’t cleaning; you’re just moving dirt around in a layer of grease. Stick to a thin, even application, and you’ll spend less time scrubbing gunk off your workbench and more time actually getting your rounds downrange.
Five Ways to Keep the Gunk Out of Your Action
- Use a dedicated applicator, not a rag. If you’re just wiping a greasy cloth all over the frame, you’re spreading a film that’s thick enough to catch dust. Use a small swab or a precision oiler to put the lubricant exactly where the metal meets metal, and nowhere else.
- The “Paper Towel Test” is your best friend. After you think you’ve applied enough, take a clean, dry paper towel and run it over the non-moving surfaces. If it comes away soaked, you’ve gone too far. You want a microscopic sheen, not a puddle.
- Focus on the friction points, not the whole gun. I see people oiling the entire slide or the outside of the barrel like they’re polishing silver. That’s a mistake. Oil the rails, the pins, and the bolt carrier—the parts that actually move against each other—and leave the rest dry.
- Less is more when it comes to temperature changes. If you’re heading out to a range that’s anything less than a tropical greenhouse, remember that excess oil becomes a magnet for grit and condensation. A light coat is all you need to prevent rust without turning your firearm into a magnet for sand.
- Wipe it down after you’re done. Once you’ve finished your maintenance, take a clean cloth and wipe away any excess that’s sitting on the surface. If you can see the oil glistening from a foot away, it’s too much. It should look like a matte finish, not a mirror.
The Bottom Line on Clean and Dry
Treat oil like a seasoning, not a main course; a light film is all you need to prevent rust, and anything more is just a magnet for dust.
Always wipe away the excess with a clean rag before you put the parts back together, because if it looks wet, it’s too much.
Remember that a clean, dry firearm is always more reliable than one swimming in grease that’s been turned into abrasive sludge by your range bag.
The Bottom Line on Maintenance
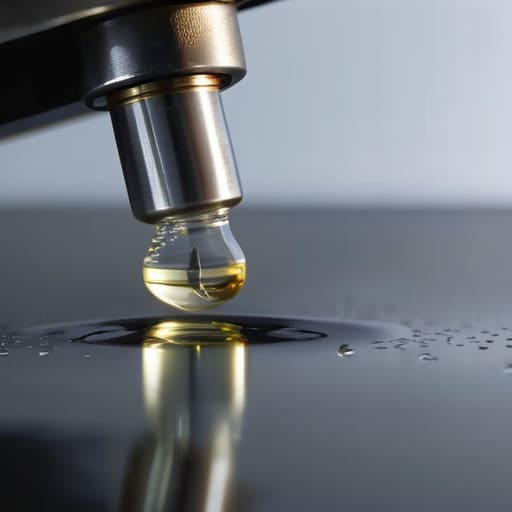
At the end of the day, keeping your gear running isn’t about how much money you spend on high-end solvents or how many bottles of lubricant you have sitting on your workbench. It’s about the discipline of the application. We’ve talked about using a single drop where it counts, avoiding that “soaking” mentality, and making sure you aren’t just creating a magnet for every piece of dust in the shop. If you can master the art of less is more, you’ll spend far less time scrubbing out sludge and far more time actually enjoying your time on the range. Remember, a clean, lightly lubricated tool is a reliable tool, but a greasy mess is just a liability waiting to happen.
I’ve spent twenty years watching people treat their firearms like they’re indestructible, and I’ve seen plenty of them learn the hard way that neglect—or misguided care—has consequences. This sport is built on the foundation of small, repeatable habits. When you take the time to clean properly and oil sparingly, you aren’t just maintaining a machine; you are practicing the very same attention to detail that keeps you and everyone else around you safe. Do the unglamorous work right the first time, and the shooting will take care of itself.
Frequently Asked Questions
Is there a specific type of oil I should be using for different parts of the gun, or is one good product enough?
Look, you can get by with one decent CLP if you’re careful, but treating a precision trigger group the same way you treat a heavy bolt carrier is a mistake. I like a dedicated, thin synthetic for my fine internals—something that won’t gum up when the temperature drops. For the heavy friction points, a slightly heavier grease is better. One product is easy, but using the right tool for the job keeps you from chasing messes.
How often should I be cleaning off the old oil before I apply a fresh coat?
Every single time. I’ve seen folks try to layer fresh oil over old, gummy residue, thinking they’re being thorough. You aren’t. You’re just creating a sludge trap. If that old oil has turned tacky or picked up carbon and grit, it’s no longer a lubricant; it’s an abrasive. Wipe it down until the metal is clean, then apply your new coat. If you wouldn’t paint over old, peeling paint, don’t do it to your firearm.
I see a little bit of oil on the exterior of the receiver—is that a problem, or can I just wipe it off?
Wipe it off. Right now. If you see oil on the receiver, it means you’ve applied too much or you’re moving it around with your hands. That surface oil is just a magnet for dust, lint, and carbon. Instead of a clean tool, you’re building a layer of abrasive sludge that’ll eventually gum up your action. Keep the oil where it belongs—on the metal surfaces that need it—and keep the outside bone dry.




