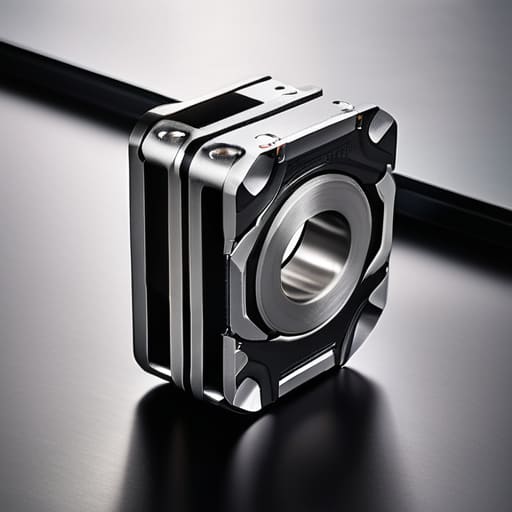
I’ve spent twenty years watching folks spend a grand on a high-end glass optic, only to bolt it onto a rifle using a mount they bought because it looked “tactical” on a website. It’s a heartbreaking waste of money. I once watched a guy at the club spend three months chasing a wandering zero, only to realize his rings weren’t even seated true because he didn’t understand the basics of how to pick a one piece mount that actually holds its ground. Most of the marketing out there is just noise designed to separate you from your paycheck, but a mount isn’t about aesthetics; it’s about mechanical integrity.
I’m not here to sell you on the latest titanium trend or some overpriced brand name that’s mostly just good PR. My goal is to walk you through the actual, unglamorous mechanics of what makes a mount reliable—from ring diameter tolerances to how the mounting interface interacts with your receiver. We’re going to talk about the real-world math of stability so you can stop worrying about your gear and start focusing on your fundamentals.
Single Piece Mounting Stability and the Rigidity Test
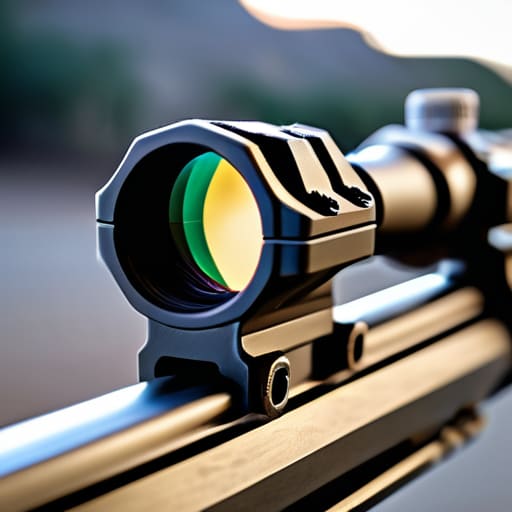
When I’m looking at a mount, I’m not just looking at how it fits the rail; I’m looking for how it handles the violent, repetitive cycle of recoil. Most people think a scope stays put because the screws are tight, but that’s a rookie mistake. True single piece mounting stability comes down to how the metal itself reacts to stress. If the alloy is cheap or the casting is porous, that mount is going to flex every time you pull the trigger. I’ve seen plenty of shooters spend a fortune on high-end glass only to have their groups open up because they used a mount that couldn’t maintain its shape under pressure.
You can often spot a subpar mount by checking the machining precision requirements of the ring interfaces. If you run your finger along the inside of the rings and feel even a hint of a burr or an uneven surface, walk away. You want something that feels like it was cut from a solid block of steel or aircraft-grade aluminum, not something that looks like it was poured into a sand mold. If the mounting hardware lacks mounting hardware rigidity, your zero is nothing more than a suggestion.
Machining Precision Requirements You Cant Ignore
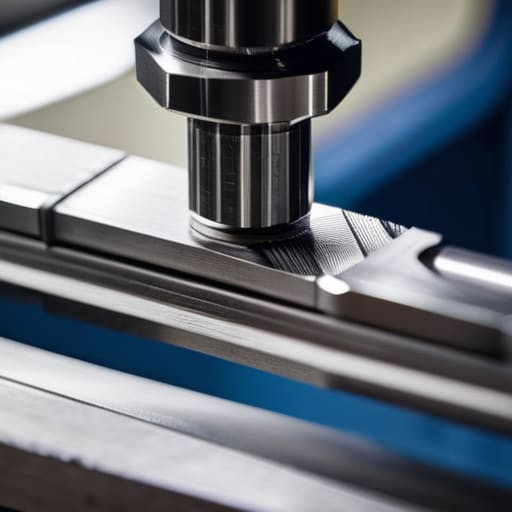
When I was working the machines, I learned early on that if your tolerances are off by even a hair, the whole part is scrap. The same logic applies to your optics. You can spend three thousand dollars on a world-class glass, but if the mount was cut on a cheap, vibrating lathe, you’re just throwing money down the range. Real machining precision requirements mean the surfaces where the rings meet the rail have to be perfectly flat and parallel. If there is even a microscopic bit of unevenness, you aren’t just dealing with a loose screw; you’re dealing with uneven pressure on the scope tube itself.
That uneven pressure is what kills your consistency. I’ve seen plenty of shooters blame their eye or their trigger when the real culprit is poor mechanical component alignment within the mount. If the internal bores aren’t perfectly concentric, your light path is going to be slightly skewed, and your zero will shift every time the temperature changes or you take a hard shot. You want hardware that was made with intention, not something that was mass-produced by a machine that hasn’t seen a calibration check in a decade.
Five Things to Look for Before You Torque That First Screw
- Check your eye relief before you commit to the footprint. A mount might be built like a tank, but if it forces you to crane your neck or puts your eye too close to the glass, you’ll never get a consistent cheek weld. You want that scope sitting where it feels natural, not where the manufacturer says it should go.
- Look closely at the mounting interface. If you’re running a heavy precision rifle, you want those large-diameter clamping surfaces that bite into the rail. Avoid anything that relies on tiny, flimsy screws that look like they belong on a pair of eyeglasses; they’ll vibrate loose the moment you start working the bolt.
- Don’t overlook the weight penalty. I’ve seen guys buy a mount that’s over-engineered for a lightweight mountain rifle, and suddenly the whole balance of the gun is off. It’s a trade-off: you want enough mass to hold your zero, but you don’t want to be fighting a heavy front end every time you move to a new position.
- Verify the ring height against your rail. This is where a lot of new shooters trip up. If the rings are too low, you won’t clear the barrel; if they’re too high, you’ll lose that solid contact with the stock. Measure twice, buy once—don’t wait until you’re at the range to realize your scope is sitting like a bird on a wire.
- Inspect the finish and the material quality. I’ve spent enough time around old machinery to know when something is cheap. You want hard-anodized aluminum that isn’t going to mar or scratch easily. If the finish looks thin or uneven in the packaging, it’s a sign that the metal underneath probably isn’t up to the task either.
The Bottom Line on Your Setup
Don’t let a cheap mount sabotage a quality optic; if the metal isn’t machined to hold a consistent tension, you’re just buying a very expensive way to lose your zero.
Stability isn’t just about how tight you crank the screws, it’s about the structural integrity of the single piece of hardware holding your sight in place.
Treat your mount as a critical component of the rifle’s system, not just an accessory, because the most precise shot in the world won’t matter if your hardware shifts under recoil.
The Final Check
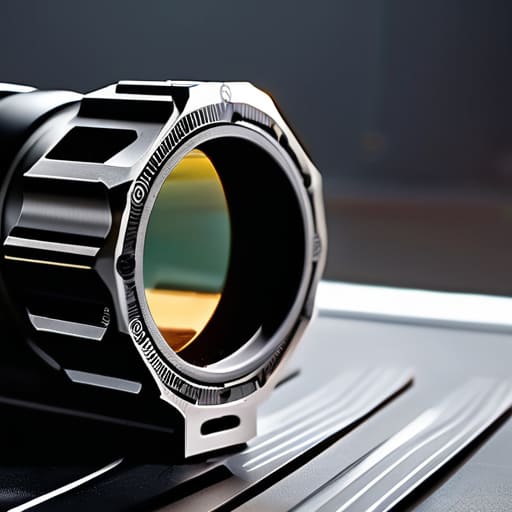
At the end of the day, picking a mount isn’t about finding the most expensive piece of aluminum in the catalog. It’s about understanding that every component in your rifle’s system has to work together under pressure. You’ve looked at the rigidity, you’ve considered the machining tolerances, and you’ve weighed the weight against the stability. If you ignore the mechanical integrity of that mount, you might as well be trying to hold a steady zero with a handful of gravel. Don’t let a cheap, poorly machined ring be the reason you’re chasing your groups across the target when the wind picks up.
I’ve spent twenty years watching people blame their eyes, their breathing, or their trigger squeeze for a bad shot, only to find out their glass was moving because of a subpar mounting solution. It’s the unglamorous stuff—the hardware you rarely think about once it’s torqued down—that actually makes the shooting possible. Take the time to do it right the first time. When you invest in a quality mount and set it up with disciplined precision, you aren’t just buying hardware; you’re buying the confidence to pull the trigger without wondering if your gear is going to let you down.
Frequently Asked Questions
If I'm mounting a heavy long-range glass, how much extra weight am I actually adding to the rifle compared to a traditional two-piece setup?
Look, if you’re mounting a heavy glass, you’re already carrying a lot of weight up front. Moving from a two-piece to a single-piece mount usually adds maybe two or three ounces. In the grand scheme of a long-range setup, that’s nothing. I’d much rather carry an extra two ounces of steel than deal with a shifting zero because a ring wasn’t seated true. Trade the weight for the stability every single time.
How do I know if the mounting surface on my receiver is actually flat enough to take advantage of a high-end one-piece mount?
You don’t need a machinist’s precision kit to get an idea, but you can’t just eyeball it either. Grab a machinist’s straightedge—something decent, not a ruler—and lay it across the receiver rails. If you see light bleeding through the middle or the ends, you’ve got a problem. If that surface isn’t true, all the high-end alloy in the world won’t stop your zero from walking once the recoil hits.
Is there a specific torque pattern I need to follow to make sure I don't crush the tube or end up with a wandering zero?
You don’t need a complex pattern, but you do need a steady hand and a real torque wrench. Start by seating the rings, then tighten the screws in a cross-pattern—top left, bottom right, top right, bottom left. This ensures the pressure is even. Most importantly, don’t eyeball it. If you over-tighten, you’ll ovalize that tube and ruin your zero; if you under-tighten, it’ll walk. Follow the manufacturer’s inch-pound specs to the letter.




