
I’ve watched plenty of shooters spend a small fortune on high-end optics and match-grade ammunition, only to have their entire session go sideways because of a single feeding failure. Most people think a magazine is just a hunk of metal or plastic that works until it doesn’t, but that’s a dangerous way to look at your gear. I’ve stood on the line for twenty years, and I can tell you that knowing how to maintain magazines is often the difference between a productive day at the range and a frustrating afternoon of clearing malfunctions. It isn’t about fancy oils or expensive kits; it’s about the small, repetitive checks that most folks are too impatient to perform.
In this guide, I’m going to skip the marketing fluff and get straight to the grit of it. I’ll show you how to inspect your feed lips, how to properly clean out the grit that loves to hide in the follower tracks, and when it’s time to stop tinkering and just replace the unit entirely. We’re going to focus on the unglamorous habits that ensure your equipment actually does what it’s supposed to do when you pull the trigger.
Guide Overview
Tools & Supplies
- Microfiber cloth for gentle dusting
- Soft-bristle brush for corner cleaning
- Acid-free archival sleeves (1 pack)
- Microfiber cleaning cloths (2 pieces)
- Distilled water (1 small bottle)
Step-by-Step Instructions
- 1. First thing you do is empty them. I’ve seen folks try to clean a mag while it’s still loaded because they’re in a hurry, and that’s how someone gets hurt. Get every single round out, then double-check the follower to make sure there isn’t a stray piece of brass or a rogue primer stuck in the bottom.
- 2. Once they’re empty, pull the spring out. If you’re using a tool that lets you disassemble the magazine without a fight, use it. You want to get a good look at that spring to see if it’s got any kinks or if it’s lost its tension. A spring that looks fine might still be losing its fight against the friction inside the housing, and you don’t want to find that out mid-string.
- 3. Grab a clean, lint-free cloth and some isopropyl alcohol. Wipe down the inside of the magazine body and the outside of the follower. You aren’t looking for a deep scrub here; you’re just trying to remove the layer of grit and old oil that builds up from repeated feeding. If you leave that sludge in there, it’ll act like sandpaper on your rounds.
- 4. Take a close look at the feed lips. This is where most people fail. Use a magnifying glass if you have to, but look for any tiny cracks or bends. If those lips are even slightly out of spec, your rounds won’t sit right, and you’ll be dealing with a failure to feed every single time you pull the trigger. If they’re bent, you might be able to nudge them back, but if they’re cracked, toss the mag. It’s not worth the risk.
- 5. Check the floorplate and the body for any dents. In my experience, a mag that’s been dropped on concrete often looks fine to the naked eye, but a small dent in the side can pinch the follower just enough to stop a round from moving. Run your finger along the inside walls to feel for any irregularities that your eyes might miss.
- 6. Reassemble everything carefully. When you put that spring back in, make sure it’s seated straight. If it goes in crooked, it’s going to bind, and you’ll be staring at a jammed gun while the timer is still running. Seat the floorplate firmly and give it a solid tap to ensure it’s locked in place.
- 7. Finally, do a dry function check. Load a single round into the mag, seat it in the rifle, and cycle the action. Do this a few times. You want to see that round move up smoothly without any hesitation. If it hitches, you haven’t finished the job yet; go back to step three and find out where the friction is coming from.
Magazine Body Inspection Finding the Flaws Before They Find You
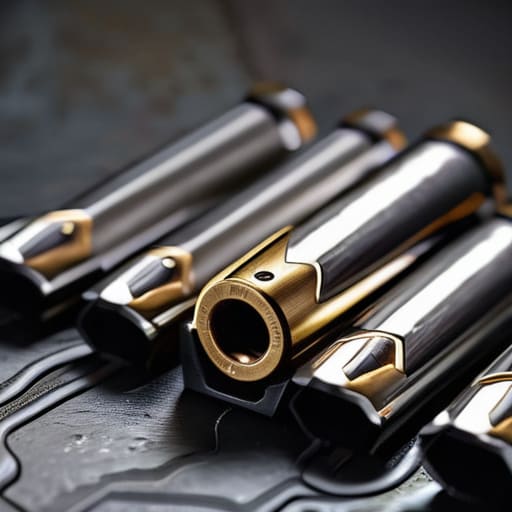
When you’re doing a proper magazine body inspection, you aren’t just looking for dents; you’re looking for the subtle signs of stress. I’ve seen plenty of shooters carry a full kit only to have a feeding failure halfway through a drill because of a hairline crack or a slight warp in the feed lips. Take a moment to run your thumb along the edges of the casing and look closely at the top where the rounds sit. If the metal looks stretched or if there’s any sign of unevenness, that magazine is no longer a tool—it’s a liability.
You also need to pay attention to the internal geometry. It’s not enough to just wipe the outside down; part of cleaning firearm feeding devices involves ensuring the interior walls are smooth and free of grit or brass shavings. If you find old, dried-out factory grease or accumulated carbon inside, get it out. A tiny bit of debris can cause a round to hang up just long enough to ruin your rhythm. Remember, ammunition feeding reliability starts with the container, not just the cartridge. If the body is compromised, the best ammo in the world won’t save you.
Preventing Magazine Spring Fatigue Through Proper Storage Habits
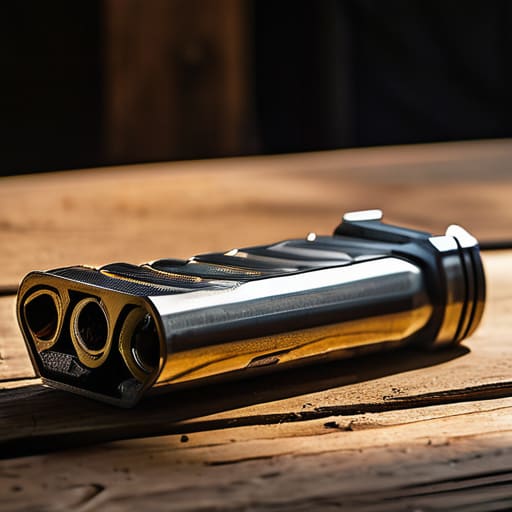
Most folks think a magazine is just a hunk of metal or polymer, but that little spring inside is doing a lot of heavy lifting. One of the biggest mistakes I see is people leaving their mags fully loaded in a gear bag or a safe for months, sometimes years, on end. When you keep that spring under constant tension, you aren’t just storing it; you’re slowly wearing it down. Preventing magazine spring fatigue starts with realizing that tension is a finite resource. If you can, unload them. It’s a tedious chore, I know, but it’s a lot easier than dealing with a failure to feed when you actually need the tool to work.
If you do keep them loaded for quick access, at least rotate your stock. Don’t let the same five mags sit in the same position for three years straight. I’ve seen plenty of ammunition feeding reliability issues that traced back to a spring that had simply lost its “oomph” because it hadn’t moved since the previous decade. Treat your storage like you treat your cleaning—it’s about the small, repetitive habits that keep the mechanical parts from getting lazy.
Five Things I’ve Seen Go Wrong on the Line
- Stop letting brass shavings live in your mag wells. If you’re running a high volume of rounds, those tiny bits of copper and steel get pushed into the magazine, and they’ll cause a failure to feed every single time. A quick blast of compressed air or a dry brush goes a long way.
- Treat your followers with a little respect. When you’re stripping a mag down for cleaning, don’t just yank that spring out like you’re angry at it. If you bend the follower or score the plastic with a metal tool, you’re looking at a feeding issue that no amount of cleaning will fix.
- Keep the oil away from the internals. I see people think “more lube equals better performance,” but that’s a mistake with magazines. A film of oil on the follower or the spring just acts as a magnet for grit and unburnt powder, turning your magazine into a grinding paste.
- Check your feed lips every single time you pack your range bag. Even if you aren’t shooting, things get bumped and squeezed in transit. If those lips are even slightly flared or nicked, your rounds won’t sit right, and you’ll be fighting the gun instead of shooting it.
- Don’t ignore the “click.” If a magazine feels different when you seat it—if it’s a little mushy or doesn’t lock back quite like it used to—don’t just assume it’s fine. That’s your warning sign that the geometry is off or the spring is losing its tension. Listen to it.
The Bottom Line on Magazine Reliability
Stop treating your mags like indestructible pieces of plastic; if you see a dent or a bent follower, retire it before it causes a failure during a drill.
Cleanliness isn’t just for the barrel; wipe down your magazines and check the springs regularly so you aren’t fighting a dirty feed lip when it matters.
Proper storage is just as important as how you shoot; keep your magazines in a controlled environment to prevent spring fatigue and keep them ready to go.
The Final Check
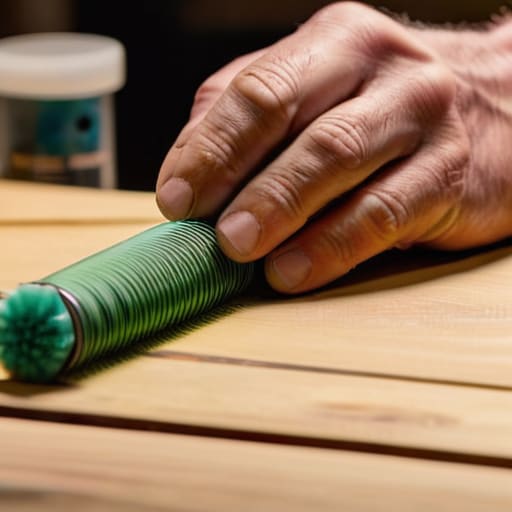
At the end of the day, maintaining your magazines isn’t about being a perfectionist; it’s about being prepared. You’ve looked for cracks in the polymer, checked those feed lips for any signs of bending, and made sure you aren’t storing them under enough tension to kill the spring. It’s the small, repetitive stuff—the wiping down of the internals and the careful inspection of the follower—that separates a reliable setup from one that’s going to leave you staring at a stovepipe when the pressure is on. If you take the time to do these checks now, you won’t be fighting your equipment when you’re actually on the line.
I’ve spent twenty years watching people focus entirely on their trigger squeeze while completely ignoring the hardware that actually delivers the round. They treat their magazines like disposable junk, but in my experience, reliability is a habit, not a stroke of luck. When you respect the mechanics of your gear, you gain a level of confidence that no amount of practice can replace. Do the unglamorous work. Keep your magazines clean, keep them inspected, and trust your equipment so you can focus on the shot.
Frequently Asked Questions
Should I be using any kind of lubricant on the inside of the magazine body, or is that just asking for trouble?
Keep the oil away from the inside of that magazine. I’ve seen plenty of folks think they’re doing their gear a favor by greasing it up, but all they’re doing is creating a magnet for carbon, grit, and lint. That sludge turns into a paste that’ll slow your follower down right when you need it most. Keep the inside bone-dry. If you want to lube something, stick to the rails on the outside.
How do I know when a spring has actually lost its tension versus just being a little bit dirty?
It’s a fair question. Dirt makes things sluggish, but it doesn’t change the physics. If you clean that spring and the follower still hesitates or fails to push a round into the feed lips with enough force to lock the bolt back, that spring is done. A dirty spring might feel “gritty,” but a tired spring feels “weak.” If it doesn’t have the snap left to do its job, stop trying to fix it. Just replace it.
Is it worth it to try and clean old, grit-filled magazines, or am I just wasting my time and risking a malfunction?
If it’s just dust or some light carbon, go ahead and strip them down. A quick wipe of the internals and a fresh drop of oil can save a good mag. But if you’re looking at grit, sand, or actual debris packed into the feed lips, stop right there. You’re better off recycling them. I’ve seen too many people try to “fix” a fouled mag only to have it jam when the pressure is on. Don’t gamble on a malfunction.




