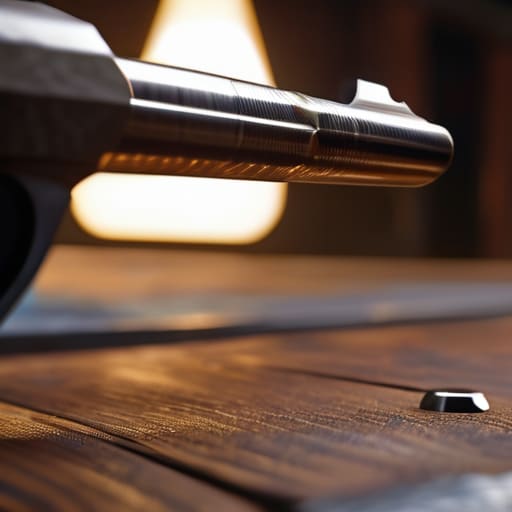
I’ve spent twenty years standing on the line at the club, and if there’s one thing I’ve learned, it’s that most people treat oil like it’s a magic potion. I once watched a kid spend twenty minutes meticulously scrubbing a bolt action only to slop enough CLP on it to create a dust magnet that jammed halfway through his first string of fire. He thought more was better, but he was actually just building a failure waiting to happen. Learning how to lubricate a firearm correctly isn’t about how much oil you can pour out of the bottle; it’s about understanding exactly where the metal is actually fighting itself.
In this guide, I’m going to strip away the marketing fluff and show you the unglamorous reality of maintenance. We aren’t going to talk about “optimal functionality” or any of that high-priced nonsense you see in magazines. Instead, I’ll show you the specific friction points that actually matter, how to avoid making a sticky mess that attracts grit, and how to build a routine that ensures your gear works every single time you chamber a round.
Guide Overview
Tools & Supplies
- Cleaning rod and brush for removing old residue
- Microfiber cloth or lint-free wipes for wiping surfaces
- Small applicator brush for precision placement
- Gun oil or lubricant (1 small bottle)
- Gun cleaning solvent (1 small bottle)
- Lint-free cleaning patches (1 pack)
Step-by-Step Instructions
- 1. Start with a clean slate. You can’t build a good lubrication routine on top of old carbon and grit; that’s just how you make a grinding paste that wears down your parts faster than intended. Strip the firearm down to its field-strip state and use a good solvent to get every bit of black soot out of the nooks and crannies. If you leave the old junk in there, you’re just masking the problem.
- 2. Lay everything out on a clean, lint-free cloth. I’ve seen folks try to do this on a workbench covered in sawdust or metal shavings, and that’s a recipe for a malfunction later. You want to see every single component clearly so you don’t miss a critical friction point. Treat the parts like the precision tools they are, not just chunks of steel.
- 3. Apply oil sparingly to the high-wear areas. The biggest mistake I see is people thinking “more is better,” but if you slop oil on everything, you’re just creating a sticky mess that attracts dust and unburnt powder. Use a dedicated oiler or a small brush to hit the slide rails, the barrel hood, and the bolt carrier group. You want a thin, even sheen, not a puddle.
- 4. Don’t forget the trigger group, but keep it light. You want the internals to move smoothly, but if you over-lubricate the sear and the hammer, you might end up with a trigger pull that feels “mushy” or, worse, an unpredictable break. A single drop on the pivot points is usually plenty to keep things running without compromising the mechanical feel.
- 5. Check your spring tension and contact points. While you have the gun apart, look at where the springs seat against the metal. A tiny bit of lubrication there prevents that annoying “creak” and ensures the spring is always pushing with the right amount of force. It’s one of those small details that separates a hobbyist from someone who actually knows their gear.
- 6. Reassemble and perform a manual function check. Once everything is back together, don’t just go straight to the range. Rack the action several times by hand to make sure the movement is fluid and consistent. You want to feel the mechanical rhythm of the firearm before you ever put a round in the chamber. If it feels gritty or catches, you missed a spot or left some grit in the works.
Choosing Best Lubricants for Handguns and Preventing Mechanical Failure
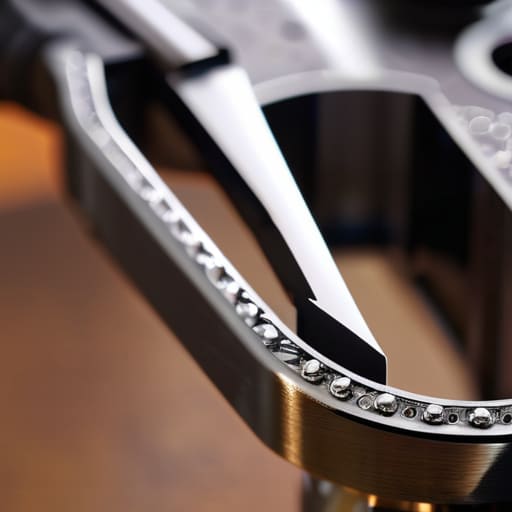
I’ve seen plenty of folks walk onto my line with a brand-new handgun that’s practically bone-dry, or worse, one that’s been swimming in a pool of cheap, thick grease. When you’re looking for the best lubricants for handguns, you have to remember that a pistol is a high-speed machine with tight tolerances. You aren’t just trying to make things slide; you’re managing heat and friction under pressure. If you use something too heavy, you’ll actually trap carbon and grit against the metal, turning your lubrication into a grinding paste that causes more harm than good.
A solid firearm maintenance routine means knowing the difference between what protects against rust and what actually helps the action cycle. If you live near the coast or keep your gear in a humid basement, preventing firearm corrosion is your priority, which might mean a slightly heavier oil. But for the moving parts—the slide rails and the barrel hood—you need a thin, consistent film. Don’t go overboard; a little goes a long way. If you see oil weeping out of the ejection port after three rounds, you’ve applied too much. Keep it precise, and you’ll avoid the headache of a jammed slide when you’re actually trying to make a shot.
Critical Gun Oil Application Points Within Your Maintenance Routine
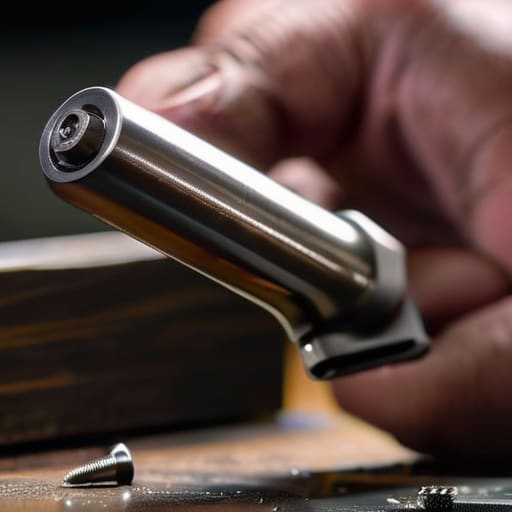
I’ve spent enough time on the line to see people treat lubrication like they’re painting a fence—just a broad, even coat over everything. That’s a mistake. You need to understand that your firearm maintenance routine isn’t about coverage; it’s about placement. Focus your attention on the high-friction areas where metal actually meets metal under pressure. On a semi-auto, that means the slide rails and the contact points of the locking block. If you miss those specific spots, you aren’t just risking a sluggish cycle; you’re inviting the kind of grit buildup that leads to a jam when you’re actually trying to clear a stage or defend yourself.
There is also a massive difference between cleaning vs lubricating firearms, and people get them tangled up constantly. If you apply fresh oil over a layer of carbon and old, burnt-out grease, you aren’t lubricating anything—you’re just making a slurry that acts like sandpaper inside your action. Always wipe the surface down to the bare metal first. Once you have a clean surface, you can target those specific gun oil application points with precision. A single drop on the rail is worth more than a whole bottle soaked into the grip texture.
Five Rules for When the Oil Hits the Metal
- Stop treating your firearm like a greasy engine. You aren’t trying to submerge the internals in a bath of oil; you’re looking for the friction points. Too much lube turns into a magnet for carbon, grit, and unburnt powder, which eventually creates a sludge that’ll gum up your action right when you’re trying to clear a malfunction.
- Always clean the surface before you lubricate. I’ve seen plenty of folks try to “maintenance” a gun by adding fresh oil over a layer of old, burnt-on carbon. All you’re doing is sealing that grit into the metal. Wipe it down, get the old stuff off, and then apply the new.
- Match the lubricant to the environment. If you’re heading out to a dusty dry range, you want a thinner, cleaner oil that won’t attract half the desert. If you’re carrying a piece for self-defense in a humid climate, you need something that won’t evaporate or wash away with a bit of sweat. One size does not fit all.
- Pay attention to the “dry” spots. Most people focus on the slide rails because that’s where the movement is obvious, but don’t forget the small, high-friction areas like the connector or the sear engagement points. It’s the tiny, precise applications that keep the trigger pull smooth and the mechanics predictable.
- Use the “less is more” rule. After you’ve applied your oil, take a clean rag and wipe away the excess. If you can see a heavy bead of oil sitting on the metal, you’ve gone too far. A microscopic film is all you need to do the job; anything more is just a mess waiting to happen.
The Bottom Line on Keeping Things Moving
Less is almost always more; if your firearm looks like it’s sweating oil, you haven’t lubricated it, you’ve just made a magnet for carbon and grit that’ll gum up your action.
Focus your attention on the friction points where metal actually meets metal, rather than treating the entire frame like it needs a bath.
Consistency beats intensity every single time, so make these small, precise checks a habit of your routine rather than a massive chore you only do when something jams.
The Discipline of the Routine

At the end of the day, getting your lubrication right isn’t about having the most expensive bottle of synthetic oil on the shelf; it’s about knowing exactly where that oil needs to go and, more importantly, where it shouldn’t. We’ve talked about hitting those specific friction points, choosing the right weight for your specific platform, and avoiding the mistake of turning your action into a sticky, grit-trapping mess. If you can master the habit of applying just enough to the rails and the slide, and enough to keep the internals moving without overdoing it, you’ve already done more for your reliability than ninety percent of the people I see on the Saturday morning line. It’s about precision over volume, every single time you open that case.
I’ve spent twenty years watching people treat maintenance like an afterthought, only to have their gear fail them when they’re trying to focus on a clean shot. But when you take those extra five minutes to do the unglamorous work—the cleaning, the inspecting, and the proper oiling—you aren’t just maintaining a tool; you are building muscle memory for safety. When you finally step up to the bench, you shouldn’t be thinking about your lubrication routine or wondering if a part is going to bind. You should be thinking about your fundamentals. Get the maintenance right, and you can trust your equipment to do exactly what it was built to do.
Frequently Asked Questions
How do I know if I've actually used too much oil and am just inviting a dust magnet to the party?
You’ll know you’ve gone overboard when the gun starts looking “wet” rather than just well-maintained. If you see oil weeping out of the ejection port or pooling in the crevices of the frame, you’ve done too much. That excess doesn’t help the mechanics; it just acts like a magnet for carbon, grit, and lint. If it looks greasy, wipe it down. You want a thin film on the friction points, not a puddle.
If I'm storing my rifle in a safe for a few months, should I be using a different kind of lubricant than what I use for regular range days?
If you’re tucking that rifle away for a few months, you need to shift your thinking from lubrication to protection. For range days, you want a light oil that stays fluid so the action moves smooth. For long-term storage, you want a heavier, more stable grease or a dedicated corrosion inhibitor on the metal surfaces. You aren’t looking for movement anymore; you’re looking for a barrier that won’t evaporate or gum up while it sits.
Is it worth the extra effort to use specific oils for different calibers, or am I just overcomplicating a simple job?
Look, you aren’t overcomplicating it, but you are also overthinking it. A .22 LR isn’t a .30-06, but they both need lubrication. What changes isn’t the oil itself, but how much carbon and heat you’re fighting. If you’re running a high-volume rimfire, you’re cleaning more often. If it’s a heavy-recoil rifle, you’re managing more friction. Use a good, reliable synthetic for everything. Don’t waste money on “caliber-specific” bottles; just learn the specific needs of your tools.




