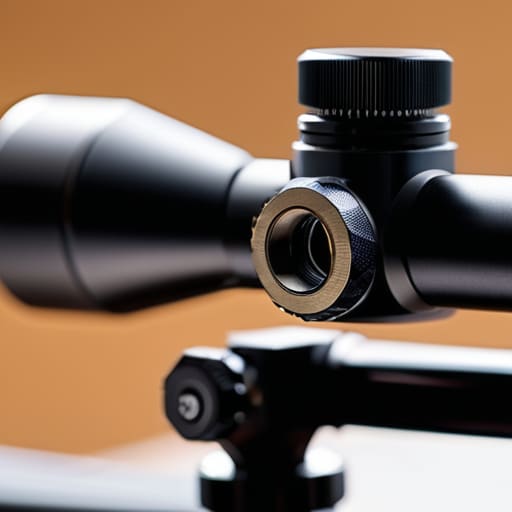
I watched a guy last Saturday spend forty minutes adjusting his windage knob, swearing at his ammunition and his own eyesight, when all he really needed was a set of Torx drivers. He was convinced his hold was off, but the truth was much simpler: he didn’t know how to tell if a scope is broken or the mount is loose. It’s a frustrating cycle I see constantly on the Saturday morning line—people blaming their talent or their gear when the real culprit is just a few unsecured screws or a hairline fracture in the internal tracking.
In this guide, I’m going to skip the technical jargon and get straight to the mechanical reality of your setup. I’ll show you how to perform a hands-on diagnostic to separate a genuine internal optic failure from a simple mounting error. We’ll walk through the specific checks for ring tension, rail stability, and glass clarity so you can stop guessing at your zero and start trusting your rifle again.
Guide Overview
Tools & Supplies
- Torque wrench or screwdriver for checking mount tightness
- Bench rest or sandbags to stabilize the firearm
- Eye protection for safety during testing
- Cleaning kit/isopropyl alcohol for cleaning rails
- Threadlocker (blue) if re-securing mounts
Step-by-Step Instructions
- 1. First, you need to establish a baseline. You can’t tell if something is moving if you don’t know where it started. Head downrange and fire a consistent group at a known distance—nothing crazy, just enough to see where your shots are landing. If your groups are tight but you’re hitting the dirt, you’ve got a zeroing issue. If your groups look like a shotgun pattern from a distance, you’ve likely got a mechanical problem.
- 2. Grab your torque wrench and check those mount screws. Don’t just eyeball them or give them a little wiggle with a screwdriver; that’s how you end up with a stripped head or a cracked receiver. You want to ensure every screw is tightened to the manufacturer’s specific inch-pound rating. If you don’t have the manual, look it up. A loose ring is the most common culprit for a wandering zero, and it’s the easiest thing to fix.
- 3. Check the ring alignment. This is where a lot of folks get sloppy. Take a look at the gap between the top and bottom halves of your scope rings. If that gap is wider on one side than the other, your scope is sitting crooked in the cradle. That uneven pressure will distort the internal tube of the optic, and no amount of clicking the turrets is going to fix a bent tube.
- 4. Perform the “hand-check” on the scope itself. With the rifle unloaded and the safety on, grasp the scope body firmly and try to move it laterally. You aren’t trying to break it; you’re looking for any slight play or clicking that suggests the scope isn’t seated properly in the rings. If the whole unit shifts when you touch it, your rings aren’t clamped down tight enough, or your bases are the problem.
- 5. Inspect the glass for internal issues. Take the scope off the rifle and look through it toward a light source. You’re looking for “shadows,” cloudiness, or what we call internal tracking errors. If you see what looks like a smudge that won’t wipe away, or if the image seems to shift when you tilt the scope, the internal erector tube might be damaged or out of alignment.
- 6. Verify your turret movement. Turn your windage and elevation dials through their full range of motion. They should feel smooth and consistent. If one side feels “mushy” or if you hit a hard stop before you reach the end of the travel, you’ve likely got a broken internal spring or a stripped gear. A turret that doesn’t click predictably is a turret you can’t trust when the shot matters.
Hunting for Zero Retention Issues and Mounting Instability
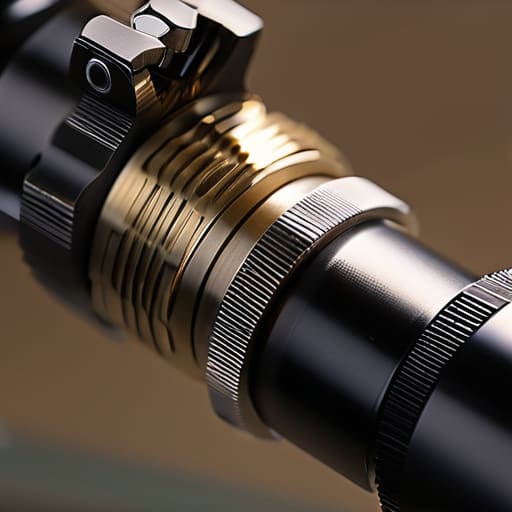
If you find yourself constantly fighting your adjustments, you’re likely dealing with zero retention issues that go deeper than just a bad day at the range. I’ve seen plenty of folks assume their rifle is just “acting up,” but usually, it’s a mechanical failure in the setup. One thing I always tell my students is to start by checking scope turret movement while the rifle is still in your hands. If those dials feel mushy, skip a click, or don’t provide that crisp, tactile snap you expect, you aren’t looking at a mounting problem—you’re looking at a broken internal mechanism.
When the glass itself seems fine, you have to look at the connection between the steel and the optic. Don’t just eyeball the rings; you need to verify your scope ring torque specifications against the manufacturer’s manual. I’ve spent more Saturday mornings than I can count watching people chase shadows because they under-torqued a single screw, leading to rifle optic mounting stability failures under recoil. If your point of impact shifts only after you’ve taken a few heavy shots, that’s a dead giveaway that your mount is shifting, not your eye.
Checking Scope Turret Movement and Optical Misalignment Symptoms
Now, once you’ve ruled out the mounts, you need to look at the guts of the optic itself. I’ve seen plenty of folks go straight to the gunsmith thinking they have a mechanical failure when the real culprit is just a sticky turret. When you’re checking scope turret movement, don’t just give them a quick twist. You want to feel for any grit, any hesitation, or that “mushy” sensation that tells you something is wrong inside the adjustment housing. If you click a few MOA and the internal erector tube doesn’t respond with a crisp, tactile snap, you aren’t looking at a loose mount—you’re looking at a broken scope.
You also need to keep an eye out for specific optical misalignment symptoms that show up mid-string. If your reticle seems to jump or if you notice a strange “shimmer” when you’re trying to find your target, you might be identifying parallax errors caused by internal lens shifting. It’s a subtle thing, but if the image refuses to settle regardless of how much you adjust the parallax knob, the internal components have likely lost their seat. Don’t just keep cranking those dials hoping it fixes itself; that’s a quick way to turn a minor adjustment into a permanent headache.
The Quick Checks Before You Start Tearing Everything Apart
- Don’t just trust your eyes when looking through the glass; take the scope out of the rings and see if the tube itself has any play or if the internal tracking feels mushy when you turn those turrets.
- Grab a torque wrench and check your mount screws every single time you prep for a trip, because vibration from a few rounds can turn a tight screw into a loose one before you even realize you’ve lost your zero.
- Watch your pattern on the paper, not just the group size; if your shots are drifting consistently in one direction like a slow leak, you’re likely looking at a mounting issue or a turret that isn’t seated right.
- Check your ring alignment by looking at the crosshairs through the scope while you gently wiggle the rifle; if the reticle jumps or shifts, those rings aren’t seated evenly on the rail.
- Keep a close eye on the shadows and light inside your glass; if you see any internal movement or “shimmering” when you move the rifle, you’ve got an internal optical failure that no amount of re-mounting is going to fix.
The Bottom Line on Keeping Your Glass Steady
If your groups are wandering and you can’t find a pattern, stop adjusting your windage and start checking your mount screws; a loose ring will beat a perfect zero every single time.
Watch your turrets like a hawk—if they feel gritty or don’t click with that familiar, crisp snap, you’ve got a mechanical issue that’s going to cost you shots.
Don’t wait for a complete failure to inspect your setup; make checking your mounting hardware and optical clarity a standard part of your range prep, just like checking your chamber.
The Final Check

At the end of the day, troubleshooting your glass comes down to a simple process of elimination. You start by ruling out the easy stuff—checking those mount screws with a torque wrench and making sure your eye relief hasn’t shifted mid-session. If the mounting hardware is tight and you aren’t seeing internal fogging or tracking issues in the turrets, then you’re likely looking at a deeper mechanical failure within the optic itself. Remember, don’t chase your tail by adjusting your windage every time you miss a shot; if the hardware isn’t solid, no amount of clicking will fix your point of impact.
I’ve spent twenty years watching shooters get frustrated because they treat their equipment like a magic wand instead of a mechanical tool. A scope is just a series of precision-machined parts, and like any tool, it requires respect and a bit of maintenance to stay reliable. When you take the time to verify your mounts and inspect your glass, you aren’t just being meticulous; you are building confidence in your setup. Get the unglamorous work done right in the shop or at the workbench, and when you finally step up to the line, you can stop worrying about your gear and start focusing on the shot.
Frequently Asked Questions
If my groups are opening up only when I'm shooting in the cold, is that a mechanical issue with the mount or just the scope's internals reacting to the temperature?
That’s a tricky one, but usually, it’s the metal talking. If your groups open up only when the temperature drops, you’re likely seeing thermal contraction. It could be the mount screws loosening slightly as the metal shrinks, or the internal components of the scope shifting. I’d start by checking your torque settings with a wrench. If the mounts are tight and it still happens, you’re dealing with the scope’s internals reacting to the cold.
I’ve noticed my reticle seems to jump slightly when I transition between targets; how do I know if that's a loose screw or a problem with the internal tracking?
If that reticle is jumping during transitions, you’ve got to separate the mechanical from the internal. First, check your mounts. Grab a torque driver and verify those ring screws haven’t backed off; a shifting scope is the most common culprit. If the mounts are tight, then we’re looking at the guts. Dial your turrets through their full range of motion while looking through the glass. If the movement isn’t smooth or consistent, your tracking is shot.
When I'm checking my mount torque, is there a specific pattern I should follow to make sure I'm not putting uneven pressure on the tube?
Don’t just go down the line tightening one screw at a time. You want to work in a pattern, much like how you’d tighten lug nuts on a wheel. Start with the center screws, then move to the outer ones, alternating sides as you go. Small increments are your friend here. If you crank one side down hard before the other, you’re going to pinch that tube, and a pinched tube is a fast way to lose your zero.




