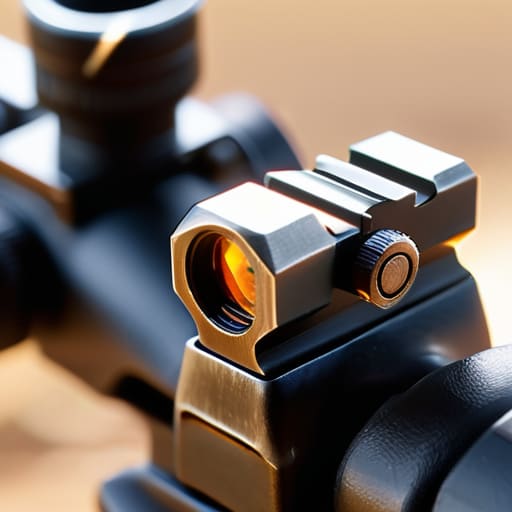
I watched a guy last Saturday spend forty minutes fine-tuning his high-end glass, only to have a piece of grit knock his zero off during his third string of fire. He stood there staring at a blurry target, completely helpless because he’d treated his iron sights like an afterthought. Most folks think backup irons are just a “just in case” little extra, but if you don’t know how to set up backup iron sights properly before you hit the range, they’re nothing more than expensive weight on your rail. It isn’t about having them; it’s about trusting them when your primary optic decides to quit on you.
In this guide, I’m going to skip the marketing fluff and get straight to the mechanical reality of the job. I’ll walk you through the actual process of aligning your sights, adjusting for height-over-bore, and—most importantly—verifying that zero under real-world conditions. We aren’t just going to tighten a screw and call it a day; we are going to ensure that when your optic fails, your muscle memory takes over without a second of hesitation.
Guide Overview
Tools & Supplies
- Allen wrench set (for adjusting mounting screws)
- Sight pusher tool or brass punch (for aligning/setting height)
- Bench block (to stabilize the firearm)
- Backup iron sights (one set)
- Threadlocker (small tube, optional for securing screws)
Step-by-Step Instructions
- 1. First, you need to get your primary optic dialed in perfectly. It sounds obvious, but I’ve seen shooters try to zero their backups before their red dot or scope is even on paper. You can’t find a baseline for your secondary sights if your primary is still drifting. Spend the time to get that optic exactly where it belongs first.
- 2. Once the optic is set, mount your backup irons—whether they are folding sights or fixed ones—and ensure they are mechanically tight. I’ve spent too many years watching people realize their backup sights have vibrated loose halfway through a course of fire. Check the mounting screws with a bit of thread locker if the manufacturer recommends it; a loose sight is just a heavy piece of metal that won’t hit anything.
- 3. Now, you’re going to zero the rear sight. If you have an adjustable rear, start by setting it to a neutral position. When you’re at the range, you want to shoot a tight group with your optic first to establish your point of aim, then switch over to the irons. You aren’t looking for perfection here, but you are looking for a consistent point of impact that you can actually work with.
- 4. Move on to the front sight. This is where most people get sloppy. You want to align your front sight post within the notch of the rear sight, ensuring the tops of the sights are perfectly level with one another. If your front sight is canted even a hair, your shots will start walking off the target in a predictable but frustrating arc.
- 5. This is the part most people skip: the “transition drill.” Once you think they are zeroed, don’t just pack up and go home. You need to practice moving your eye from the optic to the iron sights while maintaining a steady sight picture. I want you to build the muscle memory of where those sights live in your field of view so you aren’t hunting for them when your optic goes dark.
- 6. Finally, go out and shoot some real strings of fire. Don’t just shoot one shot and call it a day. Fire a group, then intentionally “fail” your optic—either by covering it or simply shifting your focus—and see if you can hit the same hole with the irons. If you’re scrambling to find the alignment, you aren’t ready yet. Go back to step four and keep practicing.
Co Witnessing Optic and Backup Sights the Real Reliability Test
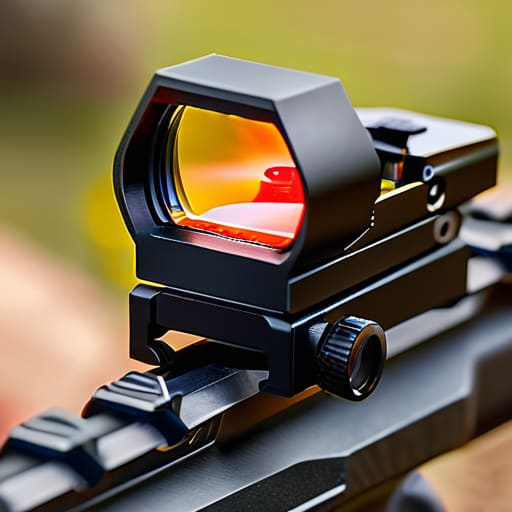
Once you’ve got your irons mounted, the real work begins. It’s one thing to have them sitting on the rail; it’s another thing entirely to ensure they actually work with your glass. When you’re co-witnessing optic and backup sights, you aren’t just looking for a rough idea of where the bullet goes. You need to know exactly how much of that red dot is going to disappear when you drop your head to find the iron alignment. I’ve seen too many folks realize mid-drill that their sight picture is so cluttered they can’t actually tell what they’re aiming at.
Don’t just trust the factory settings. You need to verify that aligning iron sights with red dot works under pressure. I tell my students to practice the transition: look through the optic, then immediately drop your eye level to find the irons. If you’re hunting for the front post for three seconds, your setup isn’t ready. It’s about muscle memory and sight picture clarity. If the two systems fight each other for your attention, you haven’t finished the job yet.
Mastering the Zeroing Iron Sights Procedure for When Optics Fail
When you finally get down to the actual zeroing iron sights procedure, don’t treat it like a secondary chore. I’ve seen too many folks dial in a high-end glass optic and then just “eyeball” the iron sights because they figure they’ll never need them. That’s a mistake. You need to treat those metal components with the same respect you give your primary glass. Start at a distance where you can actually see the front post clearly—usually 25 yards—and work your way out. If you’re trying to master aligning iron sights with red dot or a traditional reticle, remember that your eyes can only focus on one plane at a time.
If you find yourself fighting a blurry image, it’s likely because you’re trying to force your focus between the two. Slow down. The goal isn’t just to hit the bullseye; it’s to ensure that when the optic goes dark, your muscle memory takes over seamlessly. I always tell my students: if you haven’t practiced the transition from the dot to the metal, you haven’t actually mastered your setup.
Five Things Most People Miss Before They Hit the Line
- Don’t just trust the factory preset; those sights are often “close enough” for a paper target but not for a real-world defensive situation. Verify your iron sight zero with your optic every time you change your primary zero.
- Check your sight alignment under different lighting conditions. An optic might look fine in the shop, but if your backup irons are too small or too dark to see in the morning sun or at dusk, they aren’t actually backups.
- Watch your mounting torque. If you’re using an optic with integrated irons, make sure the mount is seated perfectly. A slight tilt in the optic can make your “co-witness” look right to your eye but shoot two inches low.
- Get comfortable with the “transition drill” in your own backyard. It’s one thing to see the iron sights through the glass; it’s another to actually bring the gun up and find that front post when your primary red dot goes dark.
- Clean the interface. I’ve seen more people struggle with backup sights because of a buildup of carbon or grit between the optic and the rail than I have from actual mechanical failure. Keep that mounting surface clean so your sights aren’t sitting crooked.
The Three Things to Remember When the Glass Goes Dark
Don’t treat your backup sights like an afterthought; if you haven’t practiced transitioning from your optic to your irons under stress, you don’t actually have a backup plan.
Zero your irons independently of your optic, because if your red dot dies or gets knocked off-track, you need a reliable, stand-alone reference point that doesn’t rely on the glass.
Make sight inspection part of your routine cleaning, because a bent front post or a loose mounting screw is just as good as a dead battery when you’re staring down a target.
The Work Doesn't End at the Range
At the end of the day, setting up your backup irons isn’t just about screwing a piece of metal onto a rail and calling it a day. It’s about the sequence: ensuring they are physically secure, confirming your co-witnessing allows for a clear sight picture, and most importantly, verifying that zero when you actually pull the trigger. I’ve seen too many folks walk onto the line with a high-end optic, only to realize their backup sights are just decorative because they never actually zeroed them independently. Don’t let your secondary system be a false sense of security; make sure it’s a functional tool that works exactly when your primary gear decides to quit.
We spend a lot of time chasing the newest glass and the most expensive coatings, but the real skill lies in the unglamorous maintenance of the basics. Taking those extra ten minutes to check your backups is what separates a hobbyist from someone who truly understands their equipment. When you’re out there and something goes wrong—and in this sport, something eventually will—you won’t have time to second-guess your setup. You want to be able to drop your head, find that iron sight, and trust your training without a moment’s hesitation. Get the fundamentals right, and the rest will take care of itself.
Frequently Asked Questions
If I’ve already zeroed my optic, do I really need to spend time zeroing the iron sights separately, or can I just rely on the co-witness?
Look, co-witnessing is a great safety net, but it isn’t a substitute for a dedicated zero. If you’re relying on a co-witness that’s off by two inches at fifty yards, you’re just guessing. I’ve seen folks scramble when an optic goes dark, only to realize their irons are pointing at the dirt. Take the extra thirty minutes. Zero those irons separately. It’s the difference between knowing where your lead is and hoping for the best.
How do I know if my backup sights are actually high enough to clear the housing of my specific optic?
You don’t guess on this one; you verify it. Before you even think about zeroing, take your rifle to the bench and look through the irons with the optic in place. If the housing of that glass is blocking your sight picture, no amount of adjustment is going to fix it. If you can’t see a clear path from the rear notch to the front post without hitting the optic, you need taller sights. Period.
Is it better to go with folding sights that sit low, or fixed iron sights that might require a different mounting setup?
It really comes down to what you’re doing with the rifle. If you’re running a dedicated precision setup, low-profile folding sights are the way to go; they stay out of your way until you actually need them. But if this is a general-purpose tool, fixed sights offer a level of ruggedness you just can’t beat. They don’t have moving parts to snag or fail. Pick the one that matches your workflow, not the one that looks best.




