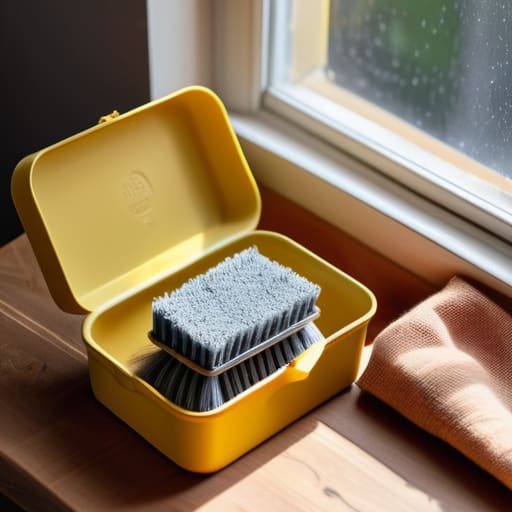
I’ve spent twenty years watching folks walk down the range line, and I can tell you right now that most people think a cleaning kit is just a pile of expensive solvents and a handful of fancy brushes you bought online because the packaging looked professional. That is a mistake. I remember a guy a few years back—good shooter, decent gear—who spent forty minutes mid-session trying to find a specific patch because his kit was nothing but a disorganized junk drawer of mismatched tools. If you want to learn how to build a cleaning kit that actually works when you’re tired and the light is fading, you have to stop shopping for gadgets and start thinking about functionality.
In this guide, I’m going to walk you through the exact way I set up my station, from the basic solvents you can’t live without to the small, unglamorous tools that most beginners overlook. We aren’t going to waste time on overpriced kits or gimmicks that end up sitting in a drawer. Instead, I’ll show you how to assemble a kit that is reliable, portable, and purposeful, ensuring that when you sit down to maintain your rifles, the tools are ready for you—not the other way around.
Guide Overview
Tools & Supplies
- Spray bottles (for liquid solutions)
- Label maker or permanent marker (for identifying contents)
- Funnel (for mess-free pouring)
- White vinegar (1 gallon)
- Baking soda (1 box)
- Concentrated dish soap (1 bottle)
- Microfiber cloths (5-pack)
- Essential oils (1 small bottle)
- Distilled water (1 gallon)
Step-by-Step Instructions
- 1. Start with a proper container. Don’t bother with those flimsy plastic tackle boxes that crack the first time you drop them on a concrete garage floor. You want a sturdy, hard-sided case with some sort of organization inside—ideally something with removable dividers. If you can’t see what you’re looking for at a glance, you’re going to end up using the wrong solvent on the wrong metal, and that’s a headache nobody needs.
- 2. Pick your solvents and oils with intention. You don’t need a chemistry lab, but you do need a dedicated bore cleaner to break down the copper and a high-quality CLP (Cleaner, Lubricant, Preservative) for the moving parts. I’ve seen too many folks try to use household WD-40 to “fix” a dry action; that stuff attracts dust and turns into a grinding paste. Get the right tools for the job, or don’t bother doing the job at all.
- 3. Get a decent set of cleaning rods and brushes. I’m talking about a solid brass or carbon fiber rod that won’t whip around and scratch your rifling. You need a brush that actually fits your caliber—don’t try to force a .30 cal brush down a .22 barrel—and a few different sized patch holders. If your rod is cheap and flimsy, you’re going to end up stuck with a broken piece of metal inside your barrel, and that’s a much bigger problem than a dirty gun.
- 4. Don’t overlook the importance of your patches and swabs. Buy them in bulk. You want clean, lint-free cotton patches that won’t leave behind stray threads. I always keep a stack of pre-cut patches in my kit because it saves time and keeps the process moving. If you’re using old t-shirt scraps, you’re just inviting debris into the tight tolerances of your firearm.
- 5. Grab a good set of specialized tools for the small stuff. A small, stiff nylon brush is essential for getting the grit out of the crevices of a trigger group, and a pair of needle-nose pliers can be a lifesaver when you’re working on a bolt assembly. I also keep a small bore guide in my kit; it keeps the rod centered and prevents you from slamming the cleaning tools directly into the chamber face.
- 6. Finally, add a way to manage the mess. Cleaning a firearm is a dirty business, and you don’t want carbon and solvent tracked all over your workbench or your vehicle. Throw in a few heavy-duty shop rags and a dedicated small tray to catch the small parts like pins and springs. If you don’t have a designated spot for those tiny components, you’ll spend more time looking for them than actually cleaning.
The Essential Cleaning Tools You Cant Afford to Skip
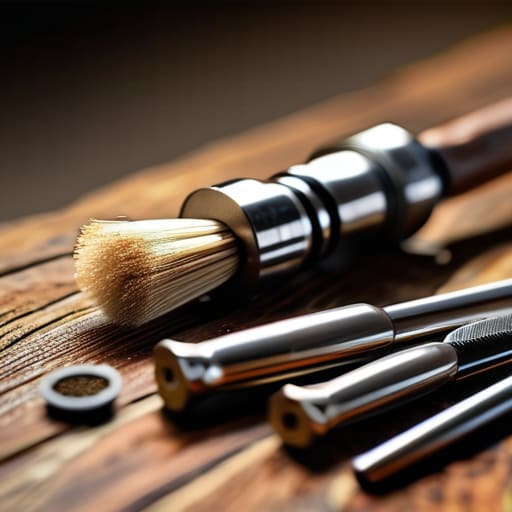
Now, don’t get caught up in the shiny catalogs. You don’t need a specialized, vacuum-sealed kit that costs more than the rifle itself. When I’m looking at a cleaning kit for beginners, I’m looking for utility, not gadgetry. You need a solid set of bore brushes that actually fit your caliber—nothing ruins a morning faster than a brush that’s too small to grab the fouling or too large to pass through the rifling without jamming. Get a decent set of cleaning rods, preferably one-piece if you can swing it, so you aren’t fighting a floppy, multi-piece rod while trying to clear a stubborn carbon build-up.
Beyond the metal, pay attention to your solvents. Some people swear by those eco-friendly cleaning products because they don’t smell like a chemical plant, and there’s nothing wrong with that, but make sure they actually cut the grease. If the solvent doesn’t break down the copper and lead, you’re just moving dirt around. I always tell my students: the tool is only as good as the chemistry behind it. If you have the right brushes and a solvent that actually works, you’ve already won half the battle.
A Cleaning Supplies Checklist for the Habits That Matter
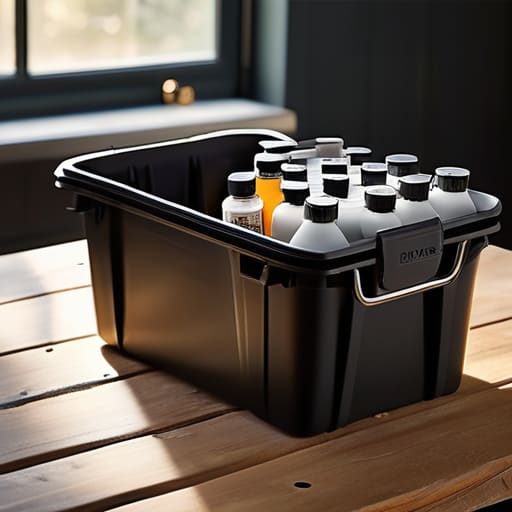
When you’re putting together your cleaning supplies checklist, don’t just think about the items themselves; think about how you’re going to access them. I’ve seen too many guys clutter up their workbench with loose bottles and stray patches, turning a simple maintenance session into a scavenger hunt. I’m a big believer in cleaning caddy organization. If you keep your solvents, brushes, and lubes in a dedicated, portable bin, you aren’t just being tidy—you’re building a workflow. It keeps the workspace clear, which keeps your mind clear, and that’s when the real work happens.
Lastly, don’t get distracted by the flashy, overpriced kits marketed to newcomers. A good cleaning kit for beginners doesn’t need to cost a month’s mortgage; it just needs to be complete. You want a setup that encourages you to actually do the work rather than just looking at it. If your supplies are organized and within arm’s reach, you’ll find yourself performing those small, routine checks more often. Consistency is what prevents the failures I see on the line. If it’s easy to grab your gear, you’ll actually use it.
Five Ways to Keep Your Kit from Becoming a Junk Drawer
- Buy a real case, not a plastic bin. You want something with dividers that actually stay put. If your brass solvent is rolling around the bottom of a bucket next to your bore snakes, you’re going to end up with a mess that’s more headache than help.
- Organize by task, not by tool. Group your solvents, your lubricants, and your mechanical tools into their own little zones. When you’re halfway through a field strip, you shouldn’t be digging through a pile of rags just to find your punch set.
- Don’t skimp on the lighting. I’ve seen too many folks try to inspect a bore by the dim light of a garage ceiling fixture. Get a decent, small LED light for your kit; if you can’t see the copper fouling, you haven’t actually finished the job.
- Keep your rags separate from your solvents. I tell people all the time: have a stack of clean, lint-free cloths for the final wipe-down and a separate pile of “work rags” for the heavy scrubbing. Using a dirty rag to finish a barrel is just asking for carbon to get trapped back in the rifling.
- Build for the tools you actually use, not the ones the salesman told you were fancy. If you’ve spent twenty years using a specific brand of rod or a certain type of oil, stick with it. A kit is only as good as the reliability of the items inside it.
The Bottom Line on Staying Ready
Don’t treat your cleaning kit like an afterthought; if you have to hunt for a specific brush or a clean rag halfway through a job, you’ve already lost the discipline required to do it right.
Quality beats quantity every single time, so invest in the tools that actually work—a cheap, flimsy rod or a bad solvent will do more harm to your barrel than the carbon ever could.
Remember that a well-maintained kit is what makes the unglamorous checks—the ones nobody sees—become second nature rather than a chore you skip.
The Routine is the Reward
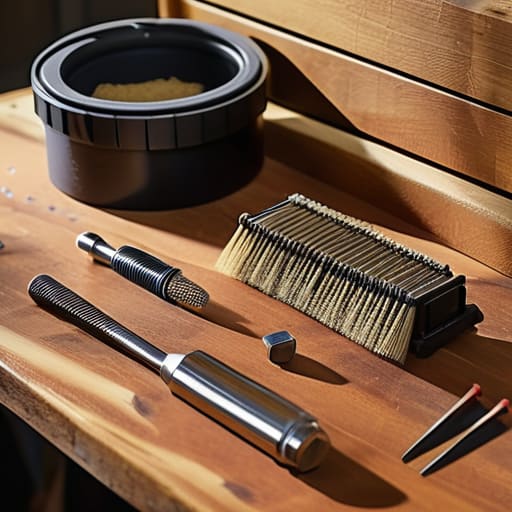
At the end of the day, building this kit isn’t about collecting every fancy gadget or expensive solvent on the shelf. It’s about having the right tools—the brushes, the patches, and the proper oils—ready to go so that maintenance becomes a seamless part of your routine rather than a chore you put off. If you have your kit organized and your supplies stocked, you won’t find yourself halfway through a bore cleaning only to realize you’re missing a cleaning rod or a decent rag. Remember, the goal is to eliminate the friction between you and the work. When you have the right gear within arm’s reach, you stop making excuses and start building the habits that keep your firearms reliable and your range time productive.
I’ve spent twenty years watching people walk onto my line, and the ones who consistently perform well are rarely the ones with the most expensive setups. They are the ones who respect the machine enough to maintain it when no one is looking. Taking care of your gear is a quiet, unglamorous way of showing respect for the sport and for the safety of everyone around you. Don’t view this as just another task on a checklist; view it as the foundation of your discipline. Get your kit right, stick to your process, and I promise you, the shooting will take care of itself.
Frequently Asked Questions
Should I be buying specific solvents for my different calibers, or is one good all-purpose cleaner enough to get the job done?
Look, if you’re running a high-volume rifle or a picky precision bolt-action, you might want a specialized bore solvent to really cut through that heavy carbon. But for most folks, one decent, reliable all-purpose cleaner is plenty. Don’t go overboard buying a chemistry set. Just get one good solvent that works, and spend your money on high-quality patches and a solid bore brush instead. It’s the mechanical action that does the work, not the brand name.
How often should I actually be pulling the kit out to do a deep clean versus just a quick wipe-down after a range day?
Look, a quick wipe-down after every range day is non-negotiable. You want to get that carbon and grit off the action before it settles in. But a deep clean—the kind where you’re running patches through the bore and checking every spring—that’s a different beast. I usually tell folks to do a proper teardown every few hundred rounds, or whenever you notice the cycling getting a little sluggish. Don’t wait for a malfunction to tell you it’s time.
Is it worth investing in a proper cleaning bench, or can I get away with just setting up a mat on my kitchen table?
Look, if you’re just running a quick patch through a barrel, a mat on the kitchen table is fine. But if you’re actually maintaining your gear, you need a real station. A dedicated bench keeps your solvents away from your food and your tools organized where you can reach them without looking. You don’t need a custom workshop, but you do need a stable, dedicated space. Don’t let a messy setup turn into a sloppy habit.




