I was sitting in the cleaning room at the club last Tuesday, watching a guy unbox a “deal” he’d snagged off an auction site, and I could almost feel the headache coming on. He was grinning because he’d saved three hundred bucks, but the moment he bumped that optic, the tracking went sideways. Most people think finding a bargain is just about the price tag, but they don’t realize that learning how to buy a used scope without regret requires more than just a thick wallet and a bit of luck. You can’t just look at the glass through a grainy smartphone photo and hope for the best; if you don’t know what to look for, you aren’t saving money, you’re just pre-paying for a mistake.
I’m not here to give you a sales pitch or a list of shiny new brands to chase. I want to talk about the stuff that actually matters—the mechanical integrity, the seal checks, and the unseen wear that tells you if a scope was cared for or just tossed in a gear bag. I’m going to walk you through the exact inspection process I use, the same way I’d teach a student to check their headspace. We’re going to focus on the grit and the reality of second-hand glass so you can walk onto the range with something you actually trust.
Checking Lens Clarity and Coatings Before You Pay
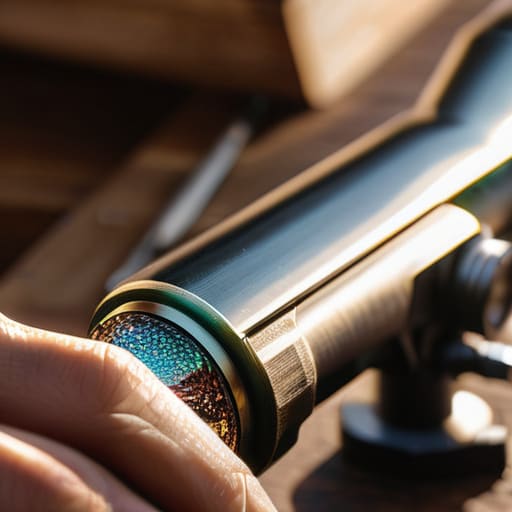
When you’re looking at a scope under a shop light or even just in natural sunlight, don’t just glance at it and nod. You need to be doing some real work checking lens clarity and coatings before you even think about opening your wallet. Take a clean microfiber cloth and a bit of lens cleaner—never your shirt—and check for those tiny, spiderweb scratches that tell you the previous owner was sloppy. If you see any cloudy patches or a milky haze inside the glass, stop right there. That’s usually a sign of identifying internal fogging caused by a failed seal, which means the scope has been through a temperature cycle it couldn’t handle.
Once you’re sure the glass is clear, hold the scope up and look through it at a distant object. You’re looking for any “ghosting” or strange distortions near the edges of the field of view. If the image looks like you’re looking through a bowl of soup, walk away. A scope is a precision instrument, not a piece of hardware store surplus, and once those coatings are compromised, there isn’t much you can do to fix it without spending more than the scope is actually worth.
Identifying Internal Fogging and Hidden Moisture Issues

This is where a lot of folks get tripped up. They’ll spend twenty minutes checking lens clarity and coatings on the outside, thinking they’ve done their due diligence, but they never actually look inside the glass. If you’re looking at a scope in a dimly lit shop or under a single bright bulb, you might miss the telltale signs of a seal failure. I always tell my students to hold the optic up to a steady light source and rotate the tube. You aren’t just looking for dust; you are looking for that hazy, milky film that suggests moisture has found its way into the nitrogen purge.
Once you spot a bit of internal fogging, don’t try to negotiate the price down. If there is moisture in there, the seal is compromised, and that scope is a ticking clock for fungus growth. It might look clear today, but once that humidity gets trapped in the housing, it’s a permanent resident. Identifying internal fogging early is the difference between a tool that lasts twenty years and a piece of scrap metal that fails you halfway through your first hunt.
The Mechanical Checklist: What to Feel Before You Hand Over the Cash
- Test the turret clicks yourself. I don’t care if the seller says they “track perfectly”—you need to dial them through the full range of motion. If the clicks feel mushy, uneven, or if you feel any grit under your fingers, walk away. That’s a sign of internal debris or worn-out spring tension that you won’t be able to fix with a cleaning kit.
- Check the erector tube movement. When you’re adjusting the windage or elevation, there should be a smooth, controlled feel. If you feel any “slop” or a loose, rattling sensation inside the housing, the internal components are likely worn down. A scope that wanders because of loose internals is just an expensive paperweight.
- Inspect the mounting hardware and tube integrity. Look closely at the mounting points and the main tube for any signs of compression marks or deep scratches. If a previous owner over-torqued the rings or dropped the optic, they might have slightly ovalized the tube. A tube that isn’t perfectly round will never hold zero, no matter how much you tinker with it.
- Verify the eye relief and ocular adjustment. Don’t just look through it once; move the scope around. Turn the ocular dial through its entire range to ensure it actually changes the focus. If the diopter is stuck or feels scratchy, it’s a sign that moisture or grit has already compromised the seal.
- Ask the hard question about the “why.” I’ve seen plenty of people try to sell a scope because they “upgraded,” but sometimes they’re selling it because they couldn’t get it to hold zero on their specific rifle. If the seller gets defensive or vague about why they’re parting with it, listen to your gut. I’ve learned that most problems start with a seller who’s hiding a habit of neglect.
The Bottom Line on Your Inspection
Don’t let a clean-looking scope fool you; you have to physically turn every turret and check for play in the erectors yourself, or you’re just buying a very expensive paperweight.
If you see any signs of internal fogging or moisture, walk away immediately—there is no “drying it out” that’s worth the headache of a compromised seal.
Always verify that the coatings aren’t scratched or stripped, because once that light transmission is compromised, no amount of cleaning is going to bring it back.
The Final Inspection
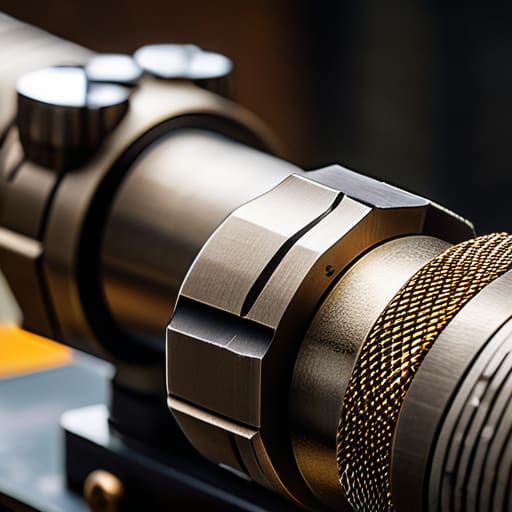
At the end of the day, buying a used optic comes down to being more thorough than the person who owned it before you. You’ve looked at the glass, you’ve checked for that tell-tale internal fogging, and you’ve made sure the turrets aren’t just clicking, but actually holding zero. If the lenses are scratched or the seals look compromised, walk away. It isn’t worth the headache of trying to fix something that was never properly cared for in the first place. Remember, you aren’t just buying a piece of glass; you are buying the reliability of the tool you’re going to depend on when the shot finally presents itself.
I’ve spent twenty years on the line watching people rush through their gear prep, and it’s usually that rush that leads to a wasted afternoon or a missed opportunity. Taking the extra ten minutes to inspect a used scope properly might feel tedious, but that’s the difference between a successful outing and a frustrating one. Treat your equipment with the same respect you show the range rules, and it’ll do its job when it matters most. Get the fundamentals of your gear right, and the rest of the sport will take care of itself.
Frequently Asked Questions
How can I tell if the turrets are actually tracking straight without a specialized testing jig?
You don’t need a fancy jig; you just need a steady hand and a bit of patience. Set the scope in a vice or a heavy vise, mount it to a stable rest, and zero it in on a target at a known distance. Dial the turrets a set number of clicks—say, ten mils—and see if your group actually moves where it’s supposed to. If it drifts or jumps, walk away.
Is it worth buying a scope that has been sitting in a garage, or is the internal damage already done?
It depends on how much “sitting” we’re talking about. If it was in a sealed case, you’re likely fine. But if it’s been breathing garage air, you’re looking at more than just dust. Humidity is a slow killer; it creeps into the seals and eats at the coatings or creates permanent haze inside the glass. If you see any signs of fungal growth or spotting behind the lens, walk away. You can’t clean what you can’t reach.
What are the red flags to look for in the mounting rings and tube that suggest the scope has been abused?
Look closely at the mounting rings. If you see deep gouges or circular scratches around the screw holes, someone was cranking those rings down too hard or using the wrong tools. Check the tube itself for any dents or “dings.” Even a small deformation can throw your tracking off or cause the internal lenses to bind. If the finish is rubbed raw in spots, it’s been bounced around in a pack too much. Don’t buy it.




