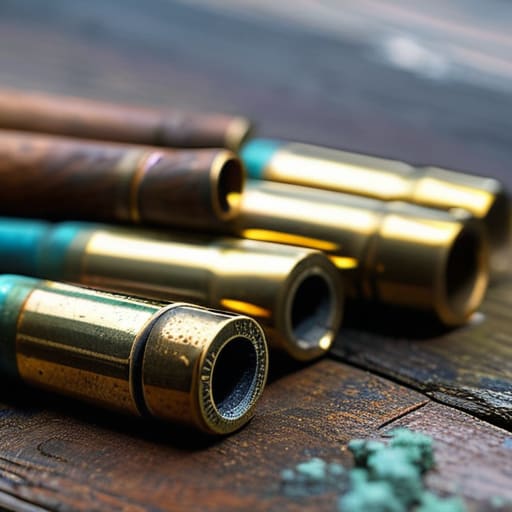
I remember a Saturday morning about ten years back, standing on the line when a guy reached into an old, damp cardboard box and pulled out a handful of rounds that looked fine to the untrained eye. He was ready to chamber them, but I saw that slight, oily residue weeping from the primer pocket and a tiny, hairline crack in the brass that most folks would miss. It’s a heavy feeling, knowing that a single bad decision can turn a fun afternoon into a trip to the ER. People think you need a laboratory or a high-end digital caliper to stay safe, but learning how to recognise ammunition that should not be fired is actually about training your eyes to see the small, ugly details before they become big, expensive problems.
I’m not here to sell you a fancy inspection kit or some overpriced training manual. I want to talk about the unseen defects—the corrosion, the dented rims, and the weird discolorations—that I’ve spent twenty years spotting from the safety officer’s chair. I’m going to show you the practical, hands-on way to vet your brass so you can focus on your grouping instead of worrying about your gear.
Unreliable Ammunition Warning Signs You Cant Afford to Ignore
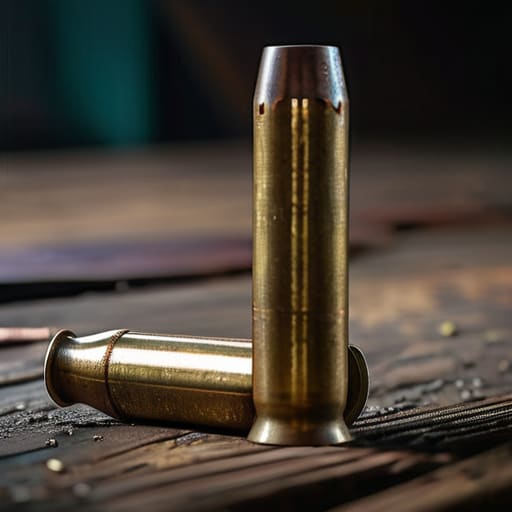
First thing you do when you open a box isn’t checking your zero; it’s looking at the brass. I’ve seen too many folks assume that if it’s in a box, it’s ready to go. You need to be looking for the small stuff, like signs of primer corrosion—that greenish or crusty buildup around the center cup. If that primer is compromised, you’re looking at a light strike or, worse, a hangfire that’ll make your heart skip a beat. It’s not just about whether it will fire, but how it behaves when it does.
Next, run your eyes down the side of the casing and check the base. You’re looking for case head cracks or any weird, bulging geometry near the rim. If the metal looks stressed or the taper is off, leave it alone. I also tell my students to perform a quick bullet deformation inspection; if the projectile looks squashed or off-center, it’s going to tumble the moment it hits the rifling. It’s boring, repetitive work, but it’s the only way to ensure the round behaves the way it was designed to.
Spotting Case Head Cracks Before They Ruin Your Day
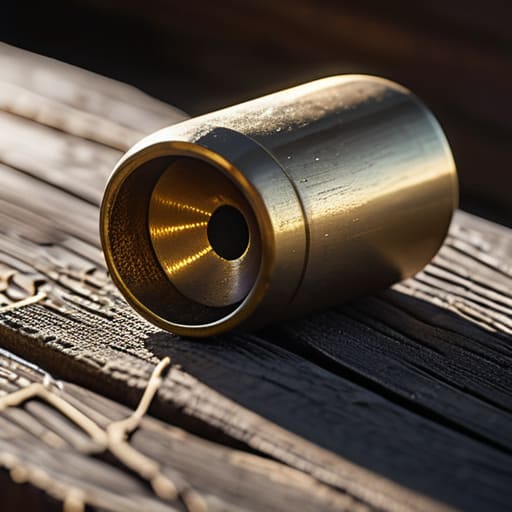
Now, if you’re just grabbing rounds straight from a box and heading to the line, you’re playing a dangerous game. I’ve seen enough brass fly across a range to know that the most dangerous flaws are the ones hiding right at the base. You need to get comfortable looking at the case head cracks that most folks ignore. I’m talking about those tiny, hairline fissures spreading out from the primer pocket or running along the rim. If you see anything that looks like a microscopic spiderweb in the metal, don’t even think about chambering it. That’s not a “maybe” situation; that’s a “put it in the trash” situation.
When you’re doing your rounds, don’t just look at the tip of the bullet. You need to perform a proper bullet deformation inspection alongside a close look at the base. Sometimes a round looks perfectly fine from the front, but the pressure from a previous shot has already compromised the structural integrity of the brass. If the metal looks stretched or uneven near the firing pin strike, it’s a sign the brass has reached its limit. Check the base every single time. It takes two seconds, but it’s the difference between a clean shot and a catastrophic failure.
Five Quick Checks Before You Load the Magazine
- Watch the primer. If that little circle in the center of the base looks pushed in, dented, or even slightly off-center, leave it alone. A seated primer that isn’t flush is a recipe for a light strike or, worse, a hangfire that’ll make you jumpy.
- Check your powder levels if you’re reloading. I’ve seen plenty of folks get careless with their measurements, but a single grain too many is all it takes to turn a smooth cycle into a violent one. If the charge looks uneven across the batch, toss it.
- Look for those “crush” marks on the rim. If the brass looks like it’s been pinched or squeezed in certain spots, it’s likely been through a rough extraction cycle already. That weakened metal won’t hold up to the pressure of a fresh shot.
- Mind the seating depth. If a bullet is sitting too deep or too shallow in the neck, it’s going to mess with your pressure curves. Consistency is the name of the game; if one round looks like it’s wearing a different hat than the rest, don’t feed it to your rifle.
- Inspect the projectile itself. You’re looking for wobbles, dents, or any sign that the lead or copper has been compromised. A deformed bullet doesn’t just fly poorly; it can cause all sorts of unpredictable issues once it hits the rifling.
The Bottom Line on Your Brass
If you see a crack, a dent, or a weird discoloration in the brass, don’t try to “make it work”—just set it aside and move on.
Always inspect your rounds under good light before they ever touch the loading tray or the chamber; catching a defect early is much easier than dealing with a primer failure at the bench.
Treat your ammunition like any other piece of precision machinery; if it looks off, it probably is, and your safety is worth more than the cost of a few wasted rounds.
The Final Check
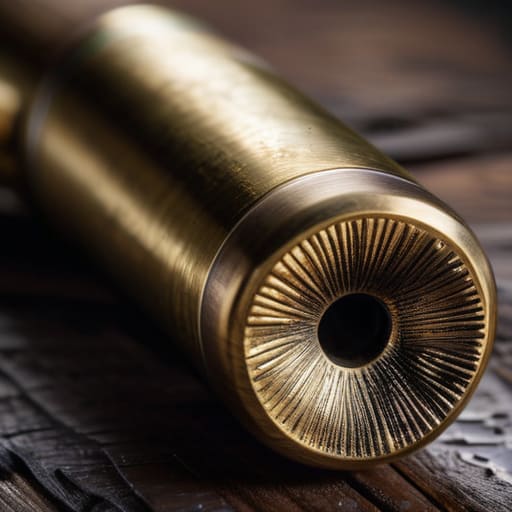
At the end of the day, spotting bad ammo isn’t about being an expert ballistics engineer; it’s about having the discipline to look before you load. We’ve talked about the obvious stuff—the dented primers and the seated bullets that look a little too deep—but don’t let yourself get lazy with the subtle things like case head cracks or weird discolorations in the brass. If a round looks even slightly off, or if your gut tells you something isn’t right, you don’t “test it out” to see if it works. You set it aside, you mark it, and you move on. If you have to ask yourself if a round is safe, it isn’t.
I’ve spent twenty years on the firing line, and I can tell you that nobody ever walked away from a range feeling embarrassed because they tossed a suspicious round in the scrap bin. They only walk away embarrassed when they try to force a bad piece of brass through a chamber. Taking those extra few seconds to inspect your kit might feel tedious when you’re eager to get your groups on paper, but that’s exactly where the real marksmanship happens. Treat your ammunition with the same respect you treat your rifle, and you’ll find that the shooting part becomes a lot more enjoyable when you aren’t worrying about what’s happening inside the steel.
Frequently Asked Questions
If I find a box of old brass that looks a bit tarnished but otherwise fine, is it worth a closer look or should I just toss the whole lot?
Don’t toss the whole lot just yet. Tarnished brass is usually just oxidation—it’s surface-level stuff. If it’s just dull or dark, a good cleaning in some ultrasonic solution or even a simple brass polish will bring it right back. But, you have to look deeper than the color. Check for those tiny pits or deep scratches in the metal. If the tarnish is hiding actual corrosion or pitting, that’s when you start tossing.
How much of a difference does it actually make to check the primer seating on handloads versus factory stuff?
With factory stuff, you’re mostly looking for the obvious—a primer that’s popped or sitting crooked. But with handloads? That’s where the real work is. A seated primer that’s too shallow or too deep changes your ignition timing and pressure, and that’s how you end up with a bad day. I’ve seen plenty of folks skip this because they’re in a hurry. Don’t. If you’re loading your own, the primer is part of the math.
Can I tell if a round has been exposed to moisture just by looking at it, or do I need to go through a full teardown?
You don’t need a teardown, but you do need to look closer than most people do. Start with the primer; if it looks pitted or has a dull, cloudy film, moisture’s been working on it. Check the brass for any green or white crusty buildup—that’s oxidation, and it’s a bad sign. If the powder looks clumped or discolored through the case mouth, leave it alone. If you’re unsure, don’t risk it. Better a wasted round than a squib.




