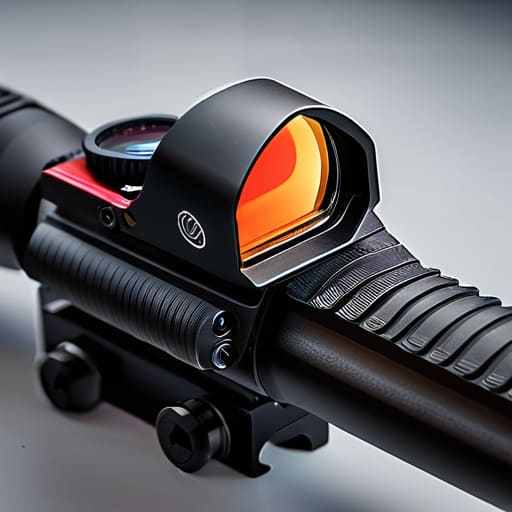
I watched a guy out on the line last Saturday spend ten minutes trying to figure out why his target looked like it was being viewed through a funhouse mirror. He had a high-end setup, but he was fighting his own gear because he didn’t understand how to fit a magnifier behind a red dot in a way that actually worked with his natural cheek weld. Most folks think you just clamp the thing on and start pulling triggers, but if that eye relief is off by even a fraction of an inch, you aren’t shooting a precision optic—you’re just staring at a blurry mess.
I’ve spent twenty years watching people struggle with the same mechanical hiccups, and I’m tired of seeing good shooters get frustrated by preventable setup errors. In this guide, I’m going to walk you through the actual, unglamorous process of getting that magnifier dialed in. We aren’t going to talk about fancy marketing fluff; we’re going to focus on the mechanical reality of eye relief, mounting height, and finding that sweet spot where the glass disappears and the target stays clear. Get the foundation right, and the shooting takes care of itself.
Guide Overview
Tools & Supplies
- Allen wrench set (for mounting screws)
- Microfiber cloth (for lens cleaning)
- Magnifier mount (compatible with rail type)
- Magnifier (3x or 5x magnification)
- Red dot sight (pre-installed)
Step-by-Step Instructions
- 1. Start by getting your red dot mounted and torqued down to your preferred position. You can’t build a foundation on a moving target, so make sure that primary optic is rock solid before you even think about touching the magnifier mount.
- 2. Slide your magnifier into its mount, but don’t go tightening any screws just yet. You want to leave it loose enough so you can slide it forward or backward along the rail. If you tighten it down immediately, you’re going to spend the next hour fighting with a hex key instead of actually shooting your rifle.
- 3. Now, get behind the rifle and get into your natural shooting stance. This isn’t a workbench task; it’s a field task. I want you to find your natural eye relief by moving your head back and forth until the image looks clear and you aren’t seeing that annoying black ring around the edges. Once you find that “sweet spot,” stop moving.
- 4. Once you’ve found where your eye naturally wants to sit, check the distance between the rear lens of the magnifier and the front lens of your red dot. You’re looking for a balance where the dot stays crisp but you aren’t feeling like you’re squinting through a straw. If the image looks blurry or “doubled,” you need to adjust the spacing by sliding the magnifier mount slightly.
- 5. With the magnifier positioned where the image is clearest, it’s time to secure the hardware. Tighten the mounting screws in small increments, alternating between them so you don’t pull the mount to one side. You want the tension to be even and consistent across the entire rail interface.
- 6. Do a final check by taking a few dry fire repetitions—ensure the rifle is cleared, of course—to see if the magnifier shifts when you’re working the charging handle or absorbing recoil. If it stays put, you’ve done it right. If it wiggles, you didn’t tighten it enough, and you’ll be chasing shadows on your target all day.
Mastering Mounting Magnifier to Optic Rail Solutions
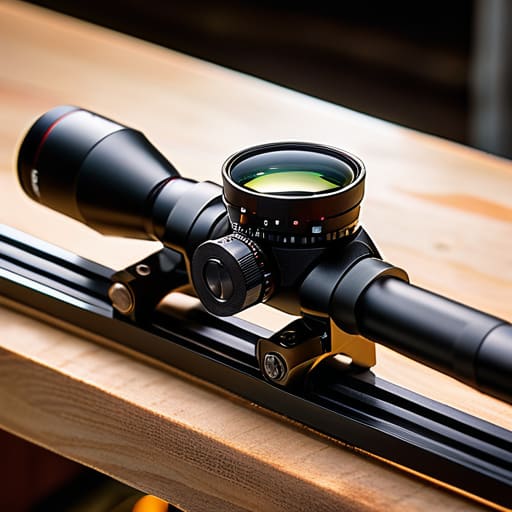
Now, once you’ve got the basics down, you have to think about how that magnifier actually sits on your setup. I’ve seen plenty of folks spend a fortune on high-end glass only to ruin the experience because they chose a poor mounting solution. If you’re looking at different optic mounting solutions, pay attention to the height. If the magnifier sits too high or too low relative to your red dot, you’re going to fight a losing battle with your cheek weld. You want a setup that feels natural, not something that forces you to crane your neck just to see the target.
Another thing that trips people up is the relationship between the two pieces of glass. You need to be mindful of optical co-witness alignment; if your magnifier isn’t centered perfectly with the dot, you’ll find yourself chasing shadows instead of hitting steel. I always tell my students to take an extra minute to check the distance between the lenses. If you can’t get a clear, consistent picture, you’re likely dealing with a parallax issue that no amount of aiming will fix. Get the geometry right first, and the rest of the shooting will follow.
Solving Optical Co Witness Alignment and Parallax Error Correction
Once you’ve got the hardware mounted, you’re going to run into the real headache: trying to get your eyes to see two different things at once. If your setup is off, you’ll find yourself hunting for the dot through the glass, which is a quick way to lose a target in a real situation. Achieving proper optical co-witness alignment isn’t just about where the glass sits on the rail; it’s about the relationship between your eye and the lens. If you feel like you’re looking through a tunnel or the red dot seems to jump around when you move your head, you haven’t found that sweet spot yet.
This is where most folks get frustrated and give up. You have to treat magnifier eye relief adjustment like a fine-tuning process, not a “set it and forget it” task. I’ve seen too many shooters struggle with parallax error because they didn’t realize that even a fraction of an inch in distance can throw the whole image off. Don’t be afraid to adjust your cheek weld or move the magnifier slightly forward or back on the rail. It’s about finding that one specific distance where the dot stays put, no matter how much you shift your stance.
Five Things I’ve Learned from Watching Too Many People Mess Up Their Setup
- Don’t get married to your eye relief right away. You might think you’ve found the sweet spot, but once you’re actually in a shooting stance—shoulders engaged, cheek weld firm—that distance is going to change. Move the magnifier back and forth a few inches while you’re actually aiming, not just while sitting at your workbench.
- Watch out for the “shadow effect.” If you position the magnifier too far back or at a weird angle, you’ll see a dark ring around your field of view that’ll drive you crazy. It’s not a defect in the glass; it’s just poor geometry. Adjust the distance until that image looks clean and fills your vision.
- Stop neglecting your torque settings. I’ve seen more magnification issues caused by a loose mount than by bad optics. If those mounting screws aren’t tight, your magnifier will shift every time you recoil, and you’ll be chasing a moving target that isn’t actually moving. Use a torque wrench, not your “gut feeling.”
- Check your co-witness under pressure. It’s easy to line everything up while you’re standing there calmly, but once the heart rate goes up, your head position won’t be perfect. Make sure that if you drop the magnifier out of the equation, your red dot is still sitting right where you need it to be for a quick transition.
- Mind the height. If you mount your magnifier too high or too low relative to your red dot, you’re going to fight your own anatomy to get a sight picture. You want a natural cheek weld that doesn’t feel like you’re straining your neck just to see the reticle. If it feels awkward, it’s probably mounted wrong.
The Bottom Line on Magnifiers
Don’t get married to one specific mount right out of the gate; you’re going to need to tweak the position to find where your eye naturally sits.
If you can’t see a clear, single dot when you look through the glass, stop shooting and fix your eye relief—you’re just fighting the optic instead of using it.
Always double-check your co-witness after you tighten everything down, because a millimeter of movement during installation can ruin your point of impact.
Getting It Right the First Time
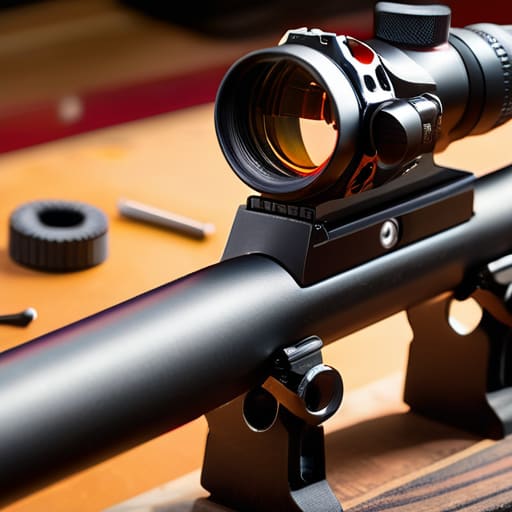
At the end of the day, getting a magnifier to play nice with your red dot isn’t about having the most expensive mount in the shop; it’s about the small, tedious details. You’ve got to get that eye relief dialed in so you aren’t fighting a black ring every time you shoulder the rifle, and you need to ensure your co-witness is solid enough that you aren’t hunting for a dot when things get fast. If you skip the step of checking your parallax or you just slap the magnifier on without checking the rail spacing, you’re going to spend your entire range session fighting your gear instead of working on your fundamentals. Take the extra five minutes to torque it down and verify the alignment now, because fixing a bad setup on the firing line is a lot harder than doing it right on your workbench.
I’ve spent twenty years watching people walk onto the line with gear that was half-cocked, and it usually leads to nothing but frustration and wasted brass. My advice is to treat your setup with the same respect you give your range safety protocols. When your optics are properly aligned and your eye relief is consistent, the gear disappears, and you’re left with nothing but the shot. Master the unglamorous work of the setup, and I promise you, the shooting will take care of itself.
Frequently Asked Questions
If I move my magnifier to a different position on the rail, am I going to have to re-zero my red dot?
The short answer is no, you aren’t changing the zero of the red dot itself. The dot is still hitting where it always did. But you are changing the relationship between your eye and that dot. If you slide that magnifier back or forward, your eye relief changes. If you don’t adjust your head position to match, you’re going to see shadows or a tiny, distorted dot. Move the glass, then re-dial your eye relief.
Is there a specific distance I should aim for between the two, or is it just a matter of what feels comfortable for my eye?
It’s a bit of both, but let the eye lead the way. There isn’t a magic number on a ruler, but there is a “sweet spot” where you stop seeing that black ring around the edges. If you’re too close, you’ll get a tunnel effect; too far, and you’ll lose that crisp image. Move it back until the field of view feels natural, then lock it down. If it feels like you’re looking through a straw, it’s too far.
How do I know if my magnifier is actually causing parallax issues, or if it's just my own eye alignment?
It’s a common question, and usually, the culprit is the shooter, not the glass. Here’s the test: lock your head into a consistent cheek weld and look through the magnifier. If the reticle seems to dance or shift when you move your eye slightly, that’s parallax. But if the dot stays put and the image just gets blurry or dark, that’s your eye alignment. It’s about eye relief, plain and simple.




