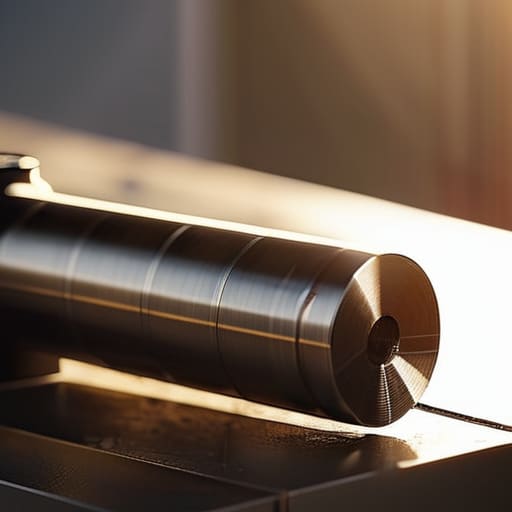
I’ve sat on the line for twenty years, and I’ve watched more shooters waste an entire afternoon chasing a zero that was never actually there. They spend two hours adjusting their windage and elevation, sweating over every shot, only to realize the problem wasn’t their technique—it was their setup. Most folks think they need to head straight to the long-range targets to find their rhythm, but that’s a mistake. If you want to stop fighting your equipment and start actually shooting, you need to learn how to use a bore sighter before you ever step foot on the firing line. It isn’t about being fancy or high-tech; it’s about doing the unseen work that ensures your first live round actually goes where you expect it to.
In this guide, I’m going to skip the fluff and show you the practical, step-by-step way to get your optics aligned. I’ll walk you through the setup, the common mistakes that trip up even the experienced guys, and the exact way to verify your alignment so you aren’t chasing shadows all day. We’re going to do this right, the first time.
Guide Overview
Tools & Supplies
- Bore sighter (A device used to align the optic with the barrel)
- Firearm (The rifle or shotgun being sighted)
- Optic/Scope (The magnification device being installed)
- Dummy rounds or snap caps (Quantity matching number of bores)
- Cleaning rod (1 unit for barrel inspection)
Step-by-Step Instructions
- 1. First, make sure you’re in a safe, stable environment—ideally at your workbench or a clean table, not out on the firing line. You need to be able to sit or stand comfortably without leaning on the rifle. Clear the action, double-check that chamber yourself, and set the rifle on a stable rest or a sandbag. If the rifle is wobbling, your sighting is going to be garbage before you even start.
- 2. Take your bore sighter and carefully insert it into the muzzle. You want it to seat firmly, but don’t go forcing it like you’re trying to hammer a peg. Most of these tools are designed to slide in just right. Once it’s in, look through your optic as you normally would. You’re looking for that little aiming point to appear in your field of view, and it should be dead center in your reticle.
- 3. Adjust your optic’s windage and elevation turrets until that aiming point is sitting right in the middle of your crosshairs. Don’t get impatient here. If you have a high-magnification scope, turn it up to the highest setting to make sure you aren’t just seeing a blurry smudge. You want to be precise with these adjustments because even a tiny error at the bench becomes a massive miss at a hundred yards.
- 4. Once you think you’ve got it centered, take a breath and look through the scope one more time from a few different slight angles. I’ve seen guys think they’re centered only to realize they were looking at a parallax error they created by sitting too close to the glass. If it stays centered regardless of how you shift your head just a hair, you’re on the right track.
- 5. Now, pull the bore sighter out of the barrel. Do this slowly and carefully; you don’t want to nick the rifling or scratch the finish on a rifle you actually care about. Once it’s out, do one final sweep of the bore with a flashlight just to make sure there isn’t any debris or old fouling that might throw off your actual shot.
- 6. The last thing you do is head to the range, but don’t go expecting a perfect group immediately. The bore sighter tells you where the bore is pointing, not necessarily where the bullet will land once it hits the air and deals with gravity. Think of this as your baseline. You’ve done the prep work, so now you can actually focus on your fundamentals instead of chasing zeros all afternoon.
The Mechanical Bore Sighter Setup Precision Before the First Shot
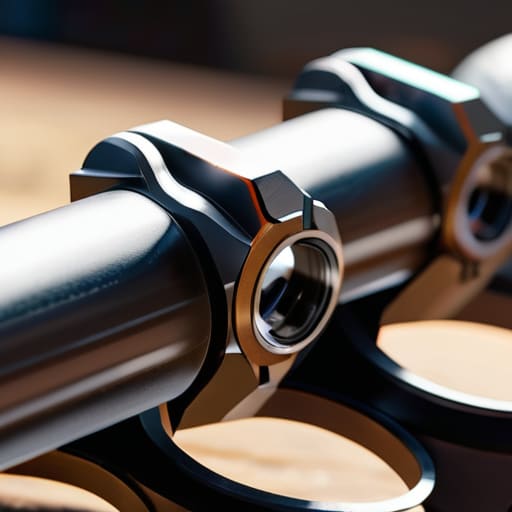
Now, before you start cranking on those adjustment turrets, you need to understand that a mechanical bore sighter isn’t a magic wand; it’s a tool for establishing a baseline. When I’m helping a new shooter with their mechanical bore sighter setup, I always tell them to treat the rifle like a piece of precision machinery, not a piece of hardware from a big-box store. If your scope isn’t seated perfectly in those rings, or if your mounts aren’t torqued to spec, you’re just chasing ghosts. You have to ensure that your optical sight alignment is physically sound before you even think about looking through the lens.
I’ve seen plenty of folks skip this and head straight to the bench, only to spend an hour fighting a rifle that was never truly aligned to begin with. The real value here is in improving accuracy without wasting ammo. By taking the extra two minutes to verify that your bore and your glass are actually pointing in the same general direction, you’re doing the heavy lifting before you ever pull a trigger. It’s about eliminating the guesswork so that when you finally do move to live fire, you’re fine-tuning a solution rather than searching for a problem.
Bore Sighting vs Live Fire Saving Your Wallet and Your Patience
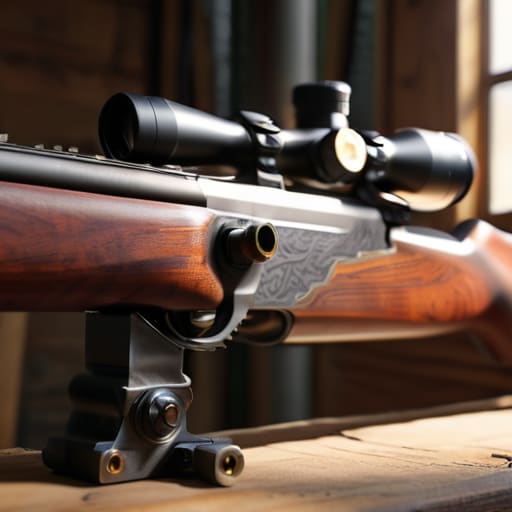
Look, I’ve seen plenty of guys spend their entire Saturday morning—and half their paycheck—chasing groups that won’t tighten up, only to realize they were fighting a fundamental misalignment from the jump. There is a massive difference between bore sighting vs live fire; one is about establishing a baseline, and the other is about fine-tuning your precision. If you skip the sighting process and go straight to the range, you aren’t “testing your gear,” you’re just throwing money down the brass pile.
The real goal here is improving accuracy without wasting ammo on those first twenty rounds that usually end up in the dirt because your optic was looking two inches left of the bore. Think of the bore sighter as your insurance policy. It gets you in the ballpark so that when you finally start the actual riflescope zeroing process, you’re making micro-adjustments rather than cranking your turrets like you’re trying to tune a radio. Do the prep work in the shop or on the bench first. It saves your sanity, it saves your wallet, and it keeps the line moving.
Five Things I’ve Learned Watching People Waste Time at the Bench
- Stop moving. If you’re trying to adjust your scope while you’re fidgeting or shifting your weight, you’re just chasing a ghost. Get your body set, get your cheek weld consistent, and stay dead still while you’re looking through that tube.
- Mind your eye relief. I see it all the time—people set their alignment perfectly, but then they pull the rifle too far away from their face when they actually go to shoot. Make sure where you’re sighting is where you’ll actually be looking when the rifle is in your shoulder.
- Don’t trust a dirty bore. If there’s a chunk of carbon or a bit of copper fouling halfway down the barrel, your bore sighter is going to lie to you. Clean the bore thoroughly first, or you’ll spend your whole afternoon wondering why your groups look like buckshot.
- Check your mounting screws. There is no point in precision sighting if your scope rings are loose. Give them a quick touch with a torque wrench before you even bother with the sighter; a shifting scope makes all this work useless.
- Remember that this is a starting point, not a solution. A bore sighter gets you in the ballpark so you aren’t shooting at the dirt, but it isn’t a substitute for live fire. Don’t get complacent just because you think you’re zeroed.
The Bottom Line Before You Hit the Range
Don’t treat the bore sighter like a suggestion; use it to get your alignment close enough that your first live round actually tells you something about your zero instead of just wasting lead.
A bore sighter isn’t a magic wand that replaces a real zero, but it is the difference between a productive afternoon at the bench and spending two hours chasing shadows because your scope was off by a hair.
Take the extra five minutes to do the setup right—check your mounting screws and ensure the sighter is seated true—because if your foundation is sloppy, the tool won’t help you.
The Last Check Before the Line
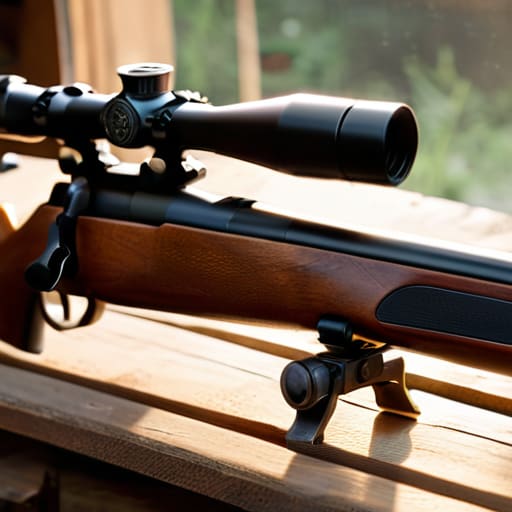
At the end of the day, using a bore sighter isn’t about being fancy or overcomplicating your setup. It’s about the simple, unglamorous work of making sure your optic is actually talking to your barrel before you spend a dime on brass. You’ve gone through the setup, you’ve aligned the sight through the bore, and you’ve confirmed that you aren’t starting your session with a massive mechanical disadvantage. If you take the time to do the work correctly during this stage, you won’t spend the next two hours fighting your adjustment turrets or wondering why your groups look like a shotgun pattern. It’s about establishing a solid foundation so that when you finally pull that trigger, you’re actually shooting the rifle, not just chasing a phantom zero.
I’ve spent twenty years watching folks rush the process, only to end up frustrated and broke by noon. They think they can skip the prep work and just “dial it in” on the range, but that’s a recipe for a long, expensive afternoon. Real proficiency in this sport comes from the habits you practice when no one is watching. Treat your bore sighting with the same respect you give your safety checks, and you’ll find that the shooting part starts to take care of itself. Remember, precision is a choice you make long before you ever engage a target. Get it right the first time, and the rest will follow.
Frequently Asked Questions
If my bore sight shows I'm hitting center, does that mean I'm actually zeroed, or am I just setting myself up for a false sense of security?
It’s a false sense of security, plain and simple. A bore sighter tells you where the barrel is pointing, but it doesn’t account for the physics of a projectile leaving the muzzle. It gets you in the ballpark so you aren’t wasting expensive brass chasing shadows, but it isn’t a zero. Think of it as a rough sketch; you still have to paint the actual picture with live fire.
Can a bore sighter actually help me fix a parallax issue, or is it strictly for basic alignment?
No, it won’t fix your parallax. A bore sighter is strictly for mechanical alignment—getting the barrel pointed where the glass thinks it’s pointing. Parallax is an optical issue within the scope itself, usually involving how your eye sits behind the lens or how the reticle shifts at distance. Use the sighter to get on the paper, then use live fire to dial in those fine optical adjustments. Don’t expect a tool to fix a scope’s internal physics.
How much of a difference does it make if I'm using a cheap plastic bore sighter versus one of those high-end optical versions?
Look, if you’re just trying to get the barrel roughly aligned with the scope so you aren’t chasing zeros for an hour, that plastic one works fine. It gets the job done. But if you’re working with a high-precision build or a long-range optic, the cheap stuff can be a bit finicky. It’s about the tool matching the task. Use the plastic one to get close, then use the high-end one when precision actually matters.




