
Most folks think that learning how to set up a cleaning bench is about buying the most expensive lighted magnifying lamp or a fancy, multi-tiered organizer from a catalog. They spend hundreds of dollars on gear they’ll barely use, only to end up with a cluttered mess that makes them dread the task. I’ve spent twenty years watching shooters struggle with a pile of solvent-soaked rags on a kitchen table, and let me tell you, that isn’t a workspace; it’s a recipe for a mistake. You don’t need a showroom; you need a station that respects the mechanics of your tools and the discipline of your hands.
In this guide, I’m going to walk you through the practical reality of building a station that actually works. We aren’t going to talk about aesthetics or “lifestyle” setups; we are going to focus on ergonomics, lighting, and organization that keeps your focus on the steel and not on where you left your bore brush. I’ll show you how to arrange your essentials so that your movements become muscle memory, ensuring that when you sit down to work, the job gets done properly and safely every single time.
Guide Overview
Tools & Supplies
- Measuring tape for sizing the workspace
- Screwdriver for assembling storage units
- Level to ensure a flat surface
- Folding table or workbench base (1 unit)
- Waterproof silicone mat (1 unit)
- Plastic organizing bins (3-5 units)
- Spray bottles for cleaning solutions (3 units)
- Microfiber cloths (pack of 5)
- Adhesive labels for organization (1 pack)
Step-by-Step Instructions
- 1. First, you need to pick a spot that isn’t a high-traffic zone. I’ve seen too many folks try to clean a rifle on the dining room table while the family is trying to eat, and that’s how solvents end up on the good wood or a small part rolls under the refrigerator. Find a corner in the garage or a dedicated workspace where you won’t be interrupted. You want a surface that is stable, level, and easy to wipe down when the inevitable oil spill happens.
- 2. Get yourself a real workbench or a heavy-duty table, not a folding card table. A proper bench needs to be at a height where you aren’t hunching over like a question mark; if you’re straining your back, you’re going to start making careless mistakes with your tools. If you’re working with older bolt actions like the ones I restore, you need a solid base that won’t shift when you’re applying pressure to a stubborn cleaning rod.
- 3. Lighting is the part everyone forgets until they’re squinting at a dark receiver. You can’t clean what you can’t see, and you certainly can’t spot carbon buildup in the crevices of a bolt group under a single dim bulb. Get a dedicated task lamp—something with an adjustable neck—and position it so it shines directly into the action. If you can’t see the grit, you aren’t actually cleaning.
- 4. Lay down a dedicated mat to protect both your bench and your hardware. I prefer a heavy rubber mat or even a piece of thick leather; it keeps your small parts from bouncing across the floor the second they slip out of your fingers. A good mat also acts as a visual boundary for your workspace, keeping your solvents, oils, and brushes contained in one organized zone.
- 5. Organize your tools by frequency of use. You don’t want to be digging through a messy toolbox every time you need a single bore brush. Keep your essential cleaning rods, patches, and solvent bottles within arm’s reach, and keep your specialized tools—like those fine-thread picks or specialized punches—in a small tray or organizer. If your gear is a mess, your maintenance habits will be a mess too.
- 6. Set up a proper ventilation plan, even if you’re working indoors. Solvents are fine in small amounts, but breathing in concentrated fumes for an hour is a quick way to get a headache or worse. Open a window or keep a small fan running to move the air. It’s a small step, but respecting the chemicals is just as important as respecting the firearm.
- 7. Finally, build in a dedicated spot for your “parts tray.” When you start disassembling a trigger group or a bolt assembly, those tiny springs and pins are your worst enemies. Use a magnetic tray or a partitioned container so that everything stays exactly where you put it. If you lose a spring because you didn’t have a plan, you haven’t just wasted time; you’ve compromised the function of the tool you’re trying to care for.
Ergonomic Workstation Design for the Long Haul
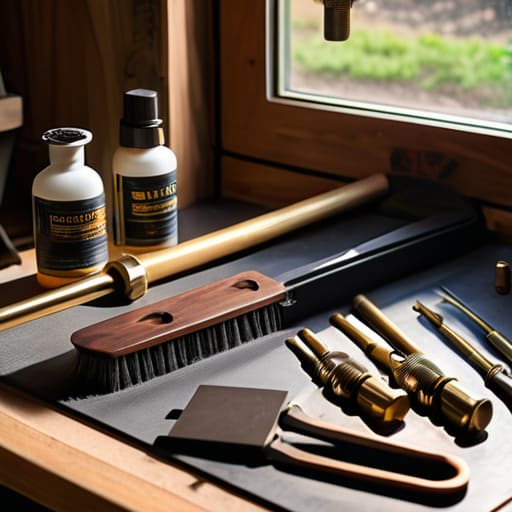
You can have the best tools in the world, but if you’re hunched over like a question mark for two hours, you’re going to end up with a sore back and a sloppy job. I’ve seen too many folks try to clean a long gun on a low coffee table, only to find themselves squinting and straining by the time they reach the bolt assembly. Proper ergonomic workstation design means getting your bench at a height where you can work with your elbows at a natural angle. You want to be able to see the fine details without burying your nose in the receiver.
Lighting is the other thing people overlook until they’ve spent twenty minutes hunting for a speck of carbon in a dark corner. Don’t rely on a single overhead bulb; you need dedicated task lighting for cleaning tasks that can be moved around. A flexible lamp that lets you direct light exactly where the bore meets the chamber makes a world of difference. When you can actually see what you’re doing, you stop rushing, and when you stop rushing, you start making mistakes. Keep it bright, keep it level, and keep your spine straight.
Task Lighting for Cleaning Tasks You Wont Regret
If you’re squinting at a bolt carrier group or trying to find a hairline crack in a receiver, you aren’t doing it right. I’ve seen too many folks work under a single, dim overhead bulb, only to end up with eye strain and missed debris. You need dedicated task lighting for cleaning tasks that you can actually control. I prefer a heavy-duty, adjustable swing-arm lamp. It lets you direct the light exactly where the metal meets the bore, rather than just washing out the whole workspace with a flat, useless glare.
Don’t settle for anything that flickers or casts heavy shadows right where you’re working. A good LED lamp with a high color rendering index is worth every penny because it helps you see the actual color of the fouling and the true state of the metal. When you integrate this into your broader ergonomic workstation design, you’re doing more than just making things easier to see; you’re ensuring you don’t miss the small, critical details that keep a rifle running reliably. See the grit, or it’ll find its way into your action.
The Details That Keep You From Making a Mess or a Mistake
- Keep your solvent and oil in a dedicated tray or a specific corner of the bench. You don’t want a spill turning your entire workspace into a greasy slip hazard, and you certainly don’t want to be hunting for a rag when you’ve got a handful of carbon on your fingers.
- Organize your tools by frequency of use. Your bore snakes and patches should be right where your hand naturally falls, while the specialized punches and specialized cleaning kits can sit a little further back. If you’re reaching over a disassembled action to find a tool, you’re asking for a part to roll off the table.
- Get a good, heavy-duty bench mat. A piece of rubber or a dedicated cleaning mat does two things: it keeps those tiny springs and pins from bouncing across the floor, and it protects your table from the chemicals that will eat through finish faster than you can say “oops.”
- Set up a “parts zone” that is separate from your “tool zone.” I’ve seen too many folks lose a firing pin because it rolled into a pile of cleaning patches. Use a magnetic tray or even just a small, clean dish to keep every single component of that bolt assembly in one spot.
- Maintain a strict “one-way” workflow. Start with the disassembly, move to the cleaning, then the lubrication, and finish with the reassembly. If you start mixing your dirty patches with your fresh oil or trying to reassemble while still scrubbing the barrel, you’re going to miss something, and that’s how mistakes happen.
The Core Essentials to Remember
Build for the job, not the clutter; a dedicated, organized bench keeps your focus on the mechanics and prevents the kind of mess that leads to overlooked grit or stray parts.
Invest in your eyes and your back; good lighting and a proper height aren’t luxuries, they’re what keep you from making mistakes when you’re tired or working on fine details.
Respect the process by making the setup part of the habit; if your bench is a headache to use, you’ll skip the deep clean, and that’s exactly when the gear starts failing you.
The Routine Starts Here
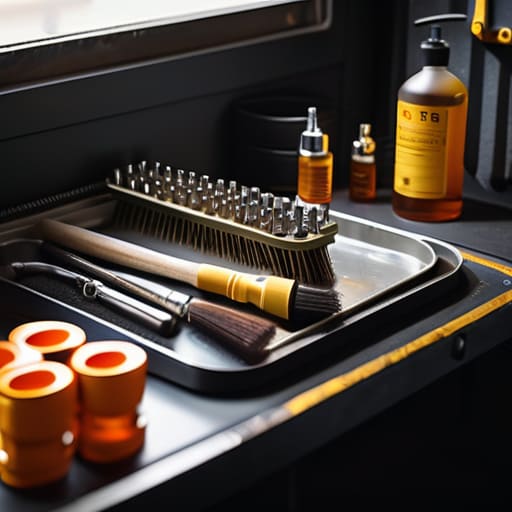
At the end of the day, a proper cleaning bench isn’t about having the most expensive vise or the brightest LED array on the market. It’s about the discipline of your setup. You need a dedicated space that respects your tools, lighting that doesn’t leave you squinting at a fouled bolt, and an ergonomic height that doesn’t leave you with a backache before you’ve even finished the first pass. When you organize your solvents, brushes, and oils in a way that makes sense, you stop fighting your environment and start focusing on the machine. A well-ordered bench is the first step toward a consistent maintenance habit, and consistency is what keeps your equipment reliable when you’re actually out on the line.
I’ve spent twenty years watching people rush through this part of the sport, treating cleaning like a chore to be finished rather than a process to be mastered. But if you treat your bench with respect, your rifles will return that respect every time you pull the trigger. Don’t look at this as just setting up a workspace; look at it as building the foundation for safe and precise shooting. Get the bench right, get the habits right, and the rest of the sport will take care of itself.
Frequently Asked Questions
Do I really need a dedicated bench, or can I just clear off a spot on my garage workbench when I need to clean?
You can, but you shouldn’t. Using a shared workbench is like trying to perform surgery on a dining room table. If you’re clearing off tools, moving lawnmower parts, or wiping away sawdust before you start, you’re already losing the mental discipline. A dedicated bench isn’t about being precious; it’s about muscle memory. When you step to that specific spot, your brain should know exactly what’s coming next. Consistency builds safety.
What kind of surface material should I use to make sure I don't scratch the finish on my older rifles?
If you’re working on those older bolt actions I like to tinker with, you can’t just slap them down on a piece of plywood or a metal workbench. You need a dedicated mat. I always use a heavy-duty, non-slip rubber mat or a thick piece of felt. It absorbs the impact and keeps the finish from getting chewed up by grit or tools. If it isn’t soft enough to rest your elbow on, it isn’t right.
How do I keep my cleaning solvents and oils organized so they don't end up making a mess of my tools?
You don’t want your solvents migrating across the bench like a slow-moving oil slick. I keep mine in a dedicated tray—something heavy, like a metal parts tray—so if a cap isn’t tight, the mess stays in the tray and not on my calipers. Group your liquids by use: solvents in one spot, oils in another. If it’s a spill, you want it contained, not spreading toward your rags and tools.




