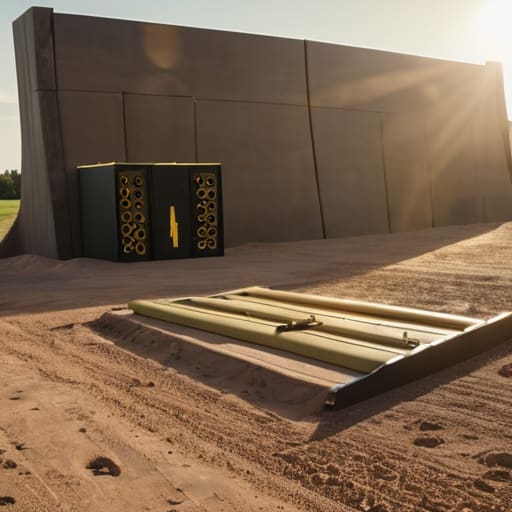
I watched a guy last summer spend three weeks hauling tons of dirt into a pile, thinking he was being thorough, only to realize he’d built a mound that actually deflected rounds upward instead of catching them. Most folks think a backstop is just a big pile of earth, but if you don’t understand the geometry of what you’re building, you’re just creating a launchpad for stray lead. Learning how to set up a safe backstop at a private range isn’t about how much dirt you can move; it’s about ensuring that every single projectile you fire stays exactly where it belongs.
I’m not here to sell you on some high-end, engineered ballistic solution that costs more than your truck. I want to walk you through the practical, unglamorous reality of building something that actually works. We’re going to talk about soil density, the crucial importance of the angle of repose, and why your choice of terrain matters more than your budget. If you follow these steps, you’ll build a barrier that lets you focus on your grouping rather than worrying about what’s happening behind your target.
Guide Overview
Tools & Supplies
- Shovel or Excavator (for digging berm)
- Level (to ensure even slope)
- Measuring Tape (to calculate depth and width)
- Clean Fill Dirt (large quantity, free from rocks/metal)
- Sand (layer for bullet disintegration)
- Landscape Fabric (to prevent erosion)
Step-by-Step Instructions
- 1. First, you need to pick your spot, and I don’t mean just anywhere with a view. You need to find a location where the natural topography does half the work for you. Look for a natural slope or a hill that sits directly behind your target area. If you’re building on flat ground, you’re going to have to work twice as hard to ensure that every single round stays within your property lines. Always aim for a natural depression or a rising slope because gravity is a much more reliable partner than a pile of dirt you stacked yourself.
- 2. Once you’ve found the site, you have to decide on your berm material. Don’t go grabbing whatever dirt is closest to the driveway if it’s full of rocks, roots, or large chunks of limestone. Those things won’t stop a bullet; they’ll just deflect it in a direction you didn’t intend. You want clean, heavy earth or sand. If you’re digging a trench, make sure the soil is compacted as you go. A loose pile of dirt is just a mound, and a mound can be bypassed by a high-angle shot.
- 3. Now, let’s talk about the geometry of the thing. You aren’t just building a wall; you’re building a catchment system. Your backstop needs to be wide enough to account for a shooter having a bad day or a rifle that kicks more than expected. I always tell folks to build the berm wider than the target area by at least twenty or thirty feet on either side. If you’re too narrow, you’re basically inviting a lateral ricochet to wander off into your neighbor’s woods.
- 4. You need to account for the angle of your shots. A common mistake I see is building a backstop that is too shallow. If your berm is too flat, a round might skip along the surface like a stone on a pond. You want a steep enough incline that the projectile hits the earth at an angle that forces it into the ground. I usually look for at least a 30-degree slope. If it looks like a gentle hill, it probably isn’t safe enough for high-velocity rounds.
- 5. Don’t forget about the “splash zone” or the impact area. This is the ground directly in front of your berm where the bullets actually hit. You don’t want this area to be a mess of loose gravel or uneven rocks. I prefer to keep the impact zone clear of anything that could cause a ricochet. If you’re using a dirt berm, keep that area well-maintained and free of debris. It’s the foundation of your safety, and if the impact zone is messy, the whole setup is compromised.
- 6. Finally, you have to do a dry run of your sightlines. Before you ever load a single round, stand at your firing position and look through your various optics. Check the high-angle shots. Check the low-angle shots. If you can see a gap where a bullet could potentially clear the top of your berm or fly around the side, you aren’t finished. You keep building until the entire field of fire is physically contained by the earth you’ve moved.
Earthen Berm Construction and the Truth About Soil Compaction
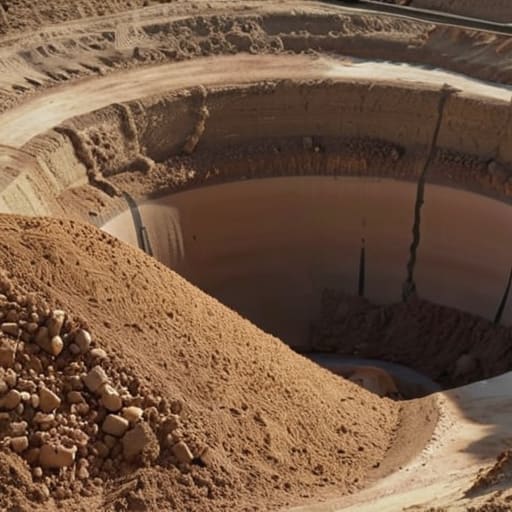
Most folks think you can just pile up some dirt, drive a tractor over it once, and call it a day. That’s a mistake. When you’re looking at earthen berm construction, the real work happens in layers. You can’t just dump ten feet of loose fill and expect it to hold up against a high-velocity round. If you don’t focus on soil compaction for shooting berms, you’re going to end up with “pockets” or hollow spots. Those spots are where a bullet can find a path of least resistance, and that’s exactly how you end up with a projectile that doesn’t stop where it’s supposed to.
I’ve seen plenty of backyard setups where the dirt is so loose it practically acts like a sponge, letting rounds skip or pass through. You want to build that berm in thin, manageable lifts—maybe four to six inches at a time—and pack it down tight. It’s tedious, and it isn’t the fun part of building a range, but properly managed density is what ensures your backstop actually works when the pressure is on. You’re building for the long haul, not just for this weekend’s session.
Bullet Trajectory Management Through Proper Shooting Range Berm Dimensions
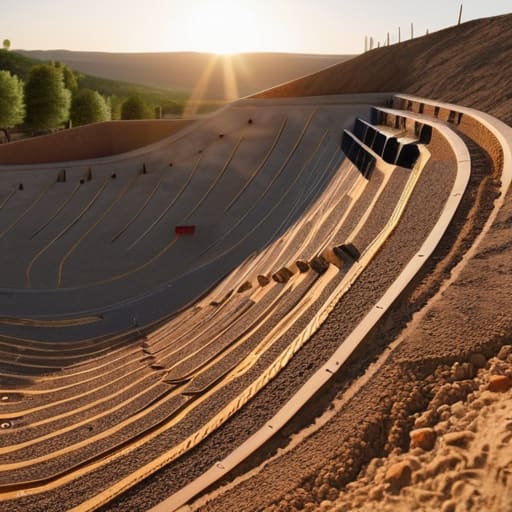
It isn’t enough to just pile dirt in a heap and call it a day. If you don’t account for the angle of your shot, you’re essentially building a ramp rather than a wall. When I’m looking at shooting range berm dimensions, I’m not just looking at height; I’m looking at the slope. You want a gradual, consistent incline that meets the projectile, not a steep cliff that might cause a round to skip or ricochet upward. If your angle is too shallow, you’re inviting a situation where a bullet might actually clear the top of your barrier.
Effective bullet trajectory management means you have to think about the “worst-case” shot. Most folks plan for the center mass, but I want you to plan for the guy who loses his grip or the shooter who’s having a bad day with their grouping. You need enough mass behind that berm to ensure total ballistic containment safety, regardless of whether you’re shooting high or low. I’ve seen too many backyard setups where the berm was tall enough, but the footprint was too narrow to catch the stray shots that naturally drift. Don’t cut corners on the width; give yourself a margin of error that accounts for human imperfection.
Five Things Most Folks Forget Before They Start Digging
- Watch your angle. A berm that’s too steep can actually cause a ricochet instead of absorbing the energy, so make sure that slope is gradual enough to swallow the round whole.
- Don’t trust “loose” dirt. If you just pile up some fresh topsoil, it’ll settle and shift after the first few sessions, leaving you with gaps or low spots you didn’t account for.
- Mind the “splash zone.” A backstop isn’t just about stopping the bullet; it’s about where the lead fragments go, so make sure your berm width accounts for the debris field.
- Check your sightlines. I’ve seen people build a great berm only to realize they can’t actually see their target clearly because the mound is obstructing their natural shooting posture.
- Test the stopping power early. Before you invite the whole club over, fire a few rounds into your new setup from a distance to see exactly where those projectiles are settling.
The Bottom Line on Your Backstop
A backstop isn’t just a pile of dirt; if you haven’t compacted that soil properly, you’re just building a temporary mound that’ll fail you when you need it most.
Don’t get lazy with your dimensions—if your berm isn’t tall and wide enough to account for the arc of a bullet, you aren’t building a range, you’re building a hazard.
Always build for the worst-case scenario, not the best; your goal is to stop every single round, even the ones that skip or fly higher than you expected.
The Last Check Before the First Shot
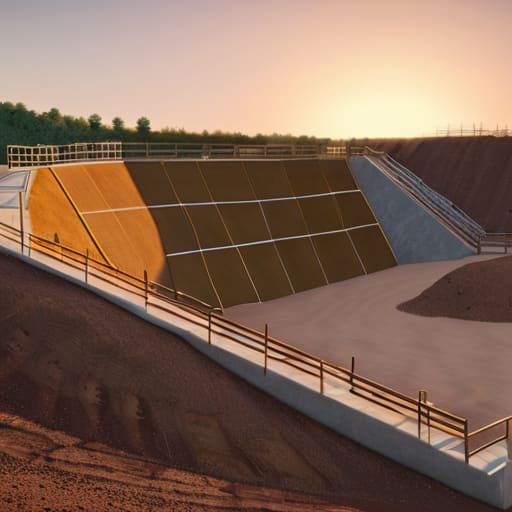
At the end of the day, building a range isn’t about how much dirt you can move or how impressive it looks from the road. It comes down to the physics of what happens when a projectile meets its end. You’ve got to account for the soil compaction so you aren’t dealing with ricochets, and you have to ensure your berm dimensions are tall and wide enough to manage the natural trajectory of your rounds. If you cut corners on the earthwork, you’re essentially gambling with every shot you take. A backstop isn’t just a pile of dirt; it is a calculated engineering project that dictates whether your range is a place of recreation or a liability.
I’ve spent twenty years watching people focus on the shiny new rifles they’re bringing to the line, while completely ignoring the ground beneath their feet. We spend so much time practicing our grip and our breathing, but the most important part of your shooting setup is the part you never actually see in action. Do the work now, build it right, and respect the physics of the ballistic path. When you get the unglamorous stuff like berm construction correct, you earn something much more valuable than a good grouping: you earn the peace of mind to actually enjoy the sport.
Frequently Asked Questions
How do I know if the dirt I've piled up is actually dense enough to stop a high-velocity round, or if I've just built a shallow mound of loose topsoil?
You can’t just eyeball it. I’ve seen too many folks pile up some loose garden soil and call it a day, only to realize too late that a round can punch right through it like it’s nothing. Take a heavy tamper or a hand rammer to it. If you can still push your boot into the mound easily, it’s too loose. You want that dirt packed tight enough that it feels like walking on a sidewalk.
If I'm shooting larger calibers or using heavier projectiles, do I need to change the angle or the height of my berm compared to a standard pistol setup?
If you’re moving from a 9mm to something with more kick and a heavier projectile, you can’t just rely on the same setup. Heavier rounds carry more energy and tend to stay flatter for longer. You’ll want to increase your berm height and, more importantly, steepen that angle. A shallow slope might catch a pistol round, but a heavy rifle projectile can skip or sail right over the top if you aren’t careful.
What's the best way to manage erosion and keep my backstop from washing away after a heavy rain without spending a fortune on landscaping?
You don’t need a landscaping budget, but you do need to stop treating your berm like a pile of loose dirt. Once you’ve got your shape right, get some seed mix down—something hardy like rye or fescue—and pack it in. If you can afford a few rolls of jute netting, use them on the steepest slopes to hold the soil while the roots take hold. A little sweat now saves a massive rebuild later.




