
I’ve spent twenty years watching folks spend hundreds of dollars on fancy, high-tech diagnostic tools when all they really need is a bit of discipline and a cardboard box. Most of the gear you see advertised online is just expensive noise designed to separate a man from his paycheck. You don’t need a laboratory setup to know if your equipment is reliable; you just need to understand how to do a box test the right way. I’ve seen plenty of shooters walk onto my line with top-tier optics and custom grips, only to have a basic mechanical failure because they skipped the one simple check that actually matters.
I’m not here to sell you a kit or give you a lecture on theoretical physics. I’m going to show you the exact, unglamorous way I perform this check in my own shop, using nothing but common sense and a few basic supplies. We’re going to strip away the hype and focus on the practical steps that ensure your gear works when you actually need it to. If you follow this procedure, you’ll stop guessing and start knowing—and that’s how you keep the sport safe and predictable.
Standardized Box Test Protocol Setting the Stage
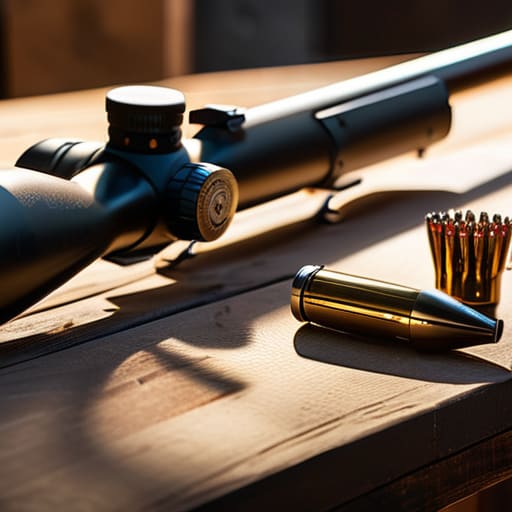
Before you start pulling triggers, you need a controlled environment. You can’t just go out to the range, fire five rounds, and call it a day; that isn’t science, it’s just shooting. To get any real value out of this, you need to establish a standardized box test protocol that stays the same every single time. This means using the same bench, the same rest, and the same ammunition lot. If you change your variables halfway through, you aren’t testing your equipment anymore—you’re just chasing ghosts.
I tell my students that the goal here is measuring repeatability in testing. You aren’t looking for a tight group on the first try; you’re looking to see if that group stays consistent over fifty or a hundred rounds. This requires a bit of discipline regarding your data collection for box testing. Grab a notebook and a fine-point pencil. You need to record every single shot’s coordinates relative to your center point. If you don’t write down the specifics of the deviations, you’re just guessing when it comes time to troubleshoot a mechanical failure.
Box Test Procedure Steps for Reliable Results
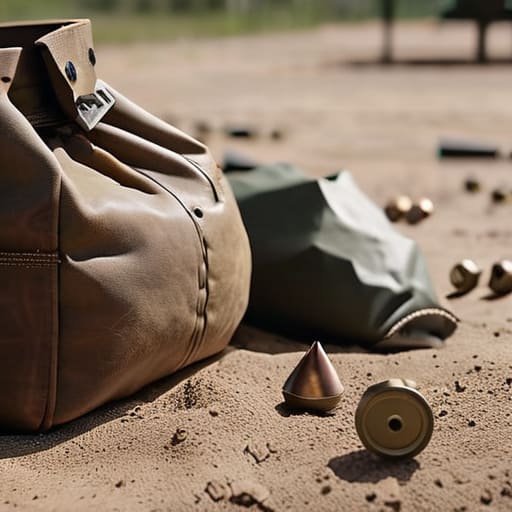
First, you need to set up a controlled environment. I’ve seen people try to run these tests on a windy day or with a shaky rest, and they wonder why their numbers look like a shotgun pattern. To get actual value out of your box test procedure steps, you need a stable platform—preferably a lead sled or a heavy-duty sandbag—and a consistent distance. If you aren’t controlling your variables, you aren’t testing your equipment; you’re just guessing.
Once you’re set, start by firing your first group. Don’t worry about the score yet; just get the baseline. When you move into the actual measuring repeatability in testing, you’re looking for how much that first group shifts after a set number of rounds. I tell my students to watch for the drift. If your second or third group starts wandering toward the edge of the box, you’ve got a mechanical issue or a heat-related failure. You want to see tight, predictable clusters every single time. If the pattern breaks, you don’t just keep shooting; you stop and find out why.
Five Things I’ve Learned from Watching Gear Fail
- Don’t get lazy with your ammunition selection. If you’re testing a new batch of rounds, use the exact same brand and weight you plan to actually shoot. Testing with high-end match grade just to see if the cycle works is a mistake; you need to know how your gear handles the stuff you’ll be carrying in your kit.
- Watch the ejection pattern like a hawk. I’ve seen plenty of shooters focus entirely on the target while ignoring the brass flying off to the side. If your ejection starts looking inconsistent or starts hitting the receiver, your box test is telling you something is loose or fouled before it becomes a malfunction on the line.
- Clean the action before you start. It’s tempting to just throw some fresh rounds in and go, but if there’s old carbon buildup or grit in the rails, you aren’t testing your gear—you’re testing how much junk you’ve left in it. Start with a clean slate so the results are actually meaningful.
- Keep a written log of the failures. I see people notice a hiccup, shrug it off, and move on. Don’t do that. Write down exactly what happened—was it a failure to feed, or a failure to extract? If you don’t track the patterns, you’re just waiting for an accident to happen.
- Do this in a controlled environment, not under pressure. A box test isn’t a qualification drill. If you try to run a test while you’re rushing to get to a match or stressed about time, you’re going to miss the small mechanical tells that matter. Slow down, do the procedure, and listen to what the machine is telling you.
The Bottom Line on the Box Test
Don’t treat this like a suggestion; treat it like a maintenance requirement. If you’re skipping the box test to save time, you’re just gambling with your gear and your safety.
Consistency is the only way the test works. You have to follow the same steps every single time, or you won’t actually know if a failure is a bad component or just a bad procedure.
Catch the small stuff now. The whole point of this unglamorous bit of work is to find a weak link in a controlled environment so you aren’t finding it when you’re actually on the line.
Making the Habit Stick
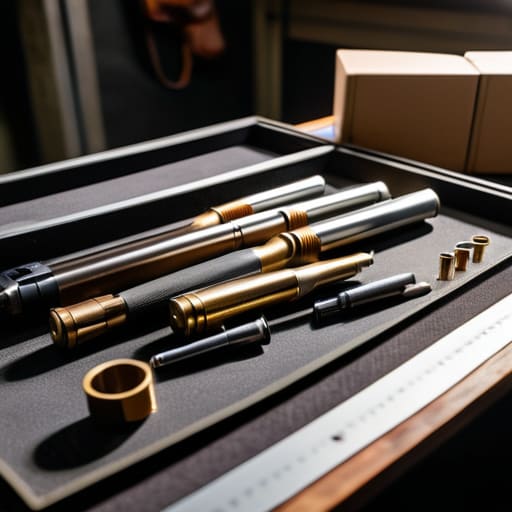
At the end of the day, a box test isn’t some academic exercise or a way to pass a certification; it is a practical tool to catch the small failures before they turn into big problems on the range. You’ve gone through the steps: you set up your controlled environment, you run the test with consistency, and you actually record the results instead of just nodding and walking away. If you skip the documentation or try to cut corners on the procedure, you aren’t really testing anything—you’re just playing pretend. Remember, the goal is to find the weak link in your gear while it’s sitting on your workbench, not when you’re halfway through a string of fire at the club.
I’ve spent twenty years watching people focus entirely on the “fun” part of shooting while ignoring the maintenance that makes the fun possible. It’s easy to get caught up in the adrenaline of a new piece of kit or a high-stakes match, but the real marksmen are the ones who respect the unseen work. When you commit to these kinds of checks, you aren’t just being a perfectionist; you are building a foundation of reliability. Do the boring stuff right, do it every single time, and the shooting will take care of itself.
Frequently Asked Questions
How often should I actually be running a box test if I haven't had a malfunction yet?
If you’re waiting for a malfunction to tell you it’s time to test, you’ve already waited too long. I’ve seen plenty of guys get humbled by a failure to feed right when they need it most. Make it a habit. Run a box test every time you swap to a new, unopened case of ammunition, or at least once a month if you’re just cycling through the same stuff. Don’t let a “lucky” streak turn into complacency.
Do I need to use a specific type of ammunition for the test, or can I just use my standard training rounds?
You can use your standard training rounds, but don’t just grab whatever’s sitting on the bench. I’ve seen people use old, crusty surplus that’s been sitting in a damp garage for a decade. If you want a real baseline, use a fresh box of the exact same ammunition you plan to use for your actual practice. You need consistency. If the test fails, you need to know if it was the gear or just bad luck with a dud round.
If I find a dud or a failure during the test, do I just toss the whole box or is there a safe way to keep using the rest?
If you hit a dud, don’t just go tossing the whole box in the trash—that’s a waste of good brass. But you also don’t just keep shooting blindly. Pull that bad box aside. Mark it. If it’s a single dud, the rest might be fine, but if you see a pattern of failures, the whole lot is suspect. Treat that box as compromised until you can figure out why it failed.




