
I was out on the line last Saturday when a guy—good kid, clearly spent a fortune on his setup—started swearing at his grouping. He was pulling groups wide, convinced his ammunition was junk or his barrel was shot. I watched him for a few minutes before I stepped in, and it wasn’t the ammo; it was a tiny, microscopic shift in his optic. Most folks think if they can’t see the movement with their naked eye, it isn’t happening, but that’s a dangerous way to think. Learning how to check a sight for loose screws isn’t about looking for something that’s obviously falling off; it’s about catching the invisible shifts that happen under recoil before they ruin your match.
In this guide, I’m going to skip the fluff and show you the exact way I do it. We aren’t just going to “look” at the hardware; I’ll walk you through using a proper torque driver, identifying the right thread locker for your specific setup, and the mechanical checks you need to perform every single time you pull your kit out of the safe. Get these habits down, and you won’t be chasing ghosts at the range anymore.
Guide Overview
Tools & Supplies
- Precision screwdriver set (matching the specific head type, e.g., Torx, Flat, or Phillips)
- Threadlocker (medium strength, e.g., Blue Loctite)
- Cleaning solvent or alcohol (small amount to remove old residue)
- Microfiber cloth (1 unit to wipe down screws)
Step-by-Step Instructions
- 1. First things first, you need to get your rifle in a controlled environment. I don’t care how good your hands are; don’t try to do this on a cluttered workbench or while you’re distracted. Clear the chamber, remove the magazine, and lay the rifle on a clean, stable surface where you can actually see what you’re doing. If you’re working on a scope, make sure you aren’t sitting under a bright shop light that’s going to blind you with glare.
- 2. Once you’re set, you’re going to perform a physical “wiggle test.” Don’t just look at the sight; put your hands on it. Use your fingertips to apply light, firm pressure to the mounting rings and the optic itself. You aren’t trying to rip it off the rail, but you are looking for any microscopic movement or clicking sound. If it moves even a hair under your touch, you’ve already found your problem.
- 3. Now, grab a torque driver. I know, it’s more gear to carry, but guessing by “feel” is how people end up with cracked scope tubes or, worse, a zero that wanders halfway through a match. You need to go around the mounting screws one by one. Don’t just check the ones that look loose; check every single screw in the assembly. A loose screw on the rear ring can mimic a problem with the front, and you don’t want to be chasing ghosts.
- 4. When you’re tightening, follow the manufacturer’s specs to the letter. If the manual says 15 inch-pounds, don’t go out there and try to “snug it up” with a standard screwdriver. Over-torquing is just as dangerous as under-torquing because you’ll eventually strip the threads or crush the internal components of your optic. Treat those screws like they’re made of glass.
- 5. After you’ve gone through the screws, take a look at the interface between the rings and the rail. I’ve seen plenty of folks tighten the top screws perfectly fine, only to realize the base itself is sliding on the receiver. Use a flashlight to check for any signs of metal-on-metal rubbing or gaps that shouldn’t be there. If the base isn’t seated true, the rest of your work is just window dressing.
- 6. Finally, do a quick visual inspection of the screw heads themselves. I’ve spent enough time in the machine shop to know that a rounded-off screw head is a nightmare you don’t want to deal with. If you see any shavings or metal dust around the mounting area, stop what you’re doing. That’s a sign that something is shifting or grinding, and it’s time to figure out why before you head to the range.
Mastering Mechanical Fastener Inspection Before the First Shot
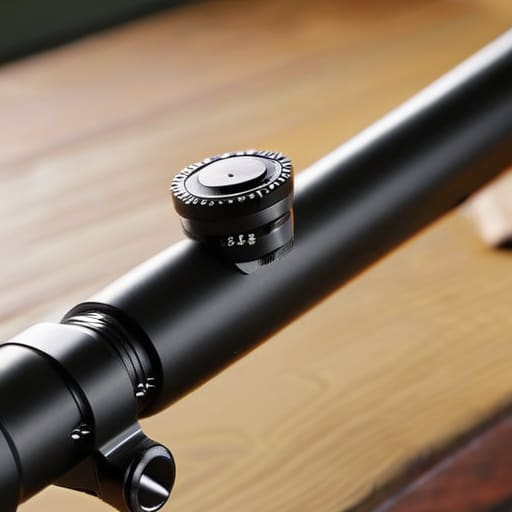
Now, I don’t care if you’re shooting a precision bolt-action or a rugged hunting rifle; you need to understand that a screw doesn’t just “come loose” out of nowhere. Usually, it’s a slow creep caused by recoil or temperature swings. If you aren’t checking optic torque specs against your manufacturer’s manual, you’re just guessing. I’ve seen too many folks crank those rings down until they crush the tube, thinking more pressure equals more security. That’s a mistake. You want the right tension, not maximum force.
When you’re performing a proper mechanical fastener inspection, don’t just eyeball the screws. Use a dedicated torque driver. If you’re working on a setup that sees a lot of hard use, I always suggest applying a tiny drop of blue threadlocker to the mounting screws. Just make sure it’s the removable kind—nobody wants to be stuck with a permanent fixture when it’s time for maintenance. Taking those extra two minutes in the workshop saves you from the frustration of a wandering zero halfway through a match.
The Truth About Optical Sight Mounting Stability and Sight Zero Retention
You can spend a fortune on a high-end glass setup, but if your mounting isn’t sound, you’re just throwing money downrange. I’ve seen plenty of shooters come to the line complaining about “shifting zeros” after a few dozen rounds, only to find out their rings weren’t seated true. True sight zero retention isn’t about luck; it’s about the physics of the connection between the rail and the optic. If there is even a microscopic gap or a screw that hasn’t reached its proper tension, the recoil will eventually find that weakness.
When you’re working on your kit, don’t just tighten everything until it stops moving. You need to be checking optic torque specs against the manufacturer’s manual every single time. I always tell my students that preventing scope movement starts with a clean interface—wipe those rails down to remove any oil or debris before you even think about mounting. If you’re working with a rifle that sees heavy recoil, consider applying threadlocker to optics screws, but only if the manufacturer says it’s okay. It’s a small habit, but it’s the difference between a predictable rifle and a frustrating one.
Five Ways to Catch a Loose Screw Before It Catches You
- Stop using your fingers to “feel” for play. A screw can feel tight to a thumb but still have enough micro-movement to ruin a grouping at fifty yards. Get a dedicated torque driver and trust the numbers, not your sense of touch.
- Check your mounting screws every single time you pull the rifle out of the safe. I’ve seen guys wait until they’re at the range and realize their zero is gone; by then, you’ve already wasted money on ammo and time on a frustrating session.
- Keep an eye on your thread locker. If you see fresh bits of blue or red Loctite sitting on the surface of the screw head, that’s a sign the fastener has been moving. That’s your cue to strip it, clean the threads, and start over.
- Don’t ignore the base screws. Everyone obsesses over the ring caps, but if the mounting base itself is shifting on the receiver, your optics are just expensive paperweights. Check the interface between the rail and the gun just as often.
- Listen to your gear. If you’re walking through the woods or even just moving from the bench to the truck and you hear a tiny, metallic “click” or “tink,” stop immediately. That’s the sound of a fastener working itself loose, and it needs attention right then.
The Bottom Line on Sight Stability
Don’t rely on your eyes to tell you if a screw is loose; use a torque driver and make it a part of your pre-range ritual.
If you start seeing groups drift or your zero feels “soft,” stop shooting immediately and check your fasteners.
Consistency in maintenance is what prevents a mechanical failure from becoming a safety hazard on the line.
The Discipline of the Small Stuff
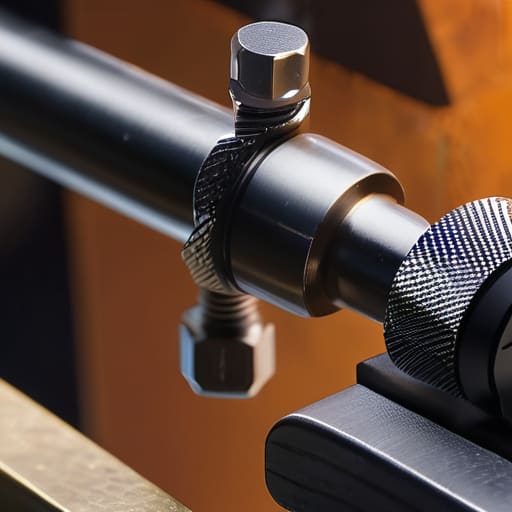
At the end of the day, checking your screws isn’t about being a perfectionist; it’s about eliminating the variables that turn a good day at the range into a frustrating one. You’ve got to use the right tools, like a proper torque driver, and you can’t just eyeball a mounting screw and call it a day. Whether you are checking the base, the rings, or the turret caps, the goal is the same: consistency. If you make it a habit to verify your mechanical integrity every single time you pull your kit out of the safe, you won’t be left wondering why your groups suddenly opened up halfway through a string of fire.
I’ve spent twenty years watching people chase better ammunition or more expensive optics when the real problem was a screw that had vibrated a fraction of a millimeter loose. It’s easy to get caught up in the excitement of the shot, but the real mastery happens in the quiet moments of maintenance. When you commit to these unglamorous checks, you aren’t just maintaining a piece of equipment; you are building a foundation of reliability. Do the work when nobody is watching, and the rifle will do the work when it matters most.
Frequently Asked Questions
How much torque is actually too much when I'm tightening those tiny mounting screws?
Look, I’ve seen enough stripped heads and cracked receiver threads to know that “tight” is a dangerous word. If you’re feeling resistance, you’re already in the danger zone. You aren’t trying to crush the metal; you’re just trying to seat the fastener. Use a calibrated torque driver. If your manual says 15 inch-pounds and you’re cranking it like you’re tightening a lug nut on a truck, you’re going to end up with a very expensive paperweight.
If I find a screw that's backed out, should I assume my entire zero is shot, or just re-check it?
If you find a screw that’s backed out, you’ve lost your guarantee. Don’t just tighten it and head to the line; that’s how mistakes happen. Assume the zero is gone. Even a fraction of a millimeter of movement changes your point of impact once you start working that rifle. Tighten it down properly, let it settle, and then go back to the range to re-verify. Better to lose twenty minutes re-zeroing than an hour chasing ghosts.
Is there a way to tell if the screw itself is stripped versus just being loose in the housing?
If you’re turning that driver and the screw just keeps spinning without any resistance, you’ve got a stripped thread. A loose screw will eventually catch or feel “tight” if you give it a good crank. A stripped one? It’ll feel like you’re turning a spoon through soft butter. If that happens, stop immediately. Don’t keep spinning it trying to find a seat; you’ll only make the hole bigger and the fix a lot more expensive.




