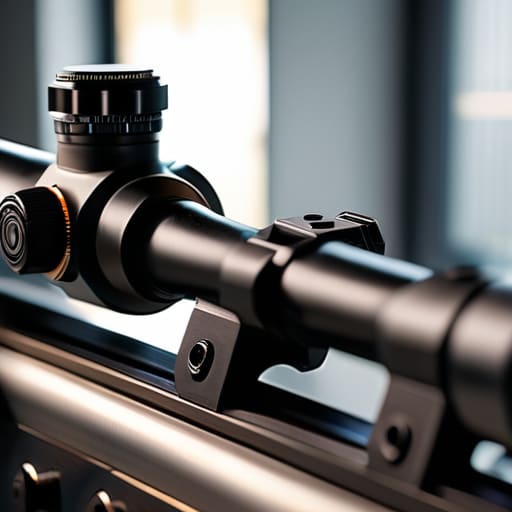
I’ve spent twenty years watching folks spend five hundred dollars on a high-end optic only to pair it with a mount that’s basically glorified hardware store scrap. They think the glass does all the heavy lifting, but if your mounting system is shifting every time you find your rhythm, you aren’t shooting—you’re just chasing your own groups. Most of the marketing fluff out there makes learning how to choose a cantilever mount sound like you need a degree in aerospace engineering, but it’s a lot simpler and a lot more practical than that. You don’t need the most expensive piece of machined aluminum on the shelf; you need something that actually stays put when the recoil hits.
I’m not here to sell you on some “tactical” brand name that costs as much as a used truck. My goal is to walk you through the actual mechanics of eye relief, rail interface, and weight distribution so you can make a decision based on function over fashion. We’re going to skip the hype and focus on the mechanical realities of what makes a mount reliable. If you get the foundation right, the shooting part actually starts to get fun.
Testing Your Rail Compatibility Before the First Shot
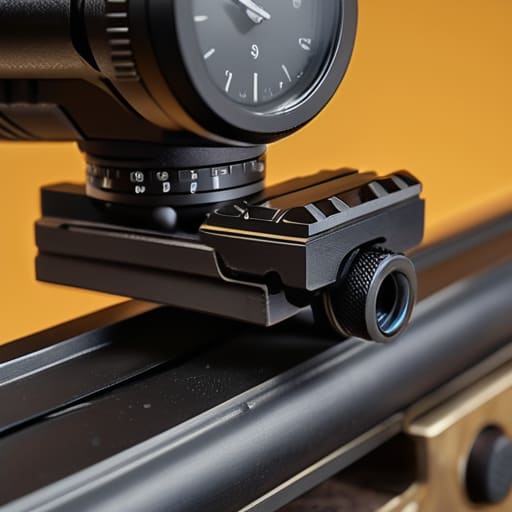
Before you even think about torquing down a single screw, you need to look closely at your receiver. I’ve seen plenty of folks buy a high-end cantilever setup only to realize halfway through installation that their rail profile doesn’t quite play nice with the mounting feet. You aren’t just looking for a fit; you are looking for true surface contact. If there is even a hair of daylight between the mount and the Picatinny rail, you’re asking for trouble. Take a flashlight, get in there, and make sure those grooves are clean and free of debris or old factory oil.
Once you know the physical fit is there, you have to consider your rail compatibility in relation to the scope’s actual footprint. A cantilever mount is designed to give you that extra reach, but if you haven’t accounted for the diameter of your tube, you might find yourself in a position where you can’t get the eye relief you need. Don’t rush this part. If the mount feels like it’s fighting the rifle, it’s going to lose its zero eventually. Check your clearances twice before you ever put a round in the chamber.
Prioritizing Mounting Hardware Durability Over Flashy Labels
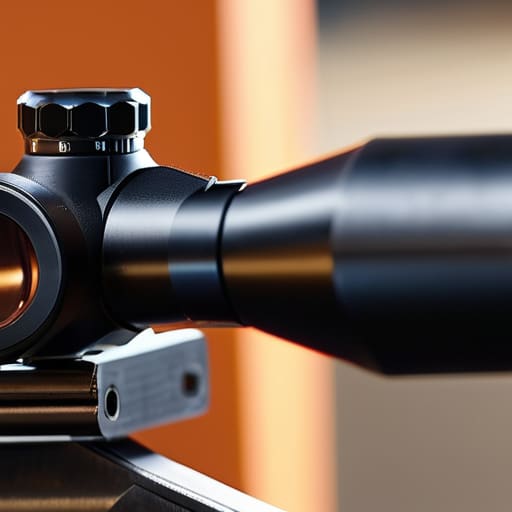
I’ve spent enough time on the line to see people spend a fortune on a high-end glass setup, only to pair it with a mount that’s more about aesthetics than actual function. It’s a mistake that’ll cost you more than just money; it’ll cost you your zero. When you’re looking at mounting hardware durability, I want you to stop looking at the brand name on the box and start looking at the material and the screw quality. If a manufacturer is spending all their marketing budget on flashy colors or lightweight gimmicks but using cheap, soft steel for the clamping surfaces, you’re going to end up with a scope that walks every time the recoil hits.
Real scope mounting stability comes from the interface between the mount and your receiver. I’ve seen plenty of “premium” mounts fail because the clamping force wasn’t uniform, or the screws weren’t rated for the kind of abuse a working rifle takes. You want something that feels substantial, not something that feels like a toy. Don’t let a pretty logo distract you from the physics of the thing; if the metal is thin or the tolerances feel loose, walk away.
Five Things I’ve Learned from Watching Mounts Fail on the Line
- Watch your eye relief like a hawk. A cantilever mount is designed to let you move that optic forward, but if you pick one with the wrong offset, you’ll end up with a black ring around your sight picture that no amount of scope adjustment can fix.
- Don’t ignore the weight penalty. I’ve seen guys chase every fancy feature only to end up with a rifle that feels like a lead pipe. If you’re running a lightweight build, a heavy, overbuilt mount is going to throw your balance off and make you fight the gun.
- Check the screw pattern against your receiver. It sounds simple, but I’ve seen folks try to force a mount that doesn’t sit flush because they weren’t paying attention to the footprint. If it isn’t sitting flat, it isn’t staying tight, and if it isn’t staying tight, you’re just shooting at shadows.
- Verify the torque specs before you even touch a hex key. I spent years in a machine shop, and I’ll tell you right now: “tight enough” isn’t a measurement. If you over-torque those mounting screws, you’ll strip the threads; if you under-torque them, they’ll shake loose by the second magazine.
- Think about your mounting height relative to your cheek weld. A cantilever mount changes your geometry. If you buy a mount that sits too high, you’ll be straining your neck to get a sight picture, and a strained neck leads to bad form, and bad form leads to missed shots.
The Bottom Line Before You Head to the Range
Don’t let a fancy brand name blind you to the basics; if the screws aren’t high-grade and the footprint doesn’t match your rail perfectly, that mount is just a heavy piece of scrap metal.
Your eye relief is non-negotiable, so measure twice and check that clearance before you ever tighten down a single hex key, or you’ll be fighting the scope instead of the target.
Treat your mounting routine like a maintenance schedule—check your torque specs and look for any movement after a few strings of fire, because a loose mount is just a slow way to develop a bad habit.
The Final Check
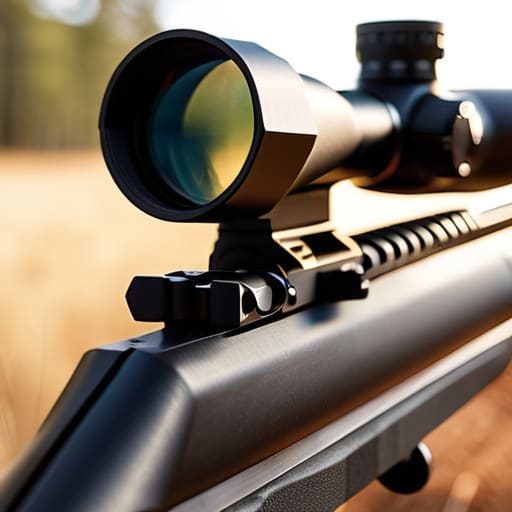
At the end of the day, choosing a cantilever mount isn’t about finding the most expensive piece of aluminum in the catalog. It’s about making sure that once you’ve torqued those screws down and zeroed your optic, you don’t have to think about them again. You need to ensure that rail is compatible, the hardware is built to withstand the recoil of your specific rifle, and the eye relief actually works for your cheek weld. If you skip these steps and just hope for the best, you aren’t just wasting money—you’re introducing a variable that can ruin a perfectly good day at the range. Do the prep work correctly so the gear stays out of your way.
I’ve spent twenty years on the firing line watching people chase tiny groups with high-end glass, only to realize their mount was shifting a fraction of a millimeter every ten rounds. It’s frustrating, and it’s avoidable. Shooting is a game of consistency, and that consistency starts with the small, unglamorous details like the hardware holding your sight in place. Treat your mounting setup with the same respect you give your cleaning routine. When you get the foundation right, you stop fighting your equipment and start focusing on the target. That’s when the real shooting begins.
Frequently Asked Questions
If I’m moving from a standard ring setup to a cantilever, how much do I need to worry about my cheek weld being completely thrown off?
You’re going to feel it, no doubt. Moving to a cantilever usually means your optic is sitting higher or further forward than those old rings. If you try to force your old cheek weld, you’ll end up with a headache and a shaky shot. Don’t fight the rifle; adjust your setup. Get the mount dialed in for your eye relief first, then find your new natural weld. Consistency is everything.
Is there a real difference in reliability between a mount that uses a single large screw versus one that uses multiple smaller ones?
It’s a fair question, and the answer isn’t as simple as “more is better.” A single, large, high-quality screw can provide immense clamping force and is easier to torque accurately. However, multiple smaller screws distribute that load across the rail. If you’ve got a rail with significant gaps or slight irregularities, those extra contact points can help bridge the unevenness. Just remember: more screws mean more points of failure if one gets loose. Keep them tight.
How do I know if the cantilever design I'm looking at is actually going to hold its zero under heavy recoil, or if it's just built for looks?
Look for the contact surface. If the mount only touches the rail at a single point, it’s a decoration, not a component. You want a mount with a wide, flat footprint that bites into the Picatinny rail. Check the clamping screws, too; if they look thin or cheap, they’ll stretch under recoil. A real mount stays put because it has surface area and heavy-duty hardware, not because it looks good in a catalog.




