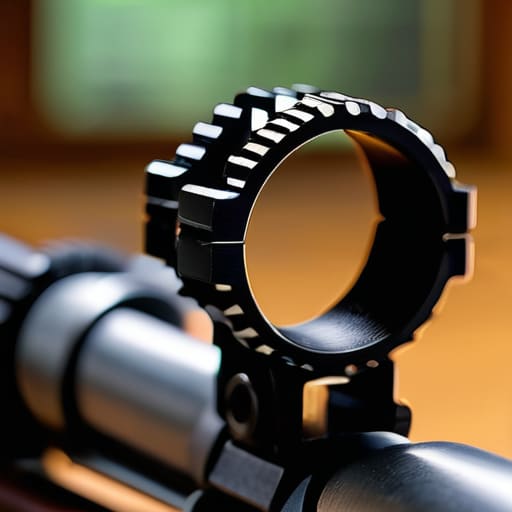
I watched a guy last Saturday spend nearly four hundred dollars on a set of boutique, lightweight titanium rings, only to spend the rest of his afternoon cursing because his zero drifted after ten rounds. It’s a common mistake—people think they can buy their way out of basic mechanics. They get caught up in the marketing and the shiny finishes, completely forgetting that when it comes to how to choose scope rings, the most expensive option isn’t always the most reliable. You don’t need a trophy for your workbench; you need mechanical consistency that holds up when the recoil hits.
I’m not here to sell you on the latest high-priced trend or some complicated engineering jargon that doesn’t mean a thing on the firing line. My goal is to strip away the hype and talk about the actual physics of mounting an optic. I’ll show you how to match your ring diameter to your tube, how to check for proper seat contact, and why surface area matters more than brand names. We’re going to get the fundamentals right so that when you finally pull the trigger, you’re fighting the wind, not your own equipment.
One Piece vs Two Piece Rings Picking Your Battle
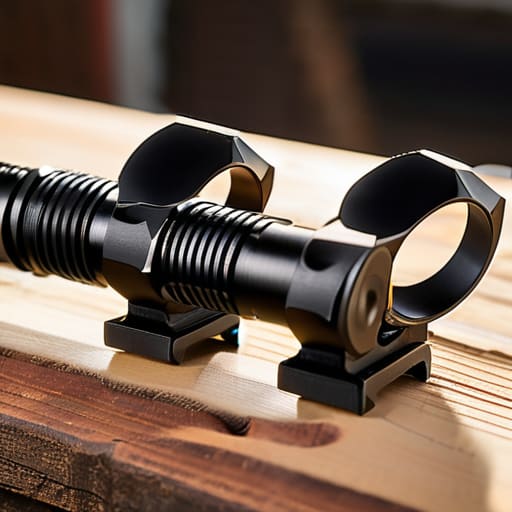
Now, when you’re looking at your options, you’re going to run into the old debate: one piece vs two piece rings. In my experience, it usually comes down to what you’re actually doing with the rifle. Two-piece rings are the old standby; they’re easy to work with because you can adjust the spacing to fit your specific scope width. If you’re just tinkering in the shop or setting up a general-purpose hunting rig, they’ll get the job done. But they do have more moving parts, which means more potential points of failure if you aren’t careful.
If you’re building something for precision or something that’s going to see a lot of hard use, I almost always lean toward a single-piece design. A one-piece ring provides much better structural integrity because there isn’t a seam in the middle of your optic. When you’re mounting optic to rifle for serious work, you want as few variables as possible. It’s a bit more of a headache to get the alignment perfect during the initial setup, but once those scope ring torque specifications are met, that setup isn’t going anywhere.
Scope Ring Material Durability and the Long Haul
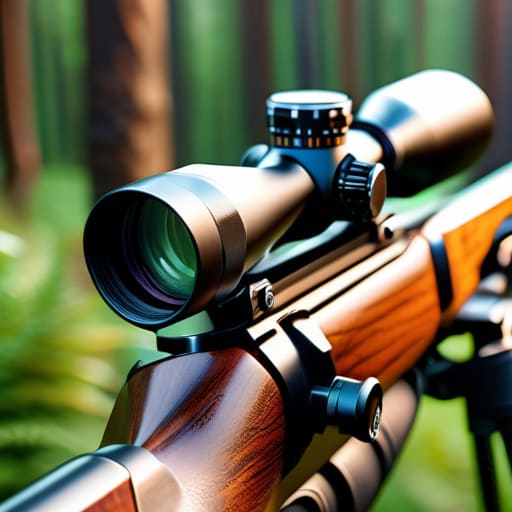
When you’re looking at scope ring material durability, don’t get distracted by the shiny finish or the marketing fluff. Most of what you’ll find on the shelf is aluminum, usually 7075-T6, which is plenty for a standard hunting setup. It’s lightweight and handles the recoil of a bolt action just fine. However, if you’re moving into heavy-recoil magnums or something you’re going to be beating around in the brush every single day, you might want to consider steel. Steel isn’t going to win any beauty contests, and it’ll add some weight to your kit, but it’s much more forgiving when it comes to long-term structural integrity.
The real issue isn’t just the metal itself, but how it reacts to the pressure of mounting optic to rifle. If you’re using cheap, soft alloys, you’re going to find yourself fighting with those screw heads or, worse, stripping the threads after just a few seasons. I’ve seen too many folks ignore the importance of following scope ring torque specifications because they thought “tight enough is fine.” If you don’t treat the hardware with respect, the metal will eventually tell its story, and it’s usually a story about a shifted zero.
Five Things Most People Miss Before They Tighten the Screws
- Check your tube diameter twice. It sounds simple, but I’ve seen plenty of folks buy a high-end 30mm scope only to realize they’ve spent a fortune on 1-inch rings. If that fit isn’t exact, you’re going to have a scope that wanders every time you recoil.
- Watch your ring height. If you pick rings that are too low, you won’t have enough clearance for your objective lens; if they’re too high, you’re adding unnecessary weight and making the rifle harder to handle. Measure the distance from the receiver to the top of your scope before you head to the shop.
- Mind the torque specs. You aren’t just tightening bolts; you’re applying precise pressure to delicate metal. If you over-tighten, you’ll crush the tube or strip the threads; if you under-tighten, that scope is going to walk right off the rail during your first string of fire. Use a torque driver, not a screwdriver and a prayer.
- Look for consistent cap alignment. It’s easy to get distracted by how pretty a set of rings looks, but if the top caps don’t line up perfectly, you’re asking for uneven pressure on the scope body. A little bit of misalignment might not matter for a plinker, but it’ll ruin your day on a precision rifle.
- Don’t skip the interface check. Make sure the rings are actually designed for your mounting system, whether that’s a Picatinny rail or a proprietary receiver pattern. If the footprint doesn’t seat flush against the rifle, you’ve just built a very expensive way to miss the target.
The Bottom Line Before You Torque It Down
Don’t go cheap on material just to save a few bucks; if you’re shooting anything with real kick, those aluminum rings are going to fatigue and shift long before steel ever would.
Pick your ring style based on how often you’re actually working on the rifle, because a one-piece ring is a dream for stability but a headache if you need to swap glass for a different job.
Remember that the best rings in the world won’t matter if you don’t have the right tools to seat them; a loose ring isn’t just a nuisance, it’s a mechanical failure waiting to happen.
Don't Compromise on the Small Stuff
At the end of the day, choosing your rings comes down to matching the hardware to the job you’re actually doing. If you’re setting up a precision rig for the long haul, you want that heavy-duty, two-piece steel that won’t budge when the recoil hits. If you’re just out for a casual afternoon of clays or light varmint hunting, something lighter and more forgiving might suffice. But whatever you decide, remember that material choice and mounting style aren’t just technical specs on a box; they are the foundation of your entire optic setup. If you skimp here, you’re just inviting a zero shift that’ll turn a productive day at the range into a frustrating lesson in wasted ammunition.
I’ve spent twenty years watching folks chase the perfect trigger or the most expensive glass, only to realize their groups were flying wide because of a half-turn error on a cheap set of rings. It’s easy to overlook the unglamorous parts of the kit, but the gear you don’t talk about is often what dictates your success. Take the time to do the checks, torque them to spec, and treat the mounting process with the same respect you give the rifle itself. Get the fundamentals right, and you’ll find that the shooting takes care of itself.
Frequently Asked Questions
How do I know if I need rings with a specific height, or if I'm just going to end up with the scope sitting too high for a good cheek weld?
That’s the million-dollar question, and it’s where most folks mess up their setup. You can’t eyeball it. If you want a proper cheek weld, you have to account for the objective lens diameter and your specific stock height. My advice? Don’t guess. Get a ring height gauge or, better yet, mount your scope in a set of low rings first. If you’re fighting to get your eye behind the glass, you’ve gone too low.
Is it actually worth spending the extra money on precision-machined rings, or am I just paying for a brand name?
Look, I’ve seen plenty of guys spend a fortune on a high-end optic only to mount it with cheap, cast-aluminum rings that have slight imperfections in the bore. You aren’t just paying for a logo; you’re paying for concentricity. If those rings aren’t perfectly round and aligned, you’re fighting a constant battle with your zero. Precision-machined rings give you peace of mind that the hardware isn’t sabotaging the glass. It’s worth it.
How do I make sure I'm not going to crush the tube of my scope when I'm torquing those ring screws down?
You don’t guess with a screwdriver. If you’re eyeballing it, you’ve already lost. You need a decent inch-pound torque wrench—not one of those cheap little driver sets, but a real one. Check your scope’s manual first; it’ll tell you exactly how much pressure that tube can take before it deforms. Tighten in a pattern, just like lug nuts on a truck, and take it slow. Small increments. If you rush it, you’re just paying for a broken scope.




