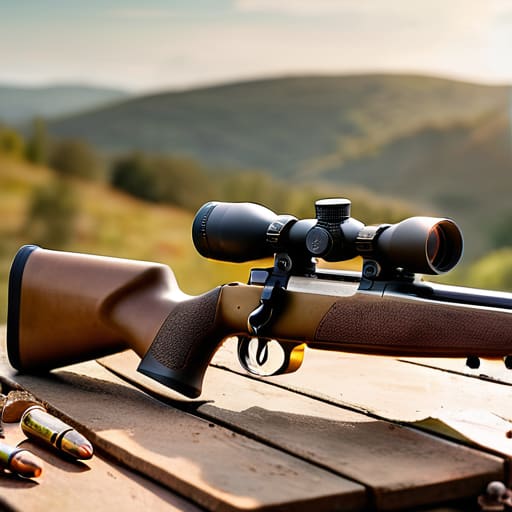
I watched a young guy last Saturday spend forty minutes adjusting his windage knobs, sweating through his shirt, only to realize his bipod was sitting on a patch of loose gravel. He was so focused on the math that he forgot the foundation. Most folks think learning how to zero a rifle at a hundred yards is some high-level ballistic equation you solve with a calculator, but the truth is much more boring. If your bench is cluttered, your eye relief is inconsistent, or you’re rushing the process just to get to the “real” shooting, you aren’t zeroing a rifle—you’re just guessing with expensive ammunition.
I’m not here to sell you on fancy tactical gear or complicated spreadsheets. I want to show you how to strip the process down to the mechanical fundamentals that actually matter. We’re going to walk through the prep work, the specific shot groups you need to look for, and the small, unglamorous checks that ensure your adjustments actually stick. By the time we’re done, you’ll know how to get a solid, repeatable zero without wasting a single box of lead.
Guide Overview
Tools & Supplies
- Rifle with optic or iron sights
- Shooting rest or sandbags for stability
- Target with measurable grid or bullseye
- Wind gauge or spotting scope for observation
- Ammunition (50-100 rounds of match or high-quality grain)
- Paper targets (5-10 sheets)
- Notepad and pen for recording adjustments
Step-by-Step Instructions
- 1. Before you even think about pulling a trigger, you need to clear your workspace and your rifle. I’ve seen too many people start zeroing with a pile of loose brass and half-empty magazines cluttering the bench. Lay out a clean mat, get your tools organized, and most importantly, verify that your chamber is empty before you even sit down. If you haven’t checked it twice, you aren’t ready to start.
- 2. Get yourself into a stable, consistent position. Whether you’re using a sandbag, a bipod, or a shooting rest, the goal is to remove human error from the equation. If your body is wobbling because you’re trying to hold the rifle up by hand, you aren’t zeroing the optic; you’re just measuring your own heartbeat. Find a way to let the equipment do the heavy lifting so your only job is steady sight alignment.
- 3. Start with “grouping” rather than aiming for the bullseye. Load a small group of rounds—maybe three or five—and fire them all into the same general area of the target. Don’t worry about where they land in relation to the center; just look to see if they are landing close together. If your groups are scattered all over the paper, you don’t have a zeroing problem, you have a consistency problem with your position or your ammunition.
- 4. Once you have a tight group, find the center of that cluster and calculate the offset. If your group is two inches low and one inch left of where you’re aiming, you need to know exactly how many clicks that is. Don’t guess. Look at your turrets, check your manual, and adjust your elevation and windage to bring that group center onto the point of aim.
- 5. Fire another small group to confirm your adjustments. This is where people get impatient and start cranking the turrets like they’re tuning a radio. You make an adjustment, you fire a group, and then you see what happened. It’s a slow, methodical process, but patience is cheaper than wasting a box of expensive match grade ammo.
- 6. Do a final check of your settings. Once you think you’ve hit the mark, fire one last single shot to ensure the rifle is actually holding that zero. While you’re at it, double-check your turret caps to make sure they are seated properly and haven’t been bumped loose during the process. A zero is only as good as the mechanical integrity of your setup.
Why Cleaning Rifle Optics Is Your First Real Step

You can have the most expensive glass on the market, but if there is a smudge of oil or a fingerprint on that lens, you’re fighting a losing battle before you even pull the trigger. I’ve seen plenty of guys spend an hour chasing their groups, clicking those riflescope adjustment knobs like they’re trying to solve a math problem, only to realize they were just aiming at a blur. Cleaning rifle optics isn’t just about seeing clearly; it’s about removing the variables that mess with your vision and your confidence.
If you’re trying to achieve consistent shot placement, you need to treat your glass with the same respect you give your action. A tiny bit of dust or a streak of grease can create a ghost image that makes you think you’re off-center when you’re actually dead-on. Take the extra two minutes to use a proper lens pen or microfiber cloth. If you skip this part of the prep, you aren’t zeroing your rifle—you’re just guessing.
Mastering Riflescope Adjustment Knobs for Consistent Shot Placement
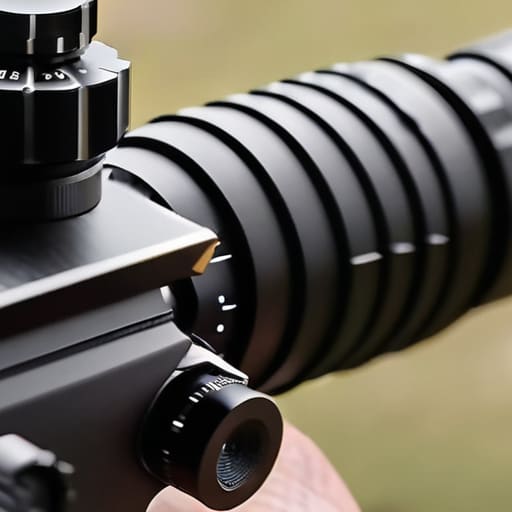
Once you’ve got your cleaning done and your rifle steady on a shooting rest for accuracy, you’re going to find yourself staring at those turrets. Most folks treat the riflescope adjustment knobs like they’re just turning a dial until the dot hits the black, but that’s a shortcut that leads to frustration later. You need to understand exactly what you’re clicking through. Whether you are working with MOA vs MRAD adjustments, the principle is the same: you aren’t just moving a point of aim; you are compensating for the physics of your specific load and the bullet trajectory at 100 yards.
Don’t rush the clicks. I’ve seen plenty of shooters crank those dials halfway through a string because they’re impatient, only to realize they’ve overshot the mark. Take a breath, count your clicks, and verify your direction before you pull the trigger again. If you treat the adjustment process as a precise mechanical task rather than a guessing game, you’ll find that consistent shot placement becomes a matter of math instead of luck. Slow down and do the work.
The Small Things That Keep You From Chasing Your Own Tail
- Check your torque settings before you start. If those scope rings aren’t tightened to the spec the manufacturer gave you, you’ll spend your whole afternoon fighting a moving optic instead of actually zeroing the rifle.
- Use a consistent rest every single time. If you’re shooting off your shoulder for the first shot and then switching to a sandbag for the second, you aren’t zeroing a rifle—you’re just measuring how much your body moves.
- Don’t get greedy with the windage adjustments. If your first shot is three inches low, don’t start clicking away like you’re trying to win a race. Make one adjustment, wait for the recoil to settle, and see where the next one actually lands.
- Watch your breathing, but don’t hold it until you’re shaking. I see plenty of folks hold their breath so long they start getting the tremors; you want to time that break between natural respiratory pauses, not fight your own lungs.
- Keep your brass organized and your workspace clear. It sounds like something a machinist would say, but if you’re digging through a pile of spent casings to find a single round, you’re breaking your rhythm and losing your focus on the fundamentals.
The Three Things That Matter When You Leave the Bench
Don’t mistake a clean scope for a zeroed rifle; if your glass is dirty or your mounts are loose, you’re just chasing ghosts in your grouping.
Treat your adjustments with respect—make one change, confirm it, and then let it sit; if you keep cranking those turrets every time a shot drifts, you’ll never find your actual point of impact.
Zeroing is a process of discipline, not just mechanics, so keep your workspace tidy and your habits consistent from the first shot to the last.
The Discipline of the Zero
At the end of the day, zeroing a rifle isn’t about chasing a perfect group; it’s about the process you used to get there. If you took the time to clean your glass, understood how your turrets actually move, and didn’t rush the setup just to start pulling the trigger, then you’ve done the job right. You can’t fix a bad zero with more ammunition, and you certainly can’t fix it if your foundation is shaky from the start. Remember that a consistent zero is built on a clean workspace, a steady breathing pattern, and the patience to make small, incremental adjustments rather than chasing your tail with massive clicks.
I’ve seen plenty of shooters walk onto my line with expensive setups who think the gear does the work for them. It doesn’t. The gear is just a tool, and the tool only works as well as the person handling it. When you treat the preparation—the cleaning, the checking, the methodical adjustment—with the same respect you give the shot itself, that’s when you actually become a marksman. Stop worrying about the scoreboard for a minute and focus on the integrity of your habits. If you get the small, unglamorous things right every single time, the accuracy will eventually take care of itself.
Frequently Asked Questions
How many shots should I actually fire before I decide the zero is set and stop wasting ammunition?
Don’t go chasing a perfect group of three. I’ve seen folks burn through two boxes of ammo trying to find a “magic” hole in the paper. Once you’ve shot a solid group of five—and you’ve seen that group stay consistent across two or three different shots—you’re done. If you’re still adjusting after ten shots, you aren’t zeroing; you’re just fighting your own inconsistency. Trust the process, stop clicking, and save your lead.
If my groups are tight but they're all hitting two inches low, do I adjust the turrets or change my shooting position?
If your groups are tight, you’ve already done the hard part. You’ve proven your fundamentals are steady. Don’t go changing your position or your grip now; that’s just introducing new variables into a problem that’s already solved. If they’re consistently two inches low, your rifle is telling you exactly what it needs. Adjust your turrets. Dial it in, confirm the new zero, and stop overthinking the mechanics of your body.
Does it really matter if I zero the rifle on a hot day versus a cold one, or is that just something people say to sound technical?
It matters more than you’d think. I’ve seen plenty of folks spend an hour chasing a group that won’t tighten up, only to realize the air temperature shifted ten degrees mid-session. Air density changes how your bullet travels. If you zero on a crisp 40-degree morning and then head out into 90-degree heat, your point of impact is going to wander. Pick a temperature, stay consistent, and don’t chase ghosts.




