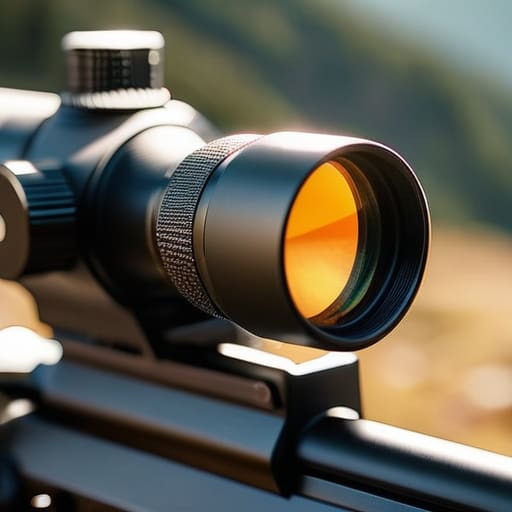
I watched a guy last Saturday spend forty minutes dialing in his windage, swearing the rifle was acting up, only to realize his reticle was canted more than a crooked fence post. He thought he had a mechanical issue, but the truth is much simpler: if you don’t know how to level a scope, your zero is nothing more than a mathematical lie. You can buy the most expensive glass on the market, but if that optic isn’t sitting perfectly perpendicular to the bore, you’re just wasting good brass and throwing shots wide of the mark.
I’m not here to sell you on fancy gadgets or complicated math that requires a degree to understand. I want to show you the practical, hands-on way to get it right using tools you likely already have sitting in your range bag. We’re going to walk through the specific, repetitive checks that ensure your optic is true, from using a simple bubble level to the proper ring alignment that keeps your sight picture steady. Get this foundation solid, and the shooting part will actually start to make sense.
Guide Overview
Tools & Supplies
- Bubble level or spirit level (to check scope alignment)
- Allen wrench set (to adjust scope mount rings)
- Torque wrench (to ensure correct tightness)
- Scope mounting rings (already installed on rifle)
- Rifle or dummy barrel (to serve as a stable base)
Step-by-Step Instructions
- 1. First, clear your workspace and get your rifle on a stable platform. I don’t care if it’s a fancy gun rest or just a couple of sandbags on a workbench, but it has to be dead level before you even touch a screwdriver. If your foundation is tilted, everything you do after this is just a way to complicate a simple problem.
- 2. Grab a bubble level—not one of those cheap plastic ones that feels like a toy, but a real, reliable machinist’s level if you’ve got one. Place it on the flat part of the receiver or the rail, depending on how your setup is configured. You want to find a true horizontal plane so you aren’t fighting gravity before you even pull the trigger.
- 3. Once you know the rifle is level, place your bubble level directly on top of the scope turret. If you’re using a scope with a leveling kit or a specific mounting bracket, make sure the level is seated firmly against the housing. You’re looking for that tiny air bubble to sit perfectly centered between the two lines.
- 4. If the bubble is drifting to one side, it’s time to adjust your rings. Loosen the ring caps just enough so the scope can move, but not so much that it starts sliding down the rail. I’ve seen too many folks over-loosen them and end up with a scope that walks itself right out of the mounts after ten rounds.
- 5. Make your adjustments in tiny increments. If the bubble is off, nudge the scope slightly until it finds the center. Once it looks right, tighten those ring caps back down in a pattern—think of it like a machinist tightening a flange—to ensure you’re applying even pressure across the whole assembly.
- 6. Do not trust your first pass. Re-check the level after you’ve tightened everything back down. The act of torquing those screws can actually shift the scope just enough to throw your bubble off. It’s a common mistake, and it’s a waste of brass to go out on the line only to find your grouping is skewed because of a loose ring.
- 7. Finally, do a quick visual check to make sure your reticle isn’t canted relative to the bore. If you have a way to check the verticality of the crosshairs against a known straight edge, use it. If the bubble is centered and the reticle looks true, you’ve done the unglamorous work required to actually make a clean hit.
Riflescope Mounting Precision and the Cant Error Trap
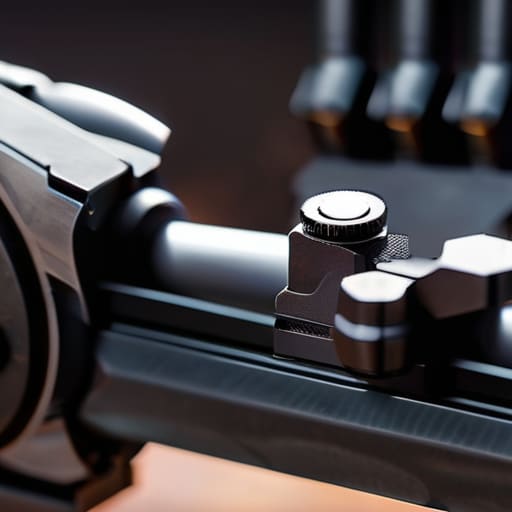
You can follow every step in the book to get your reticle straight, but if your rings aren’t seated perfectly, you’re fighting a losing battle. I’ve seen plenty of folks spend an hour fiddling with a bubble level only to realize their mounts were slightly uneven to begin with. If your rings aren’t torqued to spec and sitting flat on the receiver, you’re introducing a mechanical tilt that no amount of adjustment can fix. Real riflescope mounting precision starts with the metal, not the glass.
This is where the “cant error trap” really bites you. You might think you’ve got a perfect vertical reticle alignment, but a tiny, almost imperceptible tilt in the mounts will cause your shots to drift laterally as the distance increases. It’s a subtle thief. If you don’t address this during the initial setup, you’ll spend all afternoon zeroing your rifle scope only to find your groups are opening up sideways once you push past a hundred yards. Don’t let a sloppy mount turn a precision tool into a glorified paperweight.
Achieving Perfect Vertical Reticle Alignment for Zeroing
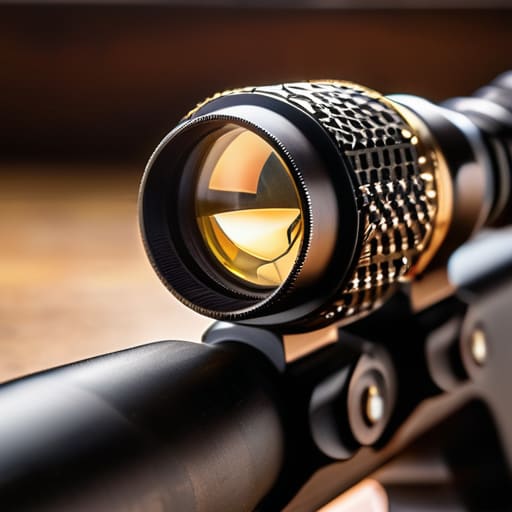
Once you’ve got your mounts tight and your scope sitting true, you have to deal with the reality of the glass itself. Even with a perfect mount, if your reticle isn’t perfectly vertical relative to the bore, you’re going to fight the rifle every time you try to dial in your shots. When you finally sit down for the task of zeroing your rifle scope, a slight tilt in that vertical crosshair will cause your point of impact to drift as you change elevation or distance. I’ve seen plenty of shooters spend hours chasing a moving zero, only to realize their reticle was just a hair off-center to begin with.
To get this right, I always recommend using a high-quality bubble level attachment on your turret or scope tube. Don’t just trust your eyes; your brain is surprisingly good at lying to you about what “level” looks like when you’re focused on the target. You want to ensure that your vertical reticle alignment is locked in before you even touch the windage knobs. If that line isn’t plumb, you aren’t shooting a true zero—you’re just compensating for a mistake.
Five Habits to Keep Your Reticle from Drifting
- Stop relying on your eyes to tell you what’s level. Your brain is a liar when it comes to cant, especially after a long day on the range. Use a dedicated bubble level that stays on the turret or the top tube; if you aren’t using a tool, you aren’t leveling, you’re guessing.
- Check your ring torque every single time you set up. I’ve seen plenty of shooters spend an hour perfectly leveling a scope only to have the whole thing twist a fraction of a degree because they didn’t tighten those rings to spec. If the rings move, your level is a lie.
- Don’t forget the relationship between the scope and the bore. You can have a perfectly level reticle, but if your mounting base is sitting crooked on the receiver, you’re fighting an uphill battle from the start. Make sure the foundation is straight before you even touch the scope rings.
- Watch your recoil impulse. If you’re shooting a heavy-recoiling caliber through a lightweight setup, that vibration can settle the scope into a slightly canted position over time. Make it a habit to re-verify your level after a heavy session, not just when you first mount it.
- Use a level that actually fits your setup. Putting a massive, chunky bubble level on a lightweight mountain rifle is a recipe for snagging and shifting. Match the scale of your tools to the purpose of the rifle; precision doesn’t always need to be bulky, it just needs to be accurate.
The Discipline of the Level
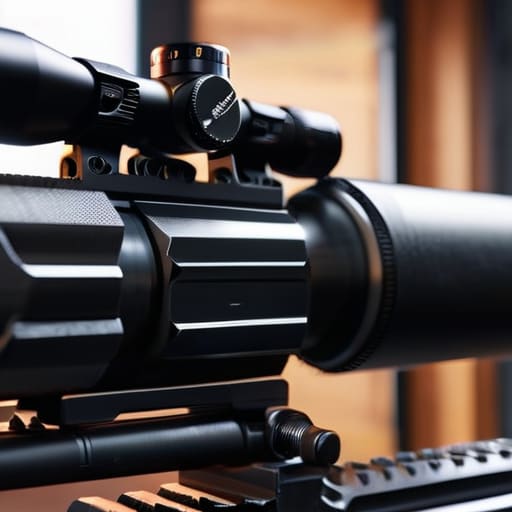
Don’t mistake a good zero for a level scope; if your reticle is canted, you’re just training yourself to fight your own equipment.
Precision isn’t found in the expensive glass, it’s found in the boring, repetitive checks you do before you ever pull the trigger.
If you skip the leveling step to save five minutes, you’ll spend the next five months wondering why your groups aren’t grouping.
The Discipline of the Level
At the end of the day, leveling your scope isn’t some high-minded scientific ritual; it’s just good housekeeping. We’ve talked about making sure your mounts aren’t fighting your bore, avoiding that nasty cant error that ruins your windage, and ensuring that your reticle is actually sitting true to the vertical. If you skip these steps, you aren’t just fighting the wind or the distance—you are fighting your own equipment. You can spend all afternoon chasing a zero that refuses to stay put, but if that scope is tilted even a fraction of a degree, you are essentially chasing a ghost. Do the work upfront so you don’t have to do it twice.
I’ve spent twenty years watching folks get frustrated with their rifles, blaming the ammunition or the barrel when the real culprit was a mount they slapped on in a hurry. This sport is built on the small, unglamorous things. It’s in the way you clean your threads and the way you double-check your alignment before the first shot ever leaves the chamber. When you commit to these fundamentals, you stop being a person who just pulls a trigger and start becoming a marksman. Get the foundation right, keep your habits tight, and the shooting will take care of itself.
Frequently Asked Questions
Can I just use a bubble level on the scope tube, or is that going to give me a false reading if the mounting rings aren't perfectly seated?
You can, but don’t trust it blindly. A bubble level on the scope tube tells you if the scope is level relative to the barrel, but it won’t tell you if your rings are seated crooked on the receiver. If those rings aren’t perfectly flush, you’re just leveling a mistake. I always suggest checking the rings themselves first. Get the foundation flat, then use the bubble to fine-tune the glass. Don’t skip the groundwork.
If I'm shooting at long distances, how much does a tiny bit of cant actually matter before I start seeing my shots drift off target?
At a hundred yards, you might not notice a slight tilt. But once you start pushing out to 500 or 600, that tiny error becomes a mathematical certainty. Canting the rifle doesn’t just move your point of impact; it changes how the reticle sits in the vertical plane. You’ll start seeing your shots drift low and to one side, and you’ll be chasing your zero forever. If it’s not level, you’re just guessing.
Is there a way to tell if my reticle is crooked from the factory versus me just having an issue with how I mounted the optic?
The easiest way to tell is to strip the optic off and look at the reticle under a bright light. If the crosshairs look skewed relative to the actual housing or the internal adjustment dials, you’ve got a factory defect. But more often than not, it’s a mounting error. If the scope is seated straight in the rings but your groups are drifting vertically, your reticle is likely canted. Check your mounting first.




