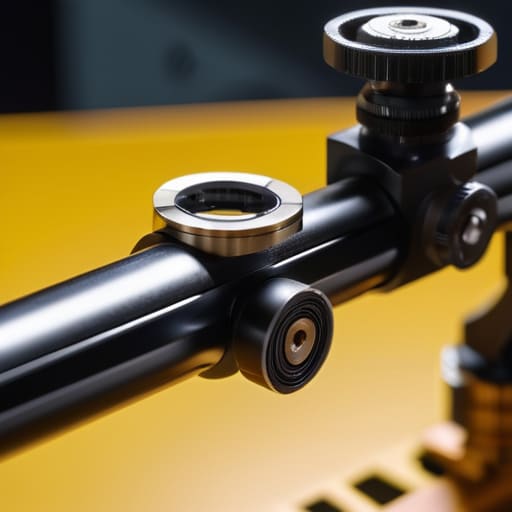
I watched a guy last Saturday spend three hundred dollars on a match-grade optic only to spend the rest of the afternoon cursing his rifle because he couldn’t keep his groups under six inches. He thought his ammunition was bad, then he thought his barrel was flawed, but the truth was much simpler: he didn’t know how to mount a scope correctly. He had just cranked the rings down with a driver until they were tight, ignoring the fact that he’d likely pinched the tube or left the crosshairs skewed. In my twenty years on the line, I’ve seen more wasted money on “precision” gear than I care to count, all because someone treated the mounting process like an afterthought rather than a mechanical necessity.
In this guide, I’m going to skip the sales pitch and get straight to the grit of the process. We aren’t talking about fancy shortcuts or “good enough” methods; I’m going to walk you through the actual, unglamorous steps of alignment, torque specs, and leveling. You’ll learn how to ensure your optic is seated with absolute consistency so that when you finally pull the trigger, you can trust that your equipment is actually doing its job.
Guide Overview
Tools & Supplies
- Torque wrench (essential for precise screw tension)
- Allen key set (to tighten ring and base screws)
- Level (to ensure horizontal alignment)
- Cleaning kit (to remove oil from contact surfaces)
- Scope mounting rings (matching scope diameter)
- Scope bases/rails (specific to firearm model)
- Thread locker (blue, low-strength for securing screws)
- Microfiber cloth (for cleaning optics and rails)
Step-by-Step Instructions
- 1. First, you need to get your surfaces clean. I’ve seen too many folks try to mount a scope on a rail that still has a film of factory oil or old grease on it. Take a lint-free cloth and some high-quality rubbing alcohol and wipe down the receiver and the mounting bases until they are completely stripped of any residue. If there is grit in that interface, you aren’t mounting a scope; you’re just sandwiching dirt between two pieces of expensive metal.
- 2. Once the surfaces are dry, lay your rings on the receiver to check your eye relief. This is where most people rush, and it’s where they mess up. Don’t just eyeball it. Get behind the rifle in a natural shooting position—not sitting at a desk, but actually mimicking your stance at the range. Move the scope forward or backward until the image is clear and you aren’t getting a black ring around the edges. If you don’t get this right now, you’ll be fighting the rifle every time you pull the trigger.
- 3. Place your rings and the scope into position, then start the base screws. Now, listen close: do not tighten these down like you’re trying to seal a plumbing leak. You want to tighten them in a cross pattern, just like you would the lug nuts on a truck tire. This ensures the pressure is distributed evenly across the rail. If you tighten one side all the way before touching the other, you’re going to tilt the scope, and your zero will be shot before you even load a round.
- 4. Now we move to the ring caps. This is the part that requires a steady hand and a bit of patience. Tighten the screws in small increments, working your way from the center out to the edges. You want to ensure the scope is seated perfectly level within the rings. I always tell my students to check the alignment of the reticle against a known level line. If that scope is canted even a fraction of a degree, your long-range shots are going to drift wide of the mark.
- 5. Before you call it a day, you need to check your torque specs. I don’t care if you think you have a “feel” for it; a machinist’s precision is what we’re aiming for here. Use a calibrated inch-pound torque wrench. Most scope rings require somewhere between 15 and 25 inch-pounds, but you need to check your specific manufacturer’s manual. Over-tightening is a habit that leads to crushed tubes and ruined optics, and I’ve seen enough expensive glass to know it isn’t worth the shortcut.
- 6. The final step is the “shake test.” Once everything is torqued to spec, grab the rifle and give it a firm, deliberate shake. If you hear even a hint of a metallic click or shift, something isn’t seated right. Go back to step one and find out where the movement is coming from. A scope that moves under its own weight will never, ever hold a consistent zero, no matter how much you fiddle with the turrets.
Mastering Scope Ring Height Selection and Rail Mounting Techniques
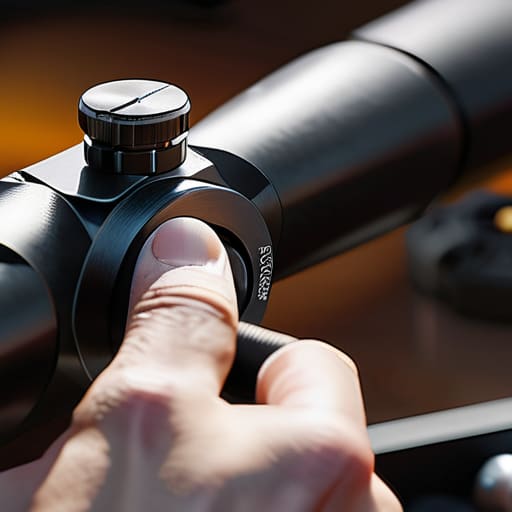
Now, don’t go assuming any ring will work with any scope just because they look similar in the box. Getting your scope ring height selection wrong is one of those mistakes that’ll haunt your Sunday mornings. If you go too low, you’ll find yourself fighting the rifle just to get a decent cheek weld, and if you go too high, you’re basically shooting from a trench. I’ve seen plenty of guys try to compensate for a bad height by hunching their necks, and that’s a fast track to a permanent ache. Take the time to check your clearance—especially if you’re running a larger objective lens—before you commit to those screws.
When you’re actually setting the base, pay attention to your rail mounting techniques. It sounds simple, but I still see people skip the degreasing step. If there’s even a hint of factory oil or grit on that receiver, you’re asking for trouble. You want those rails seated clean and tight to ensure you’re preventing scope slippage during recoil. If that rail shifts even a fraction of a millimeter under fire, your entire zero is going out the window, and you’ll be chasing shadows instead of hitting steel.
Preventing Scope Slippage Before the Optical Zeroing Process
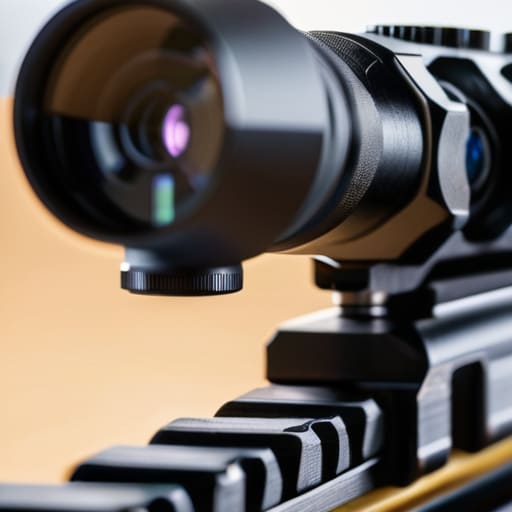
Now, before you even think about touching your windage and elevation adjustment turrets, you need to make sure that glass isn’t going to move the moment you take a shot. I’ve seen plenty of shooters spend an hour trying to dial in a zero, only to find out their groups are wandering because the scope is slowly walking forward under recoil. The best way of preventing scope slippage is to stop treating the mounting process like a casual task. You need to use a tiny bit of high-quality, specialized thread locker on your ring screws—but only on the screws that hold the rings to the rail, not the ones clamping the scope itself. If you put locker on the scope clamps, you’re going to have a real headache when you need to make an eye relief adjustment later.
Clean your mounting surfaces with a bit of rubbing alcohol first. Even a microscopic film of oil from your fingerprints can act like a lubricant, causing your setup to fail right when you need it most. If you haven’t mastered your rail mounting techniques by ensuring the base is seated perfectly flat, no amount of tightening is going to save you. Get the foundation solid, and the rest of the job becomes a lot more predictable.
The Little Things That Keep Your Zero from Walking
- Stop using your fingers to clean the mounting surfaces. I’ve seen too many folks leave a fingerprint of oil on a rail or a scope tube, and that oil acts like a lubricant. You want metal-on-metal contact, not metal-on-grease, or that scope is going to migrate the second you take a heavy shot.
- Get yourself a real inch-pound torque wrench. I don’t care how much you trust your “feel” or how many years you’ve been shooting; “tight enough” isn’t a measurement. You either hit the spec in the manual or you don’t, and if you over-tighten, you’re just crushing the internal tube.
- Watch your crosshairs during the tightening process. As you’re stepping through your rings, check your reticle frequently. If you see the crosshairs shifting as you torque the screws, your rings aren’t seated evenly or your scope isn’t sitting level in the cradle. Fix it then, not after you’ve spent an hour at the range.
- Don’t forget to check your eye relief before you call it finished. A scope that’s mounted perfectly but sits too close to your face is just a recipe for a bruised eye when the recoil hits. Move it, test it, and make sure you have a comfortable window of sight before you lock everything down.
- Re-check your mounts after your first fifty rounds. Even when you do everything by the book, things settle. It’s a good habit to pull the rifle off the bench after a short session and just double-check that those screws haven’t moved a hair. It takes ten seconds and saves you a whole afternoon of frustration.
The Bottom Line on Getting It Right
Don’t treat your scope mount like an afterthought; if you skip the precision torquing or the proper ring height, you aren’t just risking a loose optic, you’re throwing your accuracy out the window before you even pull the trigger.
Cleanliness is a mechanical requirement, not a suggestion—wipe those rails and mounting surfaces down with a bit of degreaser first, or you’ll be fighting friction and movement every time you head to the range.
Respect the tools and the process; take the extra five minutes to verify your settings now, because it’s a whole lot easier to fix a mount on your workbench than it is to troubleshoot a wandering zero when you’re out in the field.
The Final Check
At the end of the day, mounting a scope isn’t just about getting the glass onto the rail; it’s about the discipline of the details. You’ve got to respect the torque specs, ensure your ring height doesn’t leave you fighting for eye relief, and verify that your mounting surface is clean and free of debris before you ever tighten a screw. If you skip the prep work or try to eyeball the tension, you’re just setting yourself up for a frustrating afternoon at the range trying to chase a zero that isn’t there. It’s about building a foundation where the hardware is as reliable as your aim.
I’ve seen plenty of shooters spend hundreds on high-end ammunition only to wonder why they can’t find the target, all because they treated their mounting procedure like an afterthought. Don’t be that person. Take the extra ten minutes to do it right the first time, and you’ll find that the shooting takes care of itself. When you treat the setup with the same respect you give the trigger pull, you aren’t just mounting a scope—you’re practicing the kind of consistency that separates a hobbyist from a marksman. Get the unglamorous stuff right, and the rest of the sport becomes a whole lot more rewarding.
Frequently Asked Questions
If I'm working with one of those older bolt-action rifles I like to restore, can I still use modern Picatinny rails or am I stuck with traditional dovetails?
You aren’t stuck with dovetails, but you can’t just slap a rail on there and call it a day. If that old receiver wasn’t machined with a modern Picatinny spec, you’re looking at a gunsmithing job, not a DIY afternoon. You’ll need to have the top milled flat and drilled properly. Don’t try to force a modern rail into an old dovetail with shim stock and prayer; that’s how you end up with a loose zero.
How do I know if I've actually over-torqued a screw and started crushing the tube, especially if I don't own a dedicated torque driver?
Look, if you don’t have a torque driver, you’re working blind, and that’s where the trouble starts. Watch the ring itself. If you see the metal start to deform or “bulge” slightly around the tube, you’ve gone too far. More importantly, look at the scope. If you see any compression in the finish or if the tube looks slightly oval rather than perfectly round, stop immediately. You’ve crushed it, and that’s a permanent mistake.
Is it worth the extra effort to use blue Loctite on every single screw, or am I just going to make a mess of the mount during my next adjustment?
Look, I’ve seen enough screws back out on a hot string of shots to know that “hoping for the best” isn’t a strategy. Use the blue. It isn’t about making a mess; it’s about peace of mind. If you’re worried about adjustments, just remember: blue Loctite is designed to break with hand tools. It’ll hold the mount steady while you’re shooting, but it won’t turn your rings into a permanent part of the rifle.




