
I’ve seen plenty of guys spend three hundred dollars on fancy, pressurized electronic cases and specialized nitrogen canisters, thinking that’s the only way to protect their investment. It’s a lot of expensive noise. Most of that gear is just marketing designed to make you feel better about a job that actually requires elbow grease and a bit of common sense. If you’re wondering how to store a firearm for a year, you don’t need a laboratory setup; you just need to understand how moisture and friction work against metal. I once spent a whole weekend cleaning the pitting out of a client’s old bolt action because he thought a quick wipe with a dry rag was enough for long-term storage. He learned the hard way that neglect is a slow-motion accident.
I’m not here to sell you on any high-tech gadgets or complicated checklists that take three hours to complete. My goal is to walk you through the unglamorous, essential steps that actually keep your steel clean and your action smooth. We’re going to talk about the right oils, the right way to strip the grit, and the specific habits that ensure when you finally pull that piece out of the safe next season, it’s ready to work immediately.
Choosing the Right Gun Oil for Long Term Storage
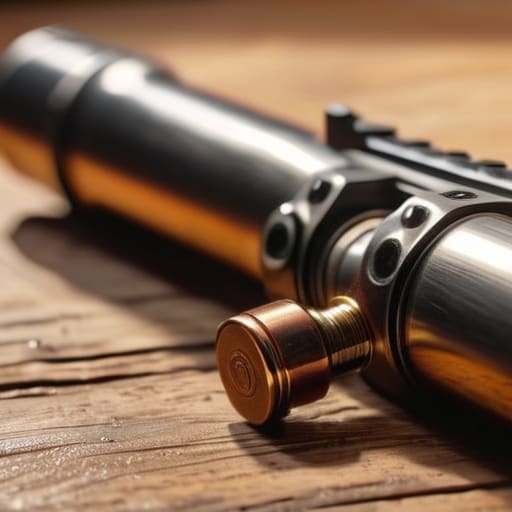
Now, don’t go grabbing that cheap, thin spray you use to wipe down your sidearm after a range day. That stuff is fine for a quick clean, but it’ll evaporate before the first frost hits. When you’re looking at gun oil for long term storage, you need something with real body to it—a heavy-duty lubricant or a dedicated preservative that stays put. I’ve seen too many folks think a light film is enough, only to pull a rifle out six months later and find the bore looking like a topographical map of the Appalachian Mountains.
You want a product that creates a physical barrier. Think of it less like a lubricant and more like a shield for protecting metal surfaces from oxidation. I usually lean toward a high-quality synthetic oil or even a specialized grease for the high-friction areas. If you’re storing something in a basement or a damp corner, the oil is your first line of defense, but it isn’t a magic wand. You apply a generous, even coat, making sure you hit every single surface that isn’t wood or polymer. If you skip the small crevices, that’s exactly where the moisture will settle and start its work.
Protecting Metal Surfaces From Oxidation During the Wait
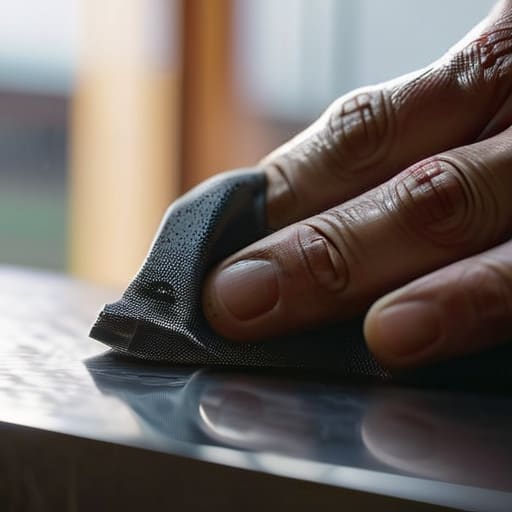
Once you’ve picked out a decent oil, you have to actually apply it with some intent. I’ve seen too many folks just wipe a rag over the barrel and call it a day, but that’s not how you handle protecting metal surfaces from oxidation. You aren’t just cleaning the gun; you’re creating a barrier. I like to use a soft cloth to apply a thin, even layer over every inch of exposed steel—the receiver, the barrel, and especially the action where the parts move. You want a film that stays put, not a heavy, gummy mess that attracts grit. If you miss a spot, that’s exactly where the moisture is going to find a home.
It isn’t just about the oil, though. Even the best firearm preservation techniques will fail if you ignore the air around the gun. If you’re putting this in a safe, you need to be thinking about humidity control for gun safes. I always tell my students that a safe isn’t a vacuum; it’s just a metal box that holds onto damp air. Throwing a couple of high-quality desiccant packs in there or running a small dehumidifier is just as important as the oil you applied. You want that environment bone-dry so the metal stays as clean as the day you bought it.
Five things you shouldn't skip before you close the safe
- Clean out the grit first. You can apply all the oil in the world, but if you’re sealing carbon, copper, or even just a little bit of fine dust inside the action, you’re basically creating a slow-motion abrasive. Scrub it down until it’s truly bare before you start the preservation process.
- Don’t forget the bore. I’ve seen too many folks spend an hour polishing the slide and the frame only to pull a patch through a barrel a year later and find a ring of rust staring back at them. Run a good coat of preservative through the rifling; that’s where the moisture loves to hide.
- Mind your humidity. A safe is just a metal box if you don’t manage the air inside it. Whether you use desiccant packs or a small dehumidifier, you need a way to keep that air dry. If you can feel a dampness in the air, your steel is already under attack.
- Separate the components. If you’re storing a disassembled piece or something with many small parts, don’t just throw them in a pile. Keep your magazines separate from the firearm, and if you’re storing a bolt-action, consider pulling the bolt and keeping it in a lightly oiled silicone bag.
- Document the state of the weapon. It sounds tedious, but write down exactly what you did—what oil you used and what condition the parts were in. When you pull that rifle out in twelve months, you won’t have to guess if that little spot is a new blemish or just a bit of old grease.
The Bottom Line Before You Close the Safe
Don’t skip the cleaning phase just because you aren’t planning to shoot; any leftover powder or carbon is just a magnet for moisture and rust while the gun sits.
Use a dedicated long-term preservative rather than just wiping it down with standard CLP, because you need a barrier that stays put instead of evaporating.
Make it a habit to check your storage environment once or twice a year, because even the best oil won’t save a firearm from a basement that’s turned into a humidity trap.
The Final Check

At the end of the day, storing a firearm for a year isn’t about any single magic product; it’s about the layers of preparation you put in place. You’ve picked the right oil to fight off moisture, you’ve applied it to the metal to prevent oxidation, and you’ve ensured the environment is stable. Don’t skip the step of double-checking that your storage container is actually sealed and that you aren’t leaving any residual solvents on the parts that could actually cause more harm than good over time. If you take the time to do the cleaning and the prepping right now, you won’t spend your first day back at the range fighting a stuck firing pin or a pitted barrel.
I’ve seen too many folks treat their gear like it’s invincible, only to pull a piece out of a safe twelve months later and find it’s more rust than rifle. Taking care of your tools during the off-season isn’t just about protecting an investment; it’s about respecting the mechanics of the machine. When you finally do head back out to the line, you want to be focusing on your sight picture and your trigger press, not wondering if your equipment is going to fail you. Do the unglamorous work now, so that when you’re ready to shoot, the only thing you have to worry about is the target in front of you.
Frequently Asked Questions
Should I leave a round in the chamber if I’m storing it in a locked safe, or is it better to keep it completely empty?
Keep it empty. Every single time. I’ve spent twenty years watching people justify leaving a round in the chamber because it’s “convenient” or “for defense,” but that’s a bad habit that leads to accidents. If it’s going into a safe for a year, it stays empty. You don’t want to be troubleshooting a mechanical issue or a stuck casing a year from now, only to find a live round waiting for you.
Does it make sense to use those long-term storage vapors or desiccant packs inside my safe, or are they just a gimmick?
They aren’t a gimmick, but they aren’t a magic fix either. Think of desiccant packs like a sponge; they’ll pull moisture out of the air until they’re saturated, then they stop working. If you don’t swap them out, they’re just dead weight. Vapors are better for tight spaces, but neither will save you if your safe is sitting in a damp basement with a bad seal. Use them, but don’t rely on them to do the heavy lifting.
If I’m storing a rifle with a wooden stock, do I need to do anything special to keep the wood from drying out or cracking over the year?
Wood is a living thing, even after it’s been shaped into a stock. If you’re tucking a rifle away for a full year, don’t let it sit in a climate-controlled safe that’s bone-dry. That’s how you end up with hairline cracks. I usually recommend a light application of a high-quality-wax or a specialized wood oil once a season. Just keep the humidity steady; you want the wood to stay stable, not thirsty.




