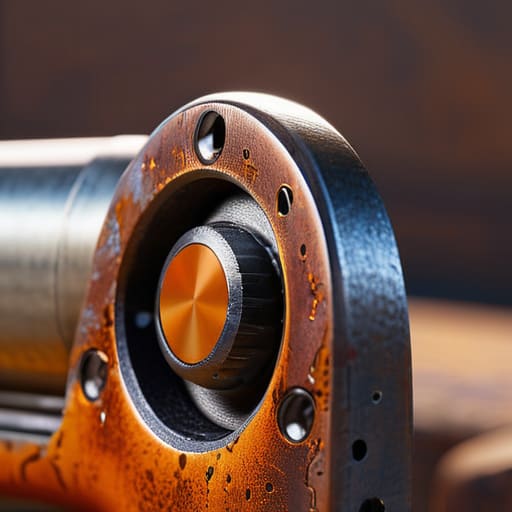
I remember pulling an old Mauser out of a damp basement storage crate last winter, only to find the receiver looking like it had been dragged through a creek bed. Most folks see those orange spots and immediately start panicking about expensive gunsmiths or, worse, they reach for a piece of coarse sandpaper to scrub the problem away. That’s the first mistake. If you want to know how to deal with rust on a firearm without turning a piece of history into a pile of scrap metal, you have to understand that rust isn’t just a cosmetic nuisance; it’s a slow decay that eats the very soul of your kit.
In this guide, I’m not going to give you any of that high-gloss, showroom-floor nonsense. I’m going to show you the actual, unglamorous process of identifying what’s just surface oxidation and what’s actually biting into the steel. We’ll walk through the right solvents, the specific tools you should—and definitely shouldn’t—be using, and how to properly reseal the metal once you’ve cleared the damage. My goal is to help you stop the rot before it becomes a permanent scar.
Guide Overview
Tools & Supplies
- Bronze wool or 0000 steel wool (for non-abrasive scrubbing)
- Nylon brush (for cleaning crevices)
- Microfiber cloths (for wiping and polishing)
- Gun oil or CLP (1 bottle for cleaning and lubrication)
- Penetrating oil (1 small can for stubborn rust)
- Gun cleaning kit (1 set for general maintenance)
Step-by-Step Instructions
- 1. First thing you do is clear the piece. I don’t care if you think it’s empty; treat it as if it isn’t. Remove the magazine, lock the bolt back, and physically look into that chamber yourself. Once you’ve verified there’s nothing in there to cause a problem, lay it on a clean, lint-free cloth on a workbench. You don’t want to be fighting rust and dropping a part at the same time.
- 2. Get your tools ready before you start scrubbing. You’ll want a decent quality gun oil, some bronze wool, and a few different sized brass brushes. Stay away from steel wool unless you’re prepared to replace the finish entirely; steel is harder than the blueing on most of these guns, and you’ll end up sanding away the very thing you’re trying to protect.
- 3. Apply a liberal amount of oil to the affected area and just let it sit. Don’t rush into the scrubbing immediately. You want that oil to penetrate the oxidation and loosen the bond between the rust and the metal. If the rust is heavy, give it ten or fifteen minutes. Patience is a tool, just like a file or a vise.
- 4. Start with the bronze wool or a soft brass brush. Work in small, circular motions, applying just enough pressure to move the grit without gouging the metal. If you’re working on one of my old bolt-action restorations, I usually start with the lighter stuff and only increase the pressure if the rust isn’t budging. It’s a slow process, but slow is smooth.
- 5. Use a fine-bristled toothbrush or a specialized cleaning pick for the tight spots, like the crevices around the receiver or the trigger guard. Rust loves to hide in the corners where a rag can’t reach. If you leave even a speck of orange in a corner, it’ll just start the whole cycle all over again next week.
- 6. Once the rust is gone, you’ll likely see some discoloration or a “shadow” where the oxidation lived. This is normal. Take a clean microfiber cloth and wipe away all the old, dirty oil and loosened metal particles. You want the surface to be completely stripped of debris before you move to the final stage.
- 7. The last step is the most important: seal it. Apply a fresh, thin layer of high-quality gun oil or a dedicated preservative over the entire surface. You aren’t just cleaning it; you are creating a barrier against the humidity that caused the problem in the first place. If you don’t seal it, you’re just inviting the rust back for a second round.
Removing Oxidation From Steel Without Killing the Finish
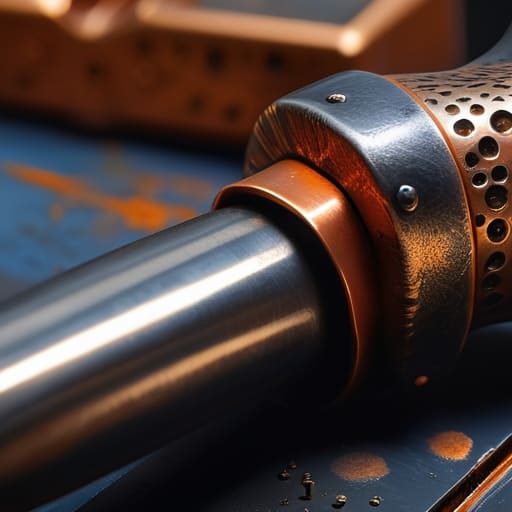
The biggest mistake I see is people getting impatient. They see a bit of orange on a receiver and reach for the steel wool or, heaven forbid, a wire brush. You might get the rust off that way, but you’ll take the bluing right along with it, leaving you with a piece of metal that looks like it went through a rock tumbler. When you’re removing oxidation from steel, you have to treat it like a surgical procedure, not a construction job. Use a fine bronze brush or even a piece of a tightly wound copper scouring pad if you’re feeling bold. The goal is to let the chemistry do the heavy lifting, not raw friction.
If you’re working on something with value—like one of those old bolt actions I spend my weekends tinkering with—you want to be even more deliberate. Apply your oil and let it sit; let it soak into those microscopic pits where the rust is hiding. Once the surface is clear, your immediate priority shifts to protecting firearm finish from coming right back. If you don’t seal those newly exposed pores with a high-quality oil or wax, that moisture in the air will find them before you even get the gun back in the safe.
Choosing the Right Gun Cleaning Supplies for Rust
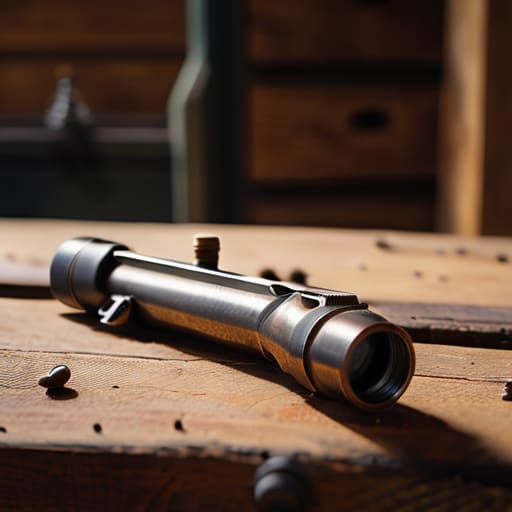
You can’t fix a problem if you’re using the wrong tools to do it. I’ve seen folks grab a piece of steel wool or some harsh household degreaser thinking they’re being efficient, only to realize they’ve stripped the bluing right off the receiver. When you’re looking for gun cleaning supplies for rust, you need to think about the surface you’re working on. If it’s a high-end collector piece, you stay light with fine bronze wool and a dedicated solvent. If it’s an old bolt action I’m bringing back to life, I might be a bit more aggressive, but I never, ever go in blind.
The goal isn’t just removing oxidation from steel; it’s about what you do once the metal is clean and bare. That’s when the real work starts. You need a high-quality preservative or a heavy-duty CLP to seal that surface back up. I always tell my students that preventing corrosion on firearms is much easier than fixing it after the fact. Pick up a decent quality oil and a few microfiber cloths—skip the cheap rags that leave lint in the action—and you’ll be halfway there.
Five things I've learned from watching rust win the long game
- Don’t wait for the pitting to start. If you see a dull spot or a change in the way the light hits the metal, that’s your signal to stop shooting and start cleaning. Rust doesn’t ask for permission; it just moves in.
- Treat your tools like your firearms. If you use a brass brush that’s been sitting in a bucket of grit and old oil, you aren’t cleaning that barrel—you’re just scrubbing the rust deeper into the steel. Keep your supplies as clean as your workspace.
- Oil is your best friend, but only if you use it right. Applying a heavy, sticky layer of oil might feel like you’re doing something, but it actually just traps moisture and dust against the metal. Use a light, consistent coat that actually penetrates the pores of the steel.
- Check your storage environment like you check your chamber. I’ve seen plenty of guys clean their rifles to a mirror shine only to toss them into a damp gun safe and wonder why they’re fighting oxidation again three months later. If the air is humid, your storage is failing you.
- Respect the finish. I’ve spent half my life restoring old bolt actions, and the biggest mistake I see is people getting aggressive with abrasives. You can always take more metal off, but you can’t put it back once it’s gone. Be patient, work slow, and if it isn’t coming off easily, you’re using the wrong method.
The Bottom Line on Rust
Don’t wait for the pitting to start; if you see a change in the texture of the steel, you need to stop shooting and start cleaning immediately.
Protect the value of your kit by choosing gentle solvents over harsh abrasives—it’s better to spend an extra ten minutes scrubbing than a week trying to fix a ruined finish.
Prevention is your best tool, so make a habit of a light oil wipe-down after every session, especially if you’ve been out in the humidity or the rain.
The Work Isn't Done When the Rust is Gone
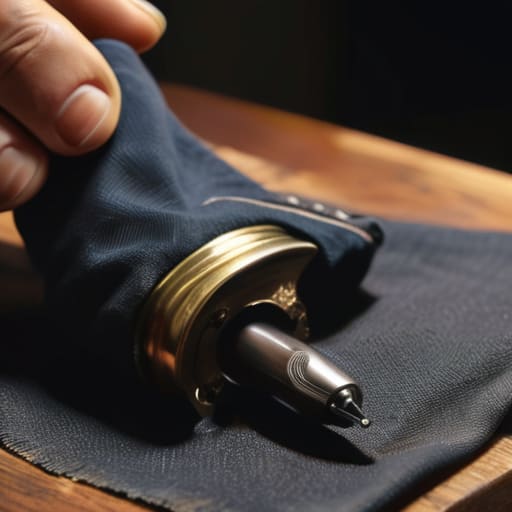
At the end of the day, dealing with rust is about more than just scrubbing away some orange spots; it’s about the discipline of the process. You’ve picked your supplies, you’ve carefully worked the oxidation out without stripping the bluing, and you’ve ensured that you didn’t trade one problem for another. But remember, once that steel is clean, the job isn’t finished. You have to seal that surface immediately with a high-quality oil or wax to prevent the air from starting the whole cycle over again. If you skip the protection phase, you’re just spinning your wheels and wasting your time.
I’ve spent twenty years watching people treat their gear like it’s indestructible, only to see them come to the range with pitted barrels and seized actions. A firearm is a precision tool, and like any tool, it demands a certain level of respect. Don’t wait until you see a speck of rust to start caring about your maintenance routine. If you make consistent, small habits a part of your range day—checking your storage environment and wiping down your steel after every session—you won’t be fighting a losing battle against decay. Take care of your kit, and it’ll take care of you when it counts.
Frequently Asked Questions
If I scrub too hard and hit the blueing, can I actually fix the finish, or is that part of the gun gone for good?
Look, I’ll be straight with you: if you scrub through the bluing and hit bare steel, you can’t “undo” that. That finish is gone. You can’t un-ring a bell. You can try to touch it up with cold blue, but it’ll never look quite right, and it won’t be as tough as the factory finish. My advice? If you see you’re getting close to the color, slow down. Stop scrubbing and switch to a softer cloth.
How often should I be checking my storage setup to make sure I'm not just inviting the rust back in a month?
If you’re waiting for a visible spot of orange to tell you there’s a problem, you’ve already lost the battle. I tell people to check their storage every month, no exceptions. Pull the guns out, wipe them down, and look closely at the metal. If you live in a high-humidity area, do it every two weeks. It’s better to spend five minutes inspecting a piece of steel than five hours trying to fix a pitted barrel.
Is there a difference between using a standard cleaning oil and a dedicated rust preventative when I'm putting a rifle back in the safe?
There’s a difference, and it matters more than most people realize. Think of standard oil like a moisturizer—it’s great for cleaning off grit and keeping parts moving smoothly. But a dedicated rust preventative is more like a sealant. It’s designed to stay put and create a thicker barrier against the humidity in your safe. If you’re just shooting and cleaning, oil is fine. But if you’re locking it up for a month, use the preventative.




