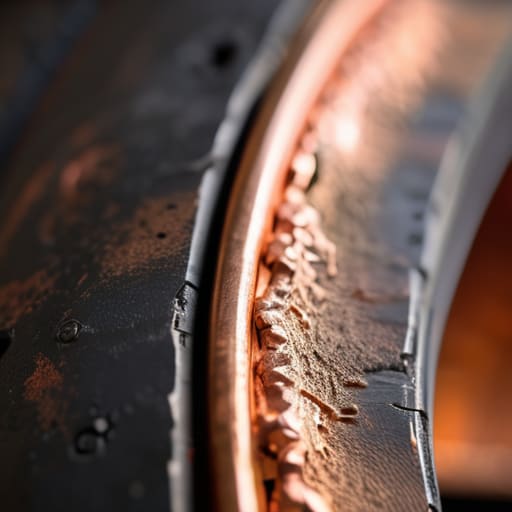
I was sitting at my workbench last Tuesday, staring down the bore of an old Mauser I’d picked up at an estate sale, when I realized most folks are doing it all wrong. They think that if they just run a patch through with some cheap oil, they’ve done their job, but that stubborn green tint tells a different story. People spend hundreds on fancy optics and match-grade ammo, yet they completely ignore the grit building up inside the rifling. Learning how to remove copper fouling isn’t about buying the most expensive kit on the shelf; it’s about understanding the chemistry of what’s actually stuck in your barrel. If you don’t get that copper out, you aren’t just losing accuracy—you’re shortening the life of your rifle.
I’m not here to sell you a miracle solvent or a high-tech gadget you don’t need. I want to show you the actual, unglamorous process of getting a bore truly clean using the same methods I’ve used for twenty years on the range and in my own shop. We’re going to walk through the proper soaking times, the right brushes to use, and—most importantly—how to tell when you’re actually finished. This is about doing the work right the first time so you can stop worrying about your cleaning kit and start focusing on your groups.
Guide Overview
Tools & Supplies
- Cleaning rod and bore brush (for mechanical agitation)
- Patch holder (to hold cleaning patches)
- Bore light (to inspect progress)
- Copper solvent (1 bottle of dedicated chemical remover)
- Cotton patches (1 pack of various sizes)
- Gun oil/lubricant (1 bottle for post-cleaning protection)
Step-by-Step Instructions
- 1. First thing you need to do is get your workspace set up and your rifle completely cleared. I don’t care if you just finished shooting ten minutes ago; check that chamber, check the magazine, and make sure it’s empty before you even think about opening a bottle of solvent. Lay a clean rag down on your bench so you aren’t working on bare wood or metal, and have your cleaning rod and patches ready to go.
- 2. Once you’re sure it’s safe, you’re going to pick a solvent that actually works. Don’t go buying the cheapest stuff on the shelf just because it smells like peppermint; you want something specifically formulated to break down copper. Apply the solvent to a patch—not the rod itself, mind you—and push it through the bore. Let that chemical sit in there for a few minutes. You aren’t in a race, and that solvent needs time to do its job.
- 3. Now, grab your brass or nylon bore brush. You’re going to run that brush through the barrel several times, moving from the breech toward the muzzle. You want to use a firm, consistent motion to physically scrub those loosened copper particles loose from the rifling. If you just push a patch through without brushing, you’re essentially just painting the copper back onto the walls.
- 4. After you’ve done your scrubbing, it’s time to see what you’ve actually accomplished. Take a fresh, clean patch and push it through the bore. If it comes out looking like a copper penny, you aren’t done yet. Keep repeating the solvent and brush cycle until that patch comes out looking clean. If you stop too early, you’re just inviting fouling to build up even faster during your next range session.
- 5. Once the bore is clear of the heavy lifting, you need to dry it out. Run a few dry patches through the barrel to soak up any leftover solvent or moisture. You don’t want liquid sitting in your rifling overnight, as that’s a quick way to invite rust. I always like to see a dry, clean patch come out the muzzle before I move on to the next step.
- 6. The final, and arguably most important, step is to apply a light coat of oil or a dedicated bore conditioner. Take a patch with just a tiny bit of oil and run it through the barrel. You aren’t trying to drown the rifling; you just want a thin, protective film that keeps the metal from oxidizing. This is the unseen work that ensures your rifle stays accurate and reliable for the long haul.
Testing Cleaning Solvent Effectiveness Before You Scrub
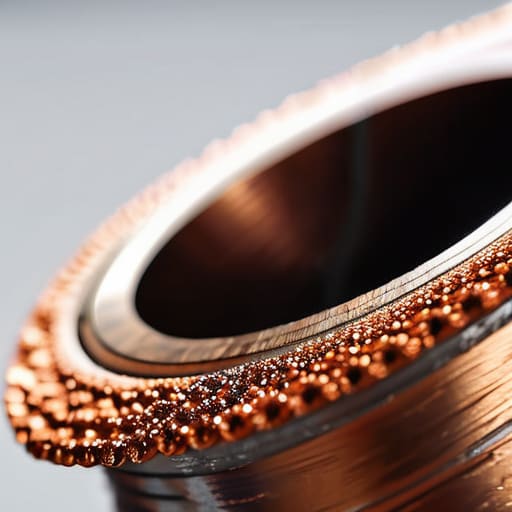
Before you start hacking away with a brass brush like you’re trying to strip paint off a fence, you need to see what you’re actually dealing with. I’ve seen too many folks go straight to the heavy scrubbing, which just ends up driving the grit deeper into the rifling. Instead, I like to take a small patch of clean white cloth, soak it in your bore cleaning solutions, and run it through once. If that patch comes out looking like a copper penny, you know you’ve got work to do. If it’s just a light stain, you might just need to let the chemistry do the heavy lifting for a few minutes rather than applying brute force.
The real trick to removing copper buildup from barrel surfaces without causing unnecessary wear is patience. Once you’ve applied your solvent, let it sit. I usually give it ten to fifteen minutes, depending on how much ammunition residue cleaning is actually required. If you see the solvent turning that distinct blue or green color, that’s the chemical reaction working. If you skip this test and go straight to scrubbing, you’re likely just wasting your time and your energy.
Removing Copper Buildup From Barrel Without Wasting Time
You don’t want to spend your whole Sunday scrubbing a barrel that isn’t even dirty, but you also don’t want to leave a layer of grit in there that ruins your accuracy. The secret to removing copper buildup from barrel surfaces without losing your mind is patience and the right soak time. I’ve seen plenty of guys get frustrated when they don’t see immediate results, so they start scrubbing like they’re trying to polish a countertop. Stop that. If you’re using high-quality bore cleaning solutions, let the chemistry do the heavy lifting. Let that solvent sit in the rifling for a good ten to fifteen minutes. If you rush it, you’re just wasting elbow grease and potentially wearing down your crown.
Another thing I tell the newer folks at the club is to watch your patch color. If you see that bright orange or pinkish tint, you aren’t done. But if the patches are coming out clean and you still feel a slight drag, you might have some carbon or lead mixed in there. Part of effective ammunition residue cleaning is knowing when to switch tools. Sometimes a copper solvent needs a quick follow-up with a dedicated carbon remover to truly get the bore back to a factory-fresh state. Keep it methodical.
Five Things the Manual Won't Tell You About Copper
- Don’t go ham with the bore guide right away. If you’ve got a heavy layer of copper, you’re just going to be pushing wet, gritty sludge all the way down to the crown. Let the solvent do the heavy lifting for a few minutes first; let it sit and soften that buildup so you aren’t fighting it with brute force.
- Watch your patch color, not the clock. I’ve seen guys rush through a cleaning because they think they’ve been at it for ten minutes. It doesn’t matter if it’s been ten minutes or an hour—if that patch is still coming out looking like a penny, you aren’t done. Keep going until the patch is clean.
- Stop using the same patch for everything. If you use a copper-soaked patch to wipe down your bolt or your receiver, you’re just moving the problem around. Keep your copper solvent work strictly in the bore and use fresh, dry patches for the rest of the rifle.
- Mind the bore guide. If you’re using a cleaning rod without a guide, you’re asking for a nick in your rifling. I’ve spent too many Saturday mornings watching guys regret a slip of the hand. A steady, guided stroke is always better than a fast, shaky one.
- Neutralize the chemistry. Some of those heavy-duty copper solvents are aggressive—they’re designed to eat metal. Once the copper is gone, run a patch with a little bit of bore cleaner or even just a light coat of oil through there. You want to make sure you haven’t left any active chemicals sitting in the steel to do damage while the rifle sits in the safe.
The Bottom Line on Copper
Don’t let a little green tint turn into a permanent headache; if you wait until the fouling is baked in, you’re looking at hours of scrubbing instead of ten minutes of soaking.
Use your tools with intent rather than just brute force, because a patch and a good solvent will always do more work than a tired arm and a dirty brush.
Treat the cleaning process like a safety check—it’s not about making the rifle look pretty for the guys at the club, it’s about ensuring the bore is ready for the next round.
The Last Check
At the end of the day, cleaning out that copper isn’t about chasing some mythical level of perfection; it’s about preventing a headache down the range. You’ve tested your solvent, you’ve scrubbed the bore without turning it into a sanding project, and you’ve verified that the rifling is clear of that stubborn green tint. Remember, the goal is a consistent barrel, not a trophy. If you skip the testing phase or try to rush through the scrubbing, you’re just inviting fouling to settle in deeper, making your next cleaning session twice as long and twice as frustrating. Don’t cut corners on the details.
I’ve spent twenty years watching people treat their gear like it’s indestructible, only to see them struggle with accuracy because they neglected the unglamorous work. There is a certain kind of peace that comes with knowing your rifle is truly ready for the line, not just because it looks good, but because you did the work nobody sees. It’s a habit, plain and simple. When you treat your maintenance with the same respect you give your trigger squeeze, the shooting takes care of itself. Now, wipe down that bolt, secure your tools, and get some rest.
Frequently Asked Questions
How often am I actually supposed to be doing this, or am I just cleaning for the sake of cleaning?
Look, I’ve seen guys spend three hours polishing a barrel they haven’t fired in a month. That’s just hobbyism, not maintenance. You clean when the rifle tells you to. If your groups are opening up, or if you see that copper tint creeping into the rifling, get to work. Otherwise, shoot it. If you aren’t shooting, you aren’t fouling. Don’t clean for the sake of cleaning; clean so the next time you pull the trigger, the rifle does exactly what you expect.
If I use a heavy-duty solvent every time I shoot, am I going to end up damaging the rifling?
Look, if you’re running a heavy-duty solvent after every single outing, you’re probably overworking the steel. Most of those aggressive chemicals are designed to break down stubborn buildup, not for daily maintenance. If you use them too often, you risk drying out the metal or leaving a residue that actually invites corrosion. Use the strong stuff when the bore looks green, but for your regular cleaning, stick to something milder. Treat the rifling with respect.
Is there a way to tell if I've actually gotten all the copper out, or am I just guessing once the patch comes out clean?
You don’t guess. If you’re guessing, you’re leaving grit in the bore. I tell my students to use a bore light—a small, bright LED—to look deep into the rifling. You’re looking for that telltale orange or salmon-colored tint against the steel. If the metal looks dull or stained, you aren’t done. Keep running patches until they come out white, then check with the light one last time. If it’s bright and clean, move on.




