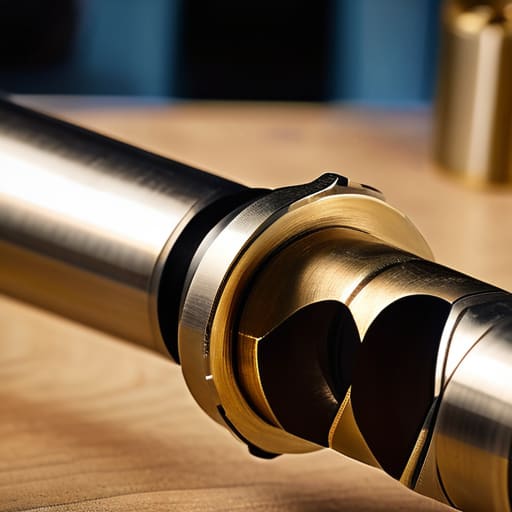
I’ve spent twenty years watching folks walk down the range line, and I’ve seen enough ruined rifling to know that most people treat their cleaning kit like an afterthought. You’ll see a guy spend three thousand dollars on a custom bolt-action rifle, only to go home and scrub that expensive bore with a patch rod that’s banging against the chamber walls like a hammer on an anvil. They think they’re being thorough, but they’re actually shaving metal they can’t get back. If you want to stop treating your barrel like a piece of scrap iron, you need to learn how to use a bore guide properly before you even think about pulling a cleaning rod through that chamber.
In this guide, I’m going to skip the fluff and show you the exact, procedural way to set one up so you aren’t fighting your gear. We’ll go over how to seat the guide without forcing it, how to keep your cleaning rod centered, and why consistency is more important than speed. I’m not here to sell you a fancy new kit; I’m here to make sure the one you have actually does its job.
Guide Overview
Tools & Supplies
- Bore guide (matches firearm caliber)
- Cleaning rod (standard length)
- Cleaning patches (appropriate caliber size)
- Cleaning solvent (liquid or gel)
- Cleaning patches (5-10 pieces)
- Solvent (1 small amount)
Step-by-Step Instructions
- 1. First, you need to make sure your rifle is actually cleared and safe. I’ve seen people get so focused on the cleaning rod that they forget the most basic rule of the line. Open the bolt, check the chamber, and physically look inside to ensure there isn’t a round sitting in there. Once you’re certain it’s empty, set the rifle on a stable, flat surface like a bench or a padded mat.
- 2. Identify which bore guide you’re working with. If you bought a generic one, it might just be a sleeve that slides over the receiver, but if you have a precision setup, you’re likely using one specifically machined for your action. Match the guide to your rifle before you even touch the cleaning kit; using the wrong one is a quick way to scratch a finish you spent too much time polishing.
- 3. Carefully seat the bore guide into the ejection port. You want it to sit snug and centered so that the cleaning rod travels straight through the barrel without wobbling. If you feel any resistance, don’t force it. You aren’t trying to win a wrestling match with your rifle; you’re trying to create a straight, protected path for the rod to follow.
- 4. Thread your cleaning rod through the guide. Start slow. You want to feel the rod enter the rifling without any side-to-side play. The whole point of this step is to ensure that when you start applying pressure, the rod stays centered. If the rod is tilting or rubbing against the chamber walls, stop and re-seat the guide immediately.
- 5. Attach your cleaning patch or brush to the end of the rod. When you begin your first pass, use light, consistent pressure. You aren’t trying to scrub the barrel out like a kitchen floor; you’re moving solvent and debris through the bore. Let the guide do the work of keeping the rod aligned so you can focus on the movement.
- 6. Work your way from the breech to the muzzle, or vice versa, depending on your preference, but always keep the rod moving. Don’t let a dirty patch sit in one spot for too long, or you’ll just be redistributing the grime. Keep your strokes long and steady, letting the bore guide act as your steady hand.
- 7. Once you’ve finished your passes, remove the guide with the same care you used to put it in. Take a moment to inspect the guide itself for any debris or solvent buildup. A clean guide is a safe guide, and keeping it ready for the next session is just part of the habit.
Achieving Cleaning Rod Stability for a Precision Bore
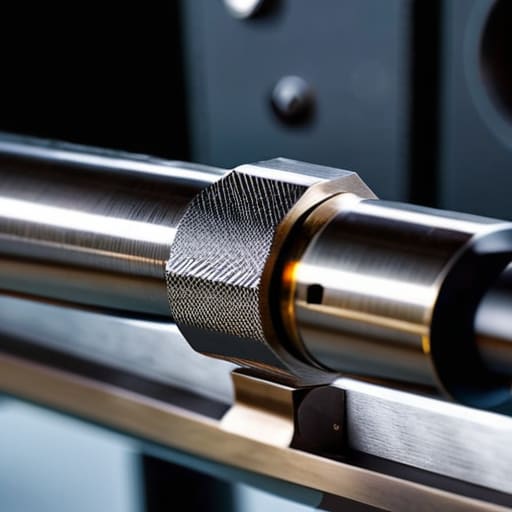
If you’ve got a rifle you actually care about, you know that a loose cleaning rod is just a lever waiting to pry something expensive apart. When that rod wobbles inside the receiver, you aren’t just cleaning; you’re applying lateral pressure to the very thing you’re trying to preserve. Achieving proper cleaning rod stability means ensuring there is zero “play” between the guide and the chamber. If I see a shooter using a guide that rattles like a loose bolt in a machine shop, I know they’re one slip away from a headache. You want that rod seated so snugly that it feels like a single unit from the muzzle to the breech.
The real danger isn’t just the wobble; it’s what that wobble does to the exit point. Without a firm seat, the rod can tilt and put uneven stress on the muzzle, which is the primary way you end up preventing crown damage from happening in the first place. I always tell my students that protecting rifling starts with a steady hand and a steady tool. If your guide doesn’t feel solid, stop. Don’t just force it. Check your alignment, ensure the guide is seated flush, and make sure you aren’t fighting the geometry of the action.
Protecting Rifling and Preventing Crown Damage Every Time
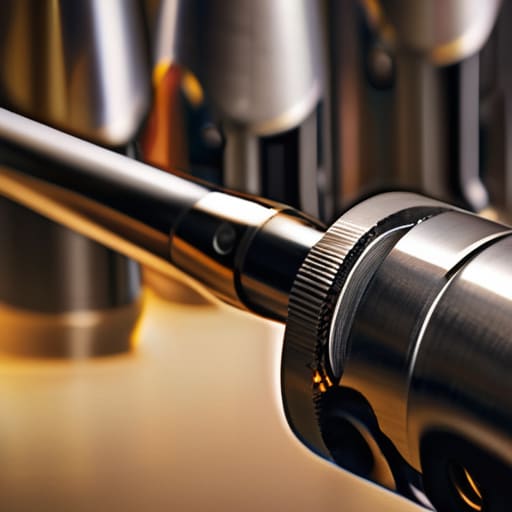
You can have the most expensive optics in the world, but they won’t matter if your barrel is shot. When you’re cleaning rifle barrel safely, the biggest mistake I see isn’t the grit you’re pulling out, but the damage you’re accidentally putting in. Without that guide, your cleaning rod acts like a lever. Every time it wobbles or tilts, it puts uneven pressure on the muzzle. If that rod slips and hits the edge of the rifling, you aren’t just cleaning; you’re permanently altering your accuracy.
I’ve seen too many folks treat preventing crown damage like an afterthought, only to wonder why their groups opened up six months later. The crown is the most sensitive part of your rifle. A single nick from a metal rod can ruin the way gases escape the muzzle, and once that’s done, there’s no “cleaning” your way out of it. Using a guide ensures that the rod stays centered, keeping the pressure on the lands and grooves where it belongs. It’s about respecting the metal you’ve worked so hard to maintain.
Five Things I’ve Learned From Watching Too Many People Skip the Small Stuff
- Check your fit before you start pulling. If that guide is wobbling even a hair in the ejection port, you aren’t protecting the barrel—you’re just creating a new way for the rod to tilt and scratch the rifling.
- Watch the pressure. You don’t need to shove the rod through like you’re trying to clear a clogged drain; let the guide do the work of centering the rod so you can focus on a smooth, even stroke.
- Keep the guide itself clean. I’ve seen guys use a guide that’s caked in old carbon and grit, and then they wonder why their precision rifle is starting to group like a shotgun. Wipe it down every single time.
- Don’t get lazy with the chamber end. The guide is meant to bridge the gap, not act as a shield for a dirty chamber. Make sure the guide sits flush so you aren’t dragging a cleaning patch across the chamber face unnecessarily.
- Match the guide to the specific rifle, not the “type” of rifle. A guide that works for one bolt action might be too loose for the next, and in this sport, “close enough” is usually where the mistakes start.
The Bottom Line
A bore guide isn’t an optional extra for the “serious” shooters; it’s the basic insurance policy that keeps your cleaning rod from turning your action into a scrap pile.
If you feel the rod wobbling or jumping inside the chamber, stop what you’re doing and check your fit; stability is the only way to ensure you’re actually cleaning the bore instead of scoring the walls.
Real safety and real precision happen in the small, unglamorous steps, like making sure your rod is guided straight every single time you pull it through.
Doing the Work When the Lights are Off
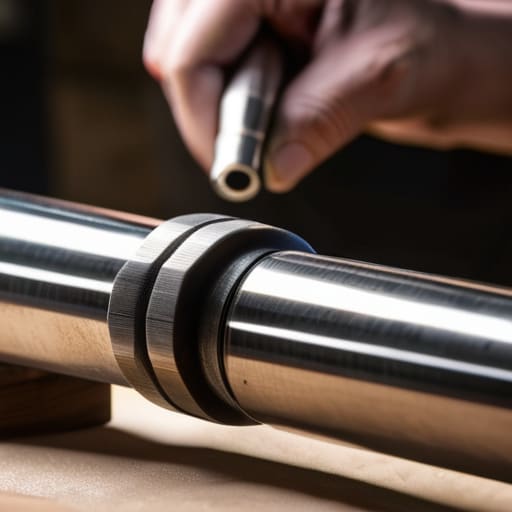
At the end of the day, using a bore guide comes down to three things: stability, alignment, and respect for the steel. You’ve got to ensure that guide is seated tight so your rod doesn’t wobble, you need to keep that cleaning patch moving straight through the rifling, and you absolutely cannot let a rod tip slap against your crown. It might feel like an extra step when you’re tired after a long day at the range, but skipping these small details is exactly how a precision rifle turns into a mediocre one. If you take the time to set the guide correctly every single time, you aren’t just cleaning a tool; you are preserving the integrity of your most important investment.
I’ve spent twenty years watching people treat their gear with varying levels of care, and the difference in their performance is always easy to spot. The shooters who treat the unglamorous maintenance with the same discipline they bring to the firing line are the ones who stay consistent. A bore guide isn’t just a piece of plastic; it’s a testament to how much you value the craft. Get into the habit of doing it right when no one is watching, and the shooting will take care of itself. It isn’t about being fancy; it’s about being disciplined.
Frequently Asked Questions
Can I use a universal bore guide if I don't want to buy a specific one for every single rifle in my safe?
You can, but you have to be careful. A universal guide is a fine compromise if you’re tight on space or budget, but it won’t ever seat as perfectly as one machined for your specific action. If that guide wobbles even a fraction of an inch, you’re just inviting the cleaning rod to tilt and scrape your rifling. Use one if you must, but check the fit twice. If it isn’t rock solid, don’t use it.
Is it actually necessary to use a bore guide for a rimfire rifle, or is that overkill for a .22?
I’ve seen plenty of guys treat their .22s like toys because they’re cheap, and that’s exactly when they slip up. A rimfire barrel is thin, and those cleaning rods can wander easily. If you’re shoving a rod down there without a guide, you’re playing a game of chance with your rifling. It’s not overkill; it’s just good practice. Whether it’s a precision rimfire or a heavy bolt action, treat the bore with respect.
What should I do if the guide feels a little loose or wobbly when I'm pushing the cleaning rod through?
If that guide is wobbling, stop. A loose guide is just a fancy way to let your cleaning rod tilt and rub against the chamber or the rifling. You aren’t looking for a “close enough” fit here. If it’s loose, you either have the wrong size for that specific action, or the guide is poorly machined. Don’t try to force it or shim it with tape. Just get the right one. Precision requires a snug fit.




