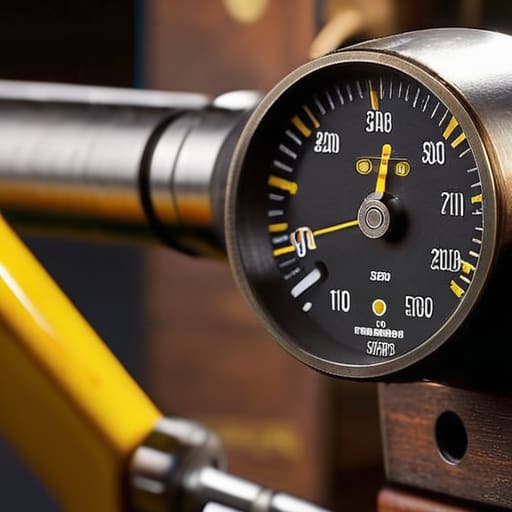
I’ve seen a lot of guys walk onto my line thinking that if a bolt closes, the rifle is ready to go. They think a smooth action is the only metric that matters, but that’s a dangerous way to look at a piece of machinery. I remember a shooter a few years back—good guy, just a bit overconfident—who spent all morning bragging about his new custom build, never once stopping to consider how to check headspace concerns before his first magazine went in. He didn’t realize that a fraction of a millimeter is the difference between a clean shot and a catastrophic failure that nobody walks away from.
In this guide, I’m going to strip away the technical jargon and show you how to handle this the right way. We aren’t going to talk about theoretical physics; we are going to talk about the actual tools you need and the step-by-step process for using them. I’ll show you exactly how to use your gauges to verify your rifle is safe, so you can spend your time focusing on your grouping rather than worrying about your equipment.
Guide Overview
Tools & Supplies
- Go/No-Go Headspace Gauges (Specific to firearm caliber)
- Cleaning Rod (To ensure chamber is clear of debris)
- Caliber-specific firearm (1 unit)
- Bore cleaning kit (1 set)
Step-by-Step Instructions
- 1. First thing you do is get yourself to a clean, well-lit workbench. You can’t do this in the dark or while leaning over a cluttered kitchen table. Lay out your tools—the specific Go and No-Go gauges for your caliber, a few clean rags, and a small amount of oil. If you’re working on one of those old bolt actions I like to restore, make sure the action is completely stripped of any ammunition or loose brass before you even touch a gauge.
- 2. Take your bolt and your barrel assembly and get them seated. If you’re working on a bolt-action, ensure the bolt is clean and free of any grit or old, dried grease that might falsely affect the measurement. You want a smooth, metal-on-metal interface here. A little drop of light oil on the gauges is fine, but don’t go drowning them; we’re looking for precision, not a lubrication job.
- 3. Now, take your “Go” gauge. This is your baseline. Insert it into the chamber just like you would a live round. Close the bolt firmly. The bolt should close completely without you having to force it or hammer it home. If that Go gauge won’t seat, you don’t have a headspace problem; you have a mechanical obstruction or a piece of debris in the chamber that needs to be cleared out first.
- 4. Once the Go gauge is seated, swap it out for the “No-Go” gauge. This is where the real work happens. Insert the No-Go gauge into the chamber and attempt to close the bolt. This gauge is designed to be just slightly longer than a standard chamber. If the bolt closes fully on this gauge, your headspace is out of spec. It means there is too much room between the bolt face and the part of the cartridge that holds it in place, and that’s where things get dangerous.
- 5. If you’re using a more advanced setup, you might follow up with a “Field” gauge. This is the final line of defense. If the bolt closes on a Field gauge, the rifle is unfit for service. Period. I’ve seen guys try to “make it work” or just keep shooting because the groups look okay, but once that headspace stretches past the Field limit, you’re essentially running a gamble every time you pull the trigger.
- 6. If you find that your rifle is failing these checks, don’t try to be a hero with a file and a prayer. Headspace isn’t something you “eyeball” or fix with a quick adjustment in the field. It usually means the barrel needs to be re-cut or replaced, or the bolt needs professional machining. If the measurements are off, stop shooting immediately and get it into the hands of a qualified gunsmith who knows how to use a lathe.
Mastering Firearm Headspace Measurement Tools for Certainty
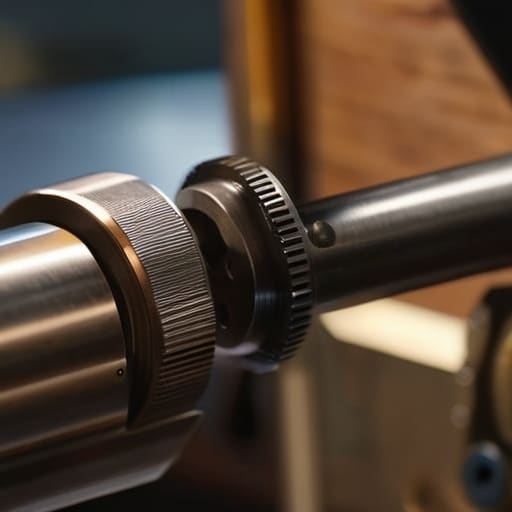
Now, don’t go thinking you can just eyeball this. You might feel like a cartridge sits snug enough, but feeling is a poor substitute for precision. When you’re using headspace gauges on rifles, you need to treat those tools with more respect than you treat your favorite cleaning kit. I’ve seen guys try to force a Go-gauge into a tight chamber because they were in a hurry to get to the range. Stop right there. If it doesn’t seat with a smooth, deliberate motion, you aren’t “fighting” the tool; you’re discovering a problem.
The real trick to mastering your firearm headspace measurement tools is understanding the difference between a tight fit and a true measurement. It’s about the consistency of the click. You aren’t just looking for a pass or fail; you’re looking for a trend. If you notice your brass is starting to look thin at the base or you’re seeing primer pocket expansion, those are the first signs of excessive headspace telling you it’s time to put the gauges to work. Treat the measurement like a machining tolerance—it’s either within the spec, or it isn’t.
Recognizing the Subtle Signs of Excessive Headspace
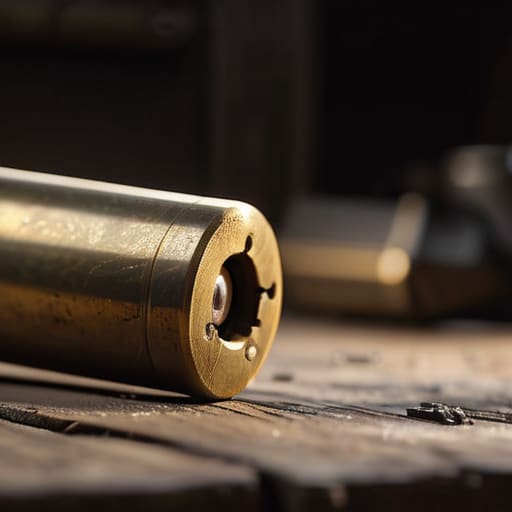
Now, the gauges tell you the hard truth, but your rifle will often try to talk to you before you ever reach for the tools. I’ve seen guys ignore the small stuff right up until the moment something goes sideways. One of the most common signs of excessive headspace is a noticeable change in how your brass looks after it’s been fired. If you start seeing more than just a little bit of longitudinal stretching or if the primer looks like it’s being pushed deep into the casing, pay attention. That’s not just “normal wear”; that’s the brass struggling to find a home because the chamber isn’t holding it where it needs to be.
You might also notice a change in the cartridge and bolt fitment during your routine cleaning. If a round that used to slide in with a crisp, mechanical click now feels loose or “slop-heavy” when you chamber it, your margin for error is shrinking. Don’t just shrug it off as a loose tolerances. If the bolt doesn’t feel like it’s locking into a precise, predictable home every single time, you need to stop shooting and start a proper chamber depth inspection immediately.
Five Ways to Keep Your Headspace from Becoming a Problem
- Stop guessing with “feel.” You might think the bolt is locking up just fine, but headspace isn’t a feeling; it’s a measurement. If you’re working on an old bolt action I’ve helped restore, don’t trust your hands—trust your gauges.
- Watch your brass. If you start seeing consistent primer pocket expansion or if your spent casings are looking a little “stretched” at the base, your headspace is likely opening up. That’s your rifle telling you something is wrong before it actually fails.
- Don’t skip the inspection after a deep clean. When you’re stripping a rifle down to the frame, it’s easy to overlook how the components are seating together. Re-verify your measurements once you’ve put the mechanical parts back in place.
- Respect the limits of your tools. If you’re using go/no-go gauges, remember that a “no-go” that barely fits is still a warning. If it’s even close to the line, you’ve moved past the “maybe” stage and into the “fix it” stage.
- Treat every new caliber like a stranger. If you’ve swapped a barrel or you’re working on a project rifle with a different chamber profile, don’t assume it’s safe just because it worked yesterday. Check it every single time the configuration changes.
The Bottom Line on Keeping Your Bolt in Check
Don’t trust your eyes or your gut when it comes to headspace; if you’ve been shooting high round counts or noticed any oddities in primer ignition, grab your gauges and get a real measurement.
Treat headspace checks as a routine part of your maintenance cycle, much like cleaning your bore, rather than something you only do when something feels “off.”
If your measurements are even slightly outside the manufacturer’s spec, stop shooting immediately—it’s much cheaper to fix a bolt or a chamber now than to deal with a catastrophic failure at the range.
The Habit of Certainty
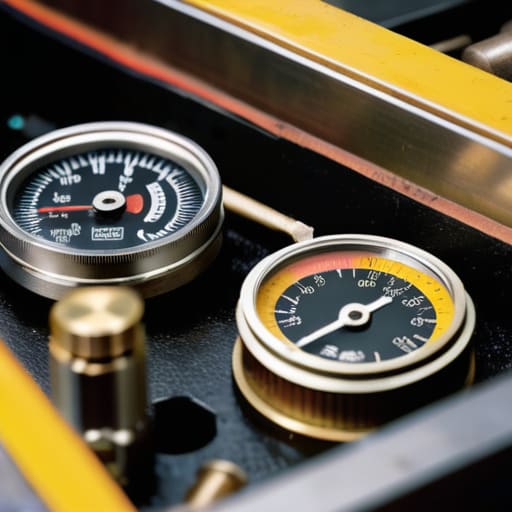
At the end of the day, checking your headspace isn’t about being paranoid; it’s about being professional. We’ve gone over the tools, the measurement process, and those subtle red flags like uneven primer markings or brass that looks like it’s been stretched. If you’ve noticed anything off, don’t try to “shoot through it” or hope for the best. You grab your gauges, you verify the measurements, and if the numbers don’t line up, you stop right there. It is much easier to spend an afternoon at a machinist’s bench than it is to deal with a catastrophic failure on the range.
I’ve spent twenty years watching people walk onto my line, and the ones who last are the ones who respect the mechanics of their equipment. They understand that the fun part—the actual shooting—is only possible because of the unglamorous work done beforehand. Making these checks a part of your routine might feel tedious at first, but eventually, it becomes just another muscle memory, like your grip or your trigger press. Build these habits now, and you’ll find that true confidence on the range comes from knowing your rifle is as ready as you are.
Frequently Asked Questions
If my gauges show the headspace is out of spec, can I just swap out the bolt, or am I looking at a barrel replacement?
Look, I’ve seen folks try to swap a bolt like they’re changing a tire, but it’s rarely that simple. If your gauges are telling you the truth, a new bolt might fix it, but only if the issue is the bolt face itself. More often than not, the headspace problem lives in the chamber or the barrel threads. Before you go buying parts, get a second opinion from a real gunsmith. Don’t guess with your safety.
How often should I actually be checking this—once a year, or only after I notice something feels off when I'm shooting?
If you’re waiting until something “feels off,” you’ve waited too long. By then, you aren’t checking headspace; you’re performing an autopsy. I tell folks to make it a habit: check it whenever you do a deep clean, or if you’ve just picked up a used rifle from a garage sale. If you’re running high round counts, maybe every few thousand rounds. Don’t rely on your senses. Rely on your gauges.
Can a worn-out extractor or a dirty chamber give me a false reading on my headspace gauges?
Short answer: Yes. If you’ve got carbon buildup or a chipped extractor, you’re chasing ghosts. A dirty chamber can act like a shim, making it feel like your headspace is tighter than it actually is. On the flip side, a worn extractor might not let the bolt seat quite right, throwing off your feel. Clean the chamber thoroughly and make sure that extractor is biting properly before you ever touch a gauge. Don’t measure through the grit.




