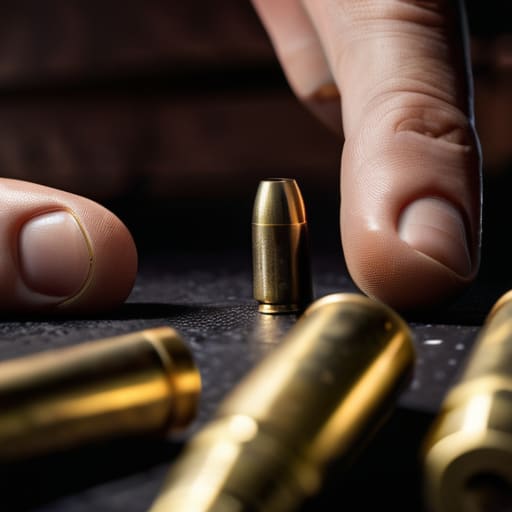
I was sitting at my bench last Tuesday, staring at a pile of brass that looked perfectly fine to the naked eye, when I remembered a guy I coached back in ’04. He thought he could skip the tedious bits because his equipment was “top tier,” only to have a hairline fracture turn a standard reload into a mechanical nightmare mid-string. Most people think reloading is about the press or the powder charge, but if you don’t know how to inspect a case before loading it, you’re just building a ticking clock. It isn’t about being a perfectionist; it’s about recognizing that a single microscopic pit or a bit of grit in the primer pocket is all it takes to ruin your day.
In this guide, I’m going to walk you through the unglamorous, repetitive steps that actually matter. We aren’t going to talk about fancy software or high-speed cameras; we’re going to talk about what your hands and eyes should be looking for—from checking for neck splits to feeling for those tiny dents that a machine might miss. I’ll show you my personal routine for catching the defects that cause pressure spikes and stuck cases, so you can spend less time troubleshooting and more time actually shooting.
Guide Overview
Tools & Supplies
- Magnifying glass or jeweler's loupe for seeing microscopic cracks
- Bright LED desk lamp for high-visibility inspection
- Digital calipers for checking case length and consistency
- Microfiber cloth for cleaning debris
- Case lubricant or light oil if required for specific types
Step-by-Step Instructions
- 1. Start by spreading your brass out on a clean, flat surface—a rubber mat is best—and pick up every single piece. You aren’t just moving them around; you’re looking for the ones that don’t belong. If a case feels different, looks slightly discolored, or has a weirdly shaped rim, set it aside immediately. You can’t inspect properly if you’re just dumping them into a loading die like you’re feeding a wood chipper.
- 2. Run your thumb and forefinger firmly down the length of the body to check for any dents or crimps. A small dent might seem like nothing, but it can cause a major feeding issue when that round tries to climb up the magazine. If the brass feels soft or has a structural irregularity, it’s better to toss it in the scrap bin now than to deal with a stuck case in your chamber later.
- 3. Get a close look at the neck of the case, especially if you’re working with high-pressure rifle rounds. You’re looking for any tiny cracks or splits that might have formed from previous firing cycles. I’ve seen too many people ignore a hairline fracture, only to have that case split wide open under pressure. If the neck looks compromised, don’t even think about seating a bullet in it.
- 4. Take a look at the case mouth itself. It needs to be perfectly circular and free of any jagged edges or burrs. If you see any irregularities, you might need to use a chamfer tool to smooth things out, but if the metal looks thin or chewed up, just call it a loss. A damaged case mouth is a recipe for inconsistent seating depths and erratic pressures.
- 5. Now, turn your attention to the primer pocket. Use your eyes and a light to check for any signs of excessive wear or “cratering” where the firing pin hit. If the pocket looks oval-shaped or stretched out, it’s a sign the brass has been through too many heat cycles. A loose primer is a serious safety hazard that no amount of reloading skill can fix.
- 6. Finally, inspect the base of the case, specifically the primer pocket and the rim. You’re looking for any signs of head separation or cracks radiating from the primer hole. This is the part of the case that takes the most abuse, and it’s where the most dangerous failures happen. If the base looks anything less than solid, do not load it.
The Brass Case Inspection Checklist for Disciplined Reloaders

When you’re sitting there with a tray of brass, it’s easy to let your mind wander, but that’s exactly when you miss the small stuff. I always tell my students that a good brass case inspection checklist isn’t about finding the obvious dents; it’s about looking for the things that aren’t there. You need to be looking for signs of case head separation, specifically those tiny, dark rings near the web that tell you the brass is starting to give up. If you see a hairline crack or a weird discoloration there, don’t try to save it. That’s just the metal telling you it’s done, and ignoring it is a quick way to turn a fun afternoon into a very expensive lesson in mechanical failure.
While you’re at it, don’t ignore the primer pocket. I’ve seen plenty of folks rush through, but identifying primer pocket damage is a non-negotiable part of the process. If the pocket is crushed or the edges are looking ragged, you’re looking at inconsistent ignition or, worse, a primer that could migrate. It’s about respecting the physics of what happens when that powder ignites. If the brass can’t hold its shape, it shouldn’t be in your press.
Spotting Brass Fatigue and Metal Stress Before It Breaks
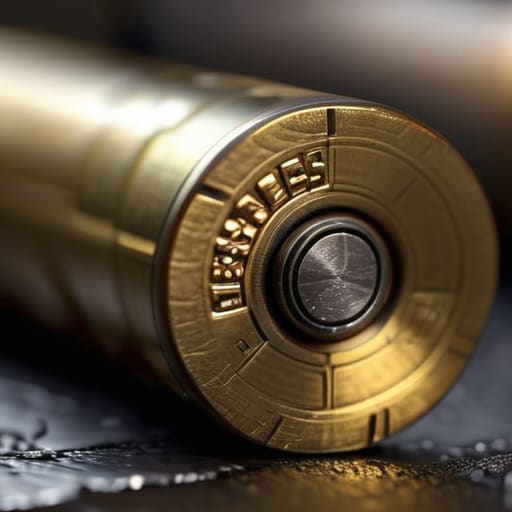
You can’t just look for the obvious stuff like dents or heavy carbon buildup. The real danger hides in the microscopic stuff—the things that don’t scream for attention until they’re halfway through a firing cycle. I’ve seen plenty of shooters ignore a tiny, hairline ring near the base of the case, thinking it’s just a scratch from the tray. It isn’t. That’s often the first sign of brass fatigue and metal stress setting in. If you see a faint, dark line encircling the case just above the extractor groove, stop right there. That is a textbook warning for signs of case head separation, and if you load that brass, you’re essentially inviting a piece of hot metal to wedge itself between your bolt and the chamber.
When you’re working through your brass case inspection checklist, pay close attention to how the metal feels under your calipers or even just your thumb. If the brass feels “soft” or seems to be losing its spring, it’s likely reached the end of its life. Don’t get greedy trying to squeeze one more round out of an old piece of metal just to save a few cents. It’s not worth the risk to your rifle or your hands.
The Five Things I Look For When I'm Not Just Glancing
- Check the primer pockets first. If that pocket looks stretched or the metal is starting to look “mushy,” that brass has done its job and it’s time to toss it. A loose primer is a recipe for a headache you don’t want.
- Run your thumb along the inside of the case wall. I’m looking for any tiny vertical scratches or pits. If the metal feels uneven or you find a nick that looks deep, don’t risk it; that’s where a case will split under pressure.
- Watch the neck for any signs of unevenness or “ovality.” If the neck isn’t perfectly round, your bullet isn’t going to seat straight, and you’ll be fighting your accuracy from the very first shot.
- Look closely at the base, right where the primer meets the brass. I’ve seen plenty of hairline cracks hiding there. If you see a tiny line that looks like it’s separating, that brass is finished. It’s not worth the risk of a pierced primer.
- Don’t ignore the mouth of the case. If you see any heavy denting or if the rim looks chewed up from a rough extraction, leave it out of the batch. A damaged mouth means inconsistent seating, and inconsistent seating means inconsistent shots.
The Bottom Line on Case Inspection
Don’t let fatigue win; if you see a hairline crack near the web or a neck that looks like it’s losing its shape, toss it in the scrap bin without a second thought.
Treat inspection like a ritual, not a chore—running your eyes over every single piece of brass is the only way to catch the grit or the dent that’ll ruin your press.
Remember that a good reload starts long before the powder hits the case; if you skip the unglamorous work of checking your brass, you’re just waiting for a headache.
The Discipline of the Detail
At the end of the day, inspecting your brass isn’t about being a perfectionist; it’s about being a professional. You’ve learned to look for the hairline cracks in the neck, the bulging at the base, and that tiny bit of grit that shouldn’t be there. It’s easy to get lazy when you’ve got five hundred cases sitting in a bucket and a long afternoon of shooting ahead of you, but that’s exactly when the mistakes happen. If you skip the visual check or ignore a slightly deformed rim, you aren’t just risking a bad grouping on the target—you are inviting a mechanical failure in your reloading press or, worse, something much more serious downrange.
I’ve spent twenty years watching people rush through the unglamorous parts of this sport, thinking the real fun only starts when the trigger is pulled. But the truth is, the shooting is just the reward for the work you did at the bench. When you take the time to treat every single piece of brass with the same respect you give your firearm, you develop a level of confidence that no piece of gear can buy you. Do the work, keep your habits tight, and trust your process. When you finally step up to the line, you won’t be wondering if your ammunition is sound; you’ll just be focused on the shot.
Frequently Asked Questions
How do I know if a case has been resized too many times, or if I'm just being overly cautious?
Look, there’s no such thing as being too cautious when you’re working with pressure. I’ve seen enough split necks to know that once the brass starts looking thin near the web or the primer pocket feels soft, it’s done. If you’re staring at a case wondering if it’s reached its limit, it probably has. Don’t gamble on it. Save that brass for a heavier-duty task or just scrap it. Better a small loss now than a blown primer later.
If I find a tiny bit of pitting on the surface of the brass, is that a dealbreaker or can I still run it?
It depends on where that pitting is living. If it’s just surface-level cosmetic stuff—what I call “character marks” from being tossed in a bucket—you’re fine. But if that pitting is deep enough that you can catch your fingernail in it, or if it’s sitting right near the case mouth or the web, toss it. Deep pits are stress risers. They turn a little pressure into a big crack, and I’ve seen enough split cases to know better.
At what point does a dented or slightly deformed case go from "fixable with a die" to "straight in the scrap bin"?
Look, I’ve seen plenty of guys try to “save” a dented case with a resizing die, thinking they’re being frugal. Don’t do that. If the dent is on the body and a light squeeze with your fingers feels like it’s going to crack the brass, toss it. If that dent is near the neck or the primer pocket, it’s scrap. Once the structural integrity is compromised, you aren’t reloading; you’re just waiting for a failure.




