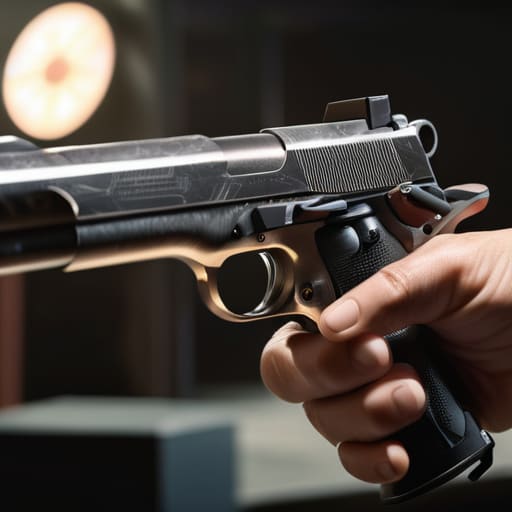
I watched a guy last Saturday spend forty minutes trying to tighten his grouping with live rounds, only to realize he was actually just fighting a dirty bolt and a nervous trigger finger. Most people think that if they aren’t pulling a trigger on a real piece of brass, they aren’t actually practicing, but that’s a mistake that costs time and money. Learning how to use a rimfire trainer isn’t about replacing the range; it’s about mastering the mechanical fundamentals in your living room so that when you finally step up to the line, your hands already know exactly what to do.
In this guide, I’m going to skip the sales pitch and get straight to the procedural stuff that actually matters. We’re going to walk through the proper setup, how to simulate a real trigger pull without losing the feel, and—most importantly—the specific drills that turn a clunky movement into fluid muscle memory. I’ve spent twenty years watching people struggle with the same basic errors, and I want to make sure you’re building the right habits from day one.
Guide Overview
Tools & Supplies
- Target stand or holder to stabilize paper targets
- Cleaning kit for light maintenance of the training device
- Safety glasses to protect eyes during operation
- Rimfire trainer device (e.g., laser or blank-firing unit)
- Rimfire ammunition or laser cartridges as specified by device
- Paper targets for scoring hits
Step-by-Step Instructions
- 1. First, you need to set up your workspace, and I don’t mean just throwing it on the kitchen table. Clear a flat, stable surface and make sure you have a dedicated tray for your small components. If you’re using a dry-fire trainer that mimics a real rimfire action, you want to treat it with the same respect you’d give a live firearm. Even though there’s no primer to strike, your brain needs to believe there is.
- 2. Inspect your trainer for any mechanical grit or loose parts before you start. Since these trainers are often built with lighter materials than a standard Ruger or CZ, a loose screw or a sticky reset can throw off your entire training session. I always say, check your tools before you check your aim, because a malfunctioning trainer just teaches you bad habits that will follow you to the real range.
- 3. Set your target distance and lighting. If you’re using a laser-based system, make sure the room isn’t so bright that the sensor loses the shot, but don’t work in total darkness either. You need to be able to see your trigger finger position clearly. If you can’t see the mechanics of your own hand, you aren’t training; you’re just guessing.
- 4. Begin with slow, deliberate dry-fire repetitions. This isn’t a speed drill, and it isn’t a competition. I want you to focus entirely on the reset of the trigger. Pull it back, feel that slight click as the sear engages, and let it out just until you feel that bump. If you’re slamming the trigger or “slapping” it, you’re wasting your time and building a habit that’ll cause a miss when the real brass is in the chamber.
- 5. Incorporate your fundamentals into the cycle. Every time you “fire” a shot on the trainer, I want you to mentally run through your checklist: grip, sight alignment, and breath control. It’s easy to get caught up in the rhythm of the clicking, but you have to make the discipline part of the motion. The goal is to make these checks so automatic that you don’t even have to think about them.
- 6. Keep a log of your sessions, but don’t just count hits. Write down where your grouping is drifting or if you notice your trigger finger starts to twitch after fifty shots. I’ve seen plenty of shooters get “finger fatigue” and start pulling the shot to the left without even realizing it. Tracking the drift is the only way to know when you’re actually improving versus just getting tired.
- 7. Clean and stow the unit properly when you’re finished. I know, it’s the part nobody wants to do, but a rimfire trainer often has small springs and sensors that don’t like dust or humidity. Wipe it down, put it back in its case, and treat it like a piece of precision machinery. If you take care of the equipment, the equipment will take care of your accuracy.
Small Caliber Training Techniques for Better Fundamentals
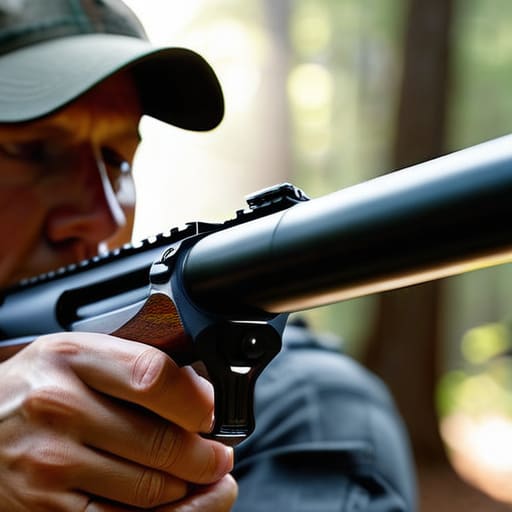
When you’re out there working through your drills, don’t just aim to hit the target. The real value in using a smaller platform is the ability to focus on the micro-movements that larger calibers tend to mask. I’ve seen plenty of shooters pull their shots because they’re fighting the recoil of a centerfire rifle, but they never actually learn why they missed. By utilizing small caliber training techniques, you can strip away the noise and focus entirely on your trigger press and sight alignment. If you can’t manage a clean break with a .22, you’ve got no business trying to tame a .308.
I always tell my students that the goal is transferring skills from trainer to real firearm without bringing any bad habits along for the ride. Use your sessions to build a rhythm. Practice your dry fire, your breathing, and your follow-through until it’s second nature. If you treat these sessions like a chore, you’ll miss the point. Treat them like a precision machining job: slow, deliberate, and focused on the details. That’s how you build a foundation that doesn’t crumble when the pressure is on.
Rimfire Shooting Drills That Build Real Muscle Memory
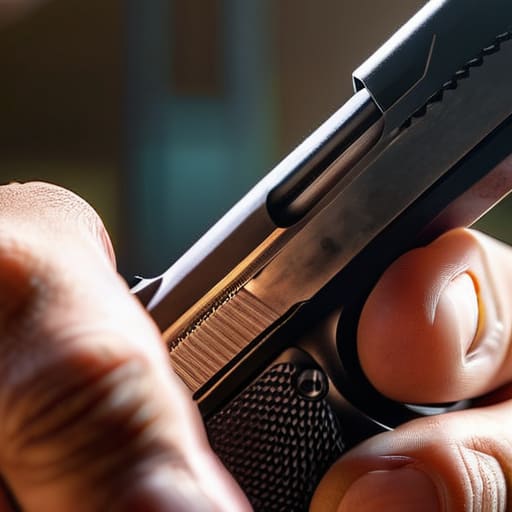
If you’re just pulling the trigger to see where the hole lands, you’re wasting your time and your money. Real progress comes from isolation. I like to start with “dry-fire-plus” drills, where you focus entirely on the trigger press without the distraction of recoil. Use your rimfire trainer to work on a steady, rhythmic squeeze. You aren’t looking for a fast split; you are looking for a consistent break that doesn’t disturb your sights. If you can’t do it perfectly without a bang, you certainly won’t do it when the powder starts burning.
Once you’ve mastered the static hold, move into cadence drills. This is where you really see the benefits of rimfire ammunition cost efficiency. Instead of burning through expensive centerfire rounds, use the trainer to practice your draw, your grip transition, and your follow-up shots. The goal here is transferring skills from trainer to real firearm so that when you finally step up to a high-caliber rifle, your body already knows the rhythm. You want the mechanics to be so deeply ingrained that they become second nature before you ever feel the kick.
The Little Things You’ll Miss if You Aren’t Looking
- Treat the trainer like the real thing, every single time. I’ve seen people get sloppy because there’s no recoil or noise, but that’s exactly when the bad habits start to set in. If you wouldn’t do it with a loaded firearm, don’t do it with the trainer.
- Focus on the trigger press, not just the hit. Since you aren’t fighting the kick of a .22, use that extra headspace to feel for the actual break. You want that movement to be a smooth surprise, not a jerk that pulls your sights off target.
- Keep your eyes on the front sight or your dot, not the target. It’s easy to get “target hungry” when you’re running drills, but if your focus isn’t on the sights, you’re just practicing how to miss accurately.
- Don’t skip the clearing procedure. Even with a dry or electronic trainer, I want to see you perform your chamber checks and flag the direction you’re pointing. Making those movements a reflex now means you won’t have to think about them when the real steel is in your hands.
- Watch your grip tension. Without the physical feedback of a shot going off, it’s easy to let your hands go limp or, conversely, to squeeze the frame too hard. Maintain that consistent, firm pressure you’d use on a live firearm to keep your fundamentals honest.
The Bottom Line
Treat the rimfire trainer with the same respect you’d give a centerfire rifle; it’s a tool for building habits, not a toy for messing around.
Focus on the boring stuff—the trigger reset, the grip, the sight picture—because if you can’t do it perfectly with a trainer, you won’t do it perfectly under pressure.
Consistency is everything; five minutes of disciplined, intentional practice beats an hour of mindless plinking every single time.
The Long Game
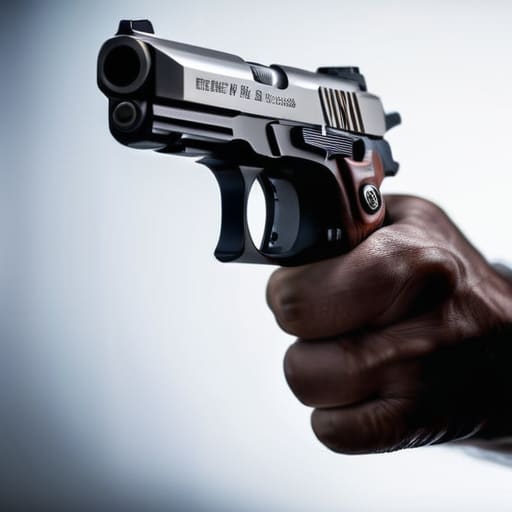
At the end of the day, a rimfire trainer is just a tool, and like any tool in a machine shop, its value depends entirely on the person operating it. We’ve covered the mechanics of the setup, the specific drills for your fundamentals, and how to turn those repetitive movements into something your body does without you even thinking about it. If you focus on the mechanics of the trigger press and keep your eyes on the sight picture during those low-stakes dry runs, you aren’t just practicing shooting; you are building a foundation. Don’t let the small caliber fool you into thinking the discipline should be small, too.
I’ve spent twenty years watching people walk onto the line, and the ones who eventually master the big calibers are always the ones who took the “boring” stuff seriously. They didn’t rush the process, and they didn’t skip the checks. Using a trainer isn’t about getting a quick fix for your grouping; it is about mastering the unglamorous habits that separate a hobbyist from a marksman. Do the work when nobody is watching, do it when it feels repetitive, and do it with intention. If you get the small things right, the big things will eventually take care of themselves.
Frequently Asked Questions
If I'm using a dry-fire trainer, how often should I be cleaning the actual rimfire rifle to make sure the transition back to live rounds doesn't cause a malfunction?
The short answer is: don’t let the trainer make you lazy. If you’re dry-firing for a week, that rifle is still collecting dust and oils. I recommend a thorough clean every time you finish a dedicated training session. If you go from a week of dry work straight to live rounds without a wipe-down and a light lube, you’re asking for a failure to feed. Treat the trainer like a real session.
Is there a point where I'm overdoing the trainer and just building bad habits instead of real muscle memory?
If you find yourself getting frustrated or “chasing” the target, you’ve gone too far. Muscle memory is built through calm, consistent repetition, not through frantic volume. If your grip is tightening or your breathing is getting shallow because you’re just trying to hit a number, stop. You aren’t training your fundamentals anymore; you’re just practicing how to be tense. Put the trainer down, go clean your gear, and come back when you can be steady again.
Should I be practicing my trigger reset on the trainer the same way I do with a larger caliber, or does the lighter pull of a rimfire change the drill?
The mechanics of the reset don’t change, but your sensitivity has to. A rimfire trigger is a different animal—it’s lighter and more unforgiving of “slapping.” If you treat it like a heavy service rifle, you’ll likely overtravel or lose your grip on the reset. Use the trainer to find that exact tactile click. Don’t just rush the reset; feel for it. You want that movement to be surgical, not a heavy-handed tug.




