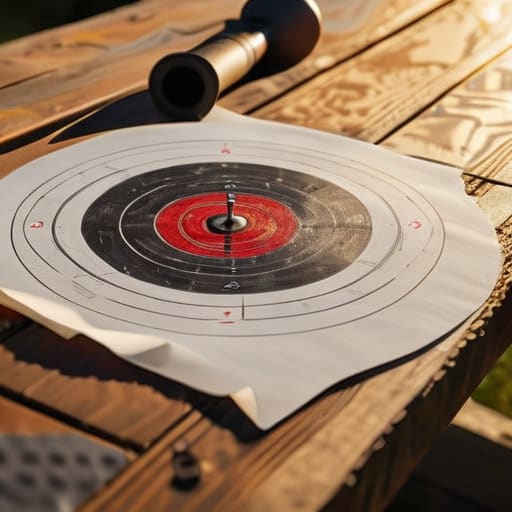
I’ve spent twenty years standing on the line at the club, and if there’s one thing I’ve learned, it’s that a man’s confidence in his gear is often built on nothing but guesswork. I remember a guy last summer—good man, just a bit impatient—who swore his choke was shot because he couldn’t hit a bird at thirty yards. He spent a fortune on new shells before he ever stopped to figure out how to pattern a shotgun properly. Most folks think they can just trust the box or the manufacturer’s word, but out in the field, guesswork is a quick way to go home empty-handed.
In this guide, I’m going to strip away the marketing fluff and show you the actual, unglamorous work required to see what your gun is doing. We aren’t going to talk about fancy gadgets; we’re going to talk about setting up a proper paper target, managing your distance, and reading the spread so you actually know your limits. I’ll walk you through the process step-by-step so you can stop wondering and start knowing exactly where your shot is landing before you ever step into the brush.
Guide Overview
Tools & Supplies
- Target paper or large white poster board (for catching shot)
- Measuring tape or ruler (to mark grid increments)
- Camera or smartphone (to document patterns)
- Chalk or marker (to mark impact points)
- Shotgun and ammunition (matching your intended load)
- Safety gear (eye and ear protection)
- Large flat surface or berm (safe firing range area)
Step-by-Step Instructions
- 1. First, you need to get yourself to a safe, open area—ideally a field or a dedicated clay range where you aren’t going to be worrying about a stray pellet hitting a fence line. Find a flat spot and lay out a large piece of paper, or if you’re in a pinch, use a clean sheet of white plywood or even a large piece of cardboard. You want a clear, high-contrast background so you can actually see where those tiny bits of lead are landing once the dust settles.
- 2. Once your target is down, grab a roll of painter’s tape and mark a grid on it. I’m not talking about a precision engineering blueprint, but you need something to give you a sense of scale. Mark out a square that’s roughly 40 inches by 40 inches. This is your standard testing zone. If you don’t have a grid, you’re just firing into the wind and guessing, and guessing doesn’t help you when you’re out in the marsh later.
- 3. Set your distance. If you’re testing for general upland bird hunting, 30 to 40 yards is usually your sweet spot. If you’re looking at something more specific like waterfowl, you might want to push it out to 45. Whatever distance you choose, be consistent. If you change your distance between every shot, you aren’t pattern testing; you’re just making a mess.
- 4. Now, pick your choke and your load. This is where most folks get it wrong—they try to test three different chokes and two different types of shot in one afternoon. Pick one choke and one specific load, and stick to it for the duration of the test. You want to see exactly what that specific combination is capable of doing before you decide to swap things around.
- 5. Step up to the line and take your shots. You’ll want to fire a minimum of five shots, spaced out about 10 to 15 seconds apart. Don’t just rapid-fire them like you’re at a tactical competition; take a breath, reset your stance, and aim for the center of your grid every single time. We’re looking for the spread of the pattern, not your ability to shoot fast.
- 6. After the last shot, wait a moment for the dust to settle before you walk up to the target. Take a fine-tip marker and circle the densest part of the pattern. Look for “holes”—those empty spots where the shot failed to reach. If you see a big gap in the middle of your circle, that’s a sign you might need a tighter choke or a different shot weight for the distance you’re working with.
- 7. Finally, grab a notebook and write down what you saw. Note the distance, the choke, the shot size, and the results. I’ve seen guys spend hundreds of dollars on new chokes because they forgot what they were actually testing three weeks ago. Keep a written record of your patterns; it’s the only way to actually learn how your gun behaves in the field.
Mastering the Shotgun Pattern Plate Setup
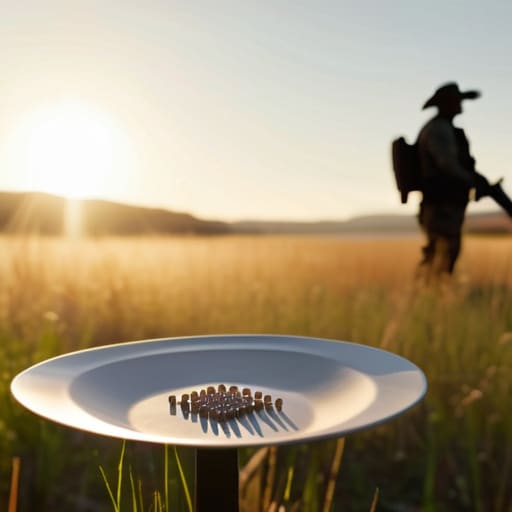
Now, don’t just go out there and start firing at a piece of cardboard taped to a fence post. If you want any real data, your shotgun pattern plate setup needs to be intentional. I’ve seen too many folks standing twenty yards away, firing blindly and hoping for the best. You want that plate positioned at the exact distance you intend to hunt—whether that’s 35 yards for upland or 40 plus for geese. I always tell my students to get the plate level and secure; if it’s wobbling or tilting in the wind, you’re going to get a skewed reading that doesn’t mean a lick of difference when you’re actually in the field.
Once you’ve got the plate steady, pay attention to how you’re approaching the task. This isn’t about seeing a pretty circle of lead; it’s about shotgun pellet distribution analysis. You need to look for the gaps—those empty “dead zones” where a bird could fly right through your spread. If you see a cluster in the center but massive holes on the edges, you aren’t just looking at a spread issue; you’re looking at a reason to start choosing the right choke tube for that specific load. Take your time with the setup. If the foundation is sloppy, the results will be too.
Choosing the Right Choke Tube for Success
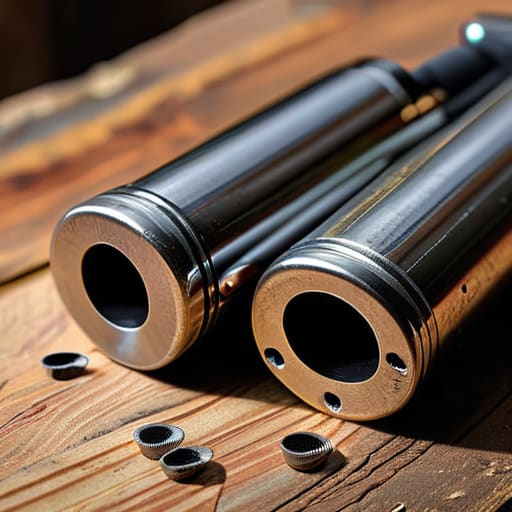
Now, once you’ve got your plate set up and you’re seeing those holes in the paper, you’re going to start asking yourself why the spread looks the way it does. Most folks think a tighter pattern is always better, but that’s a quick way to find yourself missing a bird that’s sitting just a bit closer than you anticipated. Choosing the right choke tube isn’t about finding the “best” one on a shelf; it’s about matching the constriction to your specific needs, whether you’re running a tight cylinder for upland birds or something more constricted for long-range work.
If you notice your pellets are scattered too thin or leaving massive gaps in the center, you’re looking at a matter of improving shotgun shot spread through hardware, not just technique. I’ve seen plenty of guys struggle with waterfowl because they’re using a choke that’s too open for the distance they’re shooting. You need to use this time on the bench to find that sweet spot where the density is consistent. Don’t just settle for “good enough”—use these patterns to understand exactly how your specific combination of choke and load behaves before you’re out in the field.
Five Things to Keep in Mind Before You Start Pulling the Trigger
- Watch your distance, not just your aim. A pattern that looks tight at fifteen yards is going to fall apart like a wet paper bag at thirty-five. You need to test at the actual distance you expect to be shooting, whether that’s for birds in a field or clay targets on a line.
- Don’t forget to check your wad. If you see large gaps in your pattern or, worse, heavy clumps of lead hitting the same spot, you might have a wad issue. A clean pattern isn’t just about the shot; it’s about how that shot is being carried through the air.
- Keep your stance consistent. I’ve seen plenty of folks move their feet or shift their weight between shots while testing. If you change your body position, you’re changing the variables, and then you aren’t actually testing the gun anymore—you’re just guessing.
- Mind your barrel cleanliness. If you’ve been running through a hundred rounds of heavy loads, that fouling is going to start affecting your pattern consistency. Make sure the bore is clean before you start your testing, or you’ll be chasing ghosts.
- Document the results. Don’t just look at the plate, nod your head, and walk away. Write down the choke, the load, and the distance. If you don’t keep a record, you’re going to forget exactly what worked by the time you get back to the range next month.
The Bottom Line on Patterning
Don’t treat this like a chore to check off a list; treat it like a diagnostic tool. If you aren’t actually looking at the density of the shot string and where the gaps are, you’re just making noise and wasting shells.
Remember that your choke tube isn’t a magic wand. You might find that a specific choke works great at twenty yards but falls apart at thirty, and that’s exactly why we do the work on the bench instead of guessing in the field.
Consistency is everything. Use the same brand of shot, the same load weight, and the same distance every single time you test, or you’ll end up chasing ghosts instead of finding a real pattern.
The Real Work Happens After the Paper is Torn
At the end of the day, patterning isn’t just about seeing a pretty circle of lead on a piece of paper; it’s about understanding the specific relationship between your barrel, your choke, and your ammunition. You’ve gone through the motions of setting up your plate, swapping out tubes, and pulling the trigger, but the value is in the data you gather. Don’t just look at the center of the pattern and walk away. You need to look at the density and the spread at the edges to know if that setup will actually hold up when you’re out in the field and the birds are moving fast. If you skip this step, you’re just guessing, and guessing is how you end up missing the shot you should have taken.
I’ve seen plenty of folks spend thousands on the latest gear only to realize they never actually bothered to see how it performs under real conditions. Shooting is a discipline of preparation, and that includes the unglamorous work of bench testing your equipment. When you take the time to do this right, you aren’t just checking a box; you are building true confidence in your tools. When you finally step onto that field or into the marsh, you won’t be wondering if your shotgun is going to deliver. You’ll know it will, because you did the work when nobody was watching.
Frequently Asked Questions
How much distance should I actually be using between the muzzle and the plate for different types of hunting?
There’s no single number, but there’s a right number for your specific hunt. If you’re out in the marsh for ducks, you’re looking at 40 to 45 yards. For upland birds like quail or pheasant, you’ll want to tighten that up to 25 or 30 yards. Don’t guess. Set your distance based on where you actually expect to see the bird. If you pattern for the wrong range, you’re just practicing how to miss.
If my patterns look inconsistent even with the same choke, should I be looking at my ammunition or the gun itself?
If your patterns are jumping around like that, you’ve got a variable you haven’t accounted for. Start with the ammo. Not all shells are created equal, and even within the same brand, different lots can behave differently. If you’ve swapped boxes and the inconsistency stays, then look at your gun. Check your choke for debris or a bad seat. If the hardware is clean and the shells are consistent, you might have a real issue.
Is it worth the extra money to buy specialized pattern cards, or can I just use paper and a marker like I did twenty years ago?
Look, if you’re just trying to see if your choke is working, a piece of cardboard and a marker will do the job just fine. I’ve done it that way for twenty years. But if you’re serious about tracking your spread across different loads or measuring density, those specialized cards save you a massive amount of headache. They’re precise. If you want data instead of just a “vibe,” spend the money. Otherwise, grab the marker.




