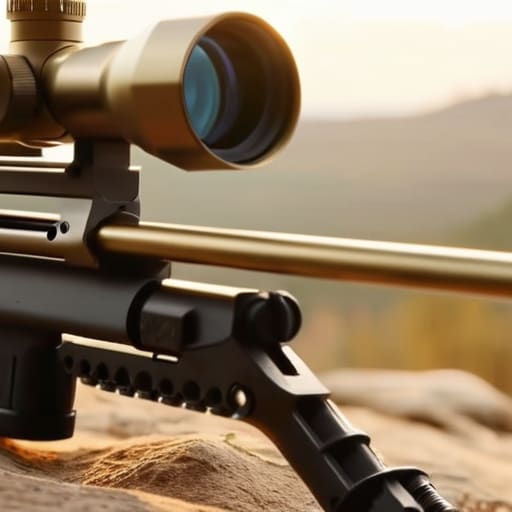
I’ve watched guys spend six hundred dollars on a high-end carbon fiber setup, only to spend the next hour fighting their own rifle because they don’t actually know how to use a bipod properly. They think the gear does the work, but a bipod isn’t a magic wand that fixes a bad position; it’s just a tripod for your stability. I’ve seen plenty of shooters slap a piece of metal onto the forend, lean into it like they’re trying to crush it, and then act surprised when their groups look like a shotgun pattern. If you’re relying on the tension of a spring to hold your aim instead of your own body mechanics, you’re doing it wrong.
I’m not here to sell you on the latest tactical gadgets or give you a lecture you’ve heard a dozen times before. What I want to do is walk you through the unseen mechanics—the stuff like weight distribution, skin contact, and why your elbow placement matters more than the brand name on your bipod. We’re going to focus on the foundational habits that turn a shaky setup into a solid platform, because once you get the fundamentals right, the shooting tends to take care of itself.
Mastering Bipod Height Adjustment for Real Stability
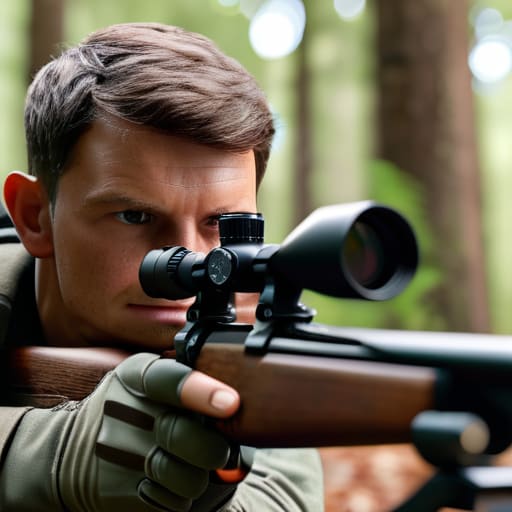
Most folks think they can just drop the bipod, lean in, and start squeezing off rounds. But if you’re sitting too low or your legs are awkward, you aren’t actually using the tool; you’re just fighting it. Proper bipod height adjustment isn’t about finding the highest setting; it’s about finding the height that allows your body to become a part of the tripod. You want your elbow tucked in a way that supports the weight, rather than having your arm hovering in mid-air trying to compensate for a gap between the rifle and the ground.
If you find yourself “muscling” the rifle to stay on target, your height is wrong. You should be able to let the rifle rest its weight on the bipod and your support hand without having to actively clinch it into place. I’ve seen plenty of shooters ruin a perfectly good grouping because they were perched too high, making them top-heavy and prone to swaying. When you get the height right, you aren’t just stabilizing the gun; you are practicing the kind of recoil management with bipods that keeps your follow-up shots from wandering off into the brush.
Essential Bipod Deployment Tips for Consistent Holds
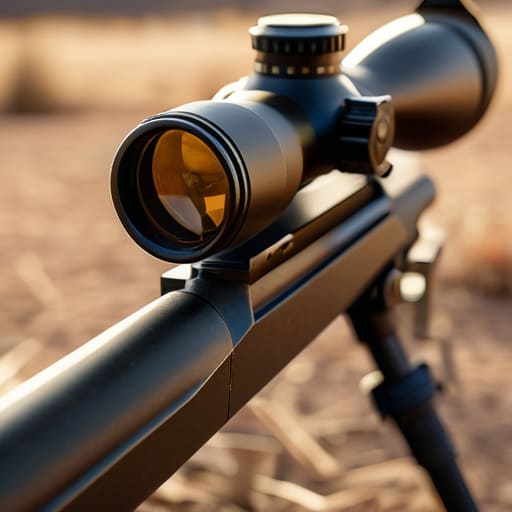
Once you’ve got your height dialed in, you have to look at how that bipod actually interfaces with the ground. I see it every Saturday: a shooter sets the legs, leans into the rifle, and wonders why their groups look like a shotgun pattern. The mistake is treating the bipod like a tripod that does all the work for you. A bipod is just a point of contact, not a replacement for your body. If you aren’t using proper shooting stability techniques—like tucking your elbows or finding a solid bone support—you’re just fighting the rifle instead of guiding it.
You also need to watch how those legs settle. If you’re on loose dirt or tall grass, don’t just plant them and hope for the best. I always tell my students to test the tension before they even bring the rifle to their eye. Give the legs a little nudge to see if they sink or slide. If they do, you need to find a more solid footing or adjust your stance to compensate. Consistent holds come from knowing exactly where that rifle is going to sit before you even take your first breath.
The Small Details That Keep Your Groupings Tight
- Stop treating the bipod like a tripod; it’s a stabilizer, not a furniture leg. If you’re leaning your entire body weight onto the legs, you’re going to fight the rifle every time you pull the trigger. You want the bipod to take the weight of the front end, but you need to keep your body independent so you can breathe and settle without shifting the whole rig.
- Watch your feet. I see it all the time on the Saturday line—people get so focused on the bipod legs that they forget where their boots are. If your feet are too close to the legs, you’re going to kick the bipod out of position the second you try to adjust your stance. Give yourself some room to move.
- Don’t ignore the ground texture. A bipod on flat concrete is one thing, but if you’re out in the field, those feet can sink into soft dirt or slide on pine needles. I always tell my students to give the ground a quick probe with the bipod legs before they ever commit to a shot. If it feels mushy, find a rock or a harder patch.
- Mind the “bounce.” When you transition from your support hand to the bipod, or when you’re adjusting your height, don’t let the rifle bounce off the legs. That little bit of kinetic energy travels straight up the stock and into your eye. Set it down, let it settle, and wait for the stillness before you look through the glass.
- Check your clearance. Before you squeeze, make sure your bipod legs aren’t interfering with your sling or your movement. It sounds simple, but I’ve seen plenty of folks get a perfect hold only to have a sling strap snag on a leg, jerking the rifle right off target at the critical moment.
The Bottom Line on Bipod Discipline
Stop treating your bipod like a set-it-and-forget-it tool; if you aren’t adjusting your height and leg position for the specific ground you’re sitting on, you’re just fighting your own gear.
Stability isn’t about how hard you can plant those legs, it’s about the consistency of your hold—if your deployment changes every shot, your grouping will too.
Always double-check your bipod’s tension and leg locks before you settle into a position, because a leg that gives way mid-shot is a quick way to lose a good grouping and an even quicker way to lose your composure.
Putting the Work in the Setup
At the end of the day, a bipod isn’t a magic wand that turns a shaky shooter into a marksman. It’s just a tool, and like any tool in my shop, it only works if you respect the mechanics behind it. We talked about why you can’t just slap the legs down without checking your height, and why your stability depends more on your body position than the metal under your barrel. If you aren’t adjusting for the terrain and ensuring your legs are set wide and firm, you’re just building a more expensive way to miss. Remember, a consistent hold starts with intentional deployment, not just reaching for the easiest way to rest the rifle.
I’ve spent twenty years watching people rush through their setup because they’re too eager to pull the trigger. They skip the adjustments, ignore the uneven ground, and then wonder why their groups look like a shotgun pattern. Don’t be that person. Take the extra thirty seconds to settle in, check your stability, and make sure your gear is working for you rather than against you. Shooting is a discipline of small, repetitive actions. If you can master the unseen work of the setup, the actual shooting becomes the easiest part of your day.
Frequently Asked Questions
How do I stop my bipod from shifting or walking during rapid fire?
If your bipod is walking, you’re likely fighting the recoil instead of working with it. First, stop treating the bipod like a tripod; it needs a little bit of “give” to absorb the energy. If you’re pinning it too tight against a hard surface, that energy has nowhere to go but sideways. Check your feet and your tension. You want a stable base, but you need to allow the rifle to settle into its natural rhythm.
Is it better to use a bipod on uneven terrain, or should I be looking for a more stable platform like a sandbag?
Look, a bipod is a tool, not a magic fix. If you’re out in the brush on uneven ground, a bipod is fine for getting a shot off, but don’t mistake “upright” for “stable.” If you have the luxury of time and a flat spot, use a sandbag. It absorbs the recoil and settles the rifle in a way no metal legs ever will. Use the bipod when you have to; use the bag when you want to shoot well.
When should I stop relying on the bipod and switch to a supported prone position for better accuracy?
Look, a bipod is a tool, not a crutch. If you find yourself fighting the rifle to keep it steady, or if the terrain is making your bipod legs dance, you’ve gone too far. Once you move past a quick positional shot and start looking for precision, you need to get your elbows in the dirt. Switch to a supported prone position when the stability of the ground matters more than the height of the bipod.




